Soft-luxury living

Category: Food & Recipes

Recipes, bakes and food inspiration.

  • Mediterranean Mezze Platter: An Easy Grazing Board

    Mediterranean Mezze Platter: An Easy Grazing Board

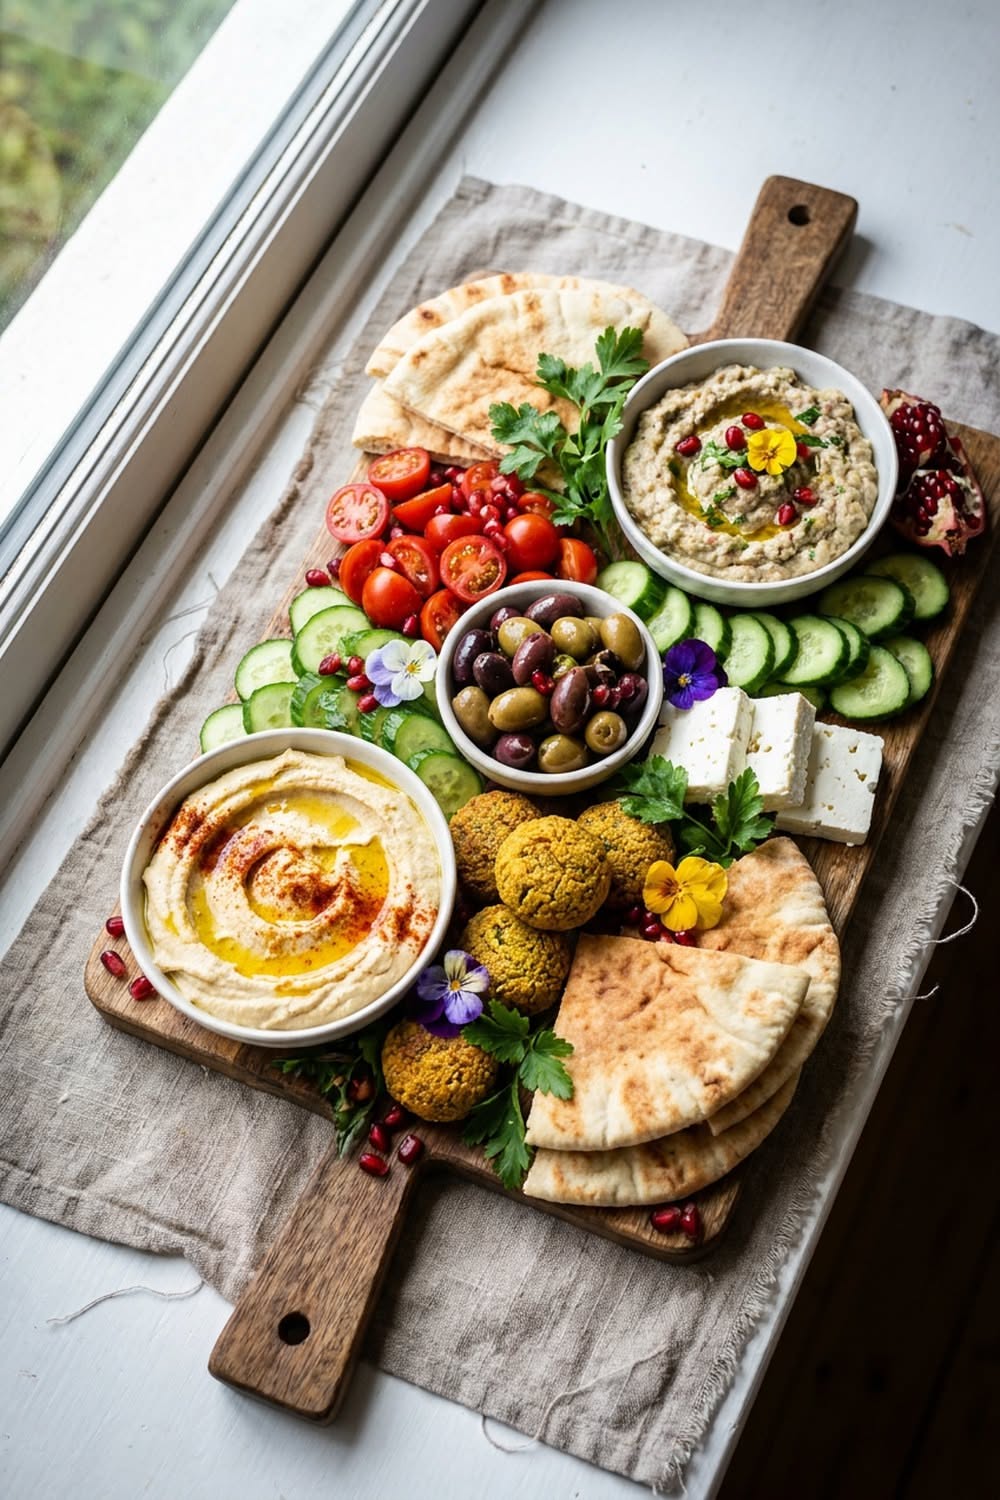
    A mezze platter is the most generous kind of food: a big, colourful spread that asks nothing of your guests except to keep tearing pita and talking. It looks like effort, but the truth is most of it is arranging, not cooking. Twenty minutes and a large board are all you need.

    Here is the framework we use, plus quantities that comfortably feed six as an appetiser or four as a lazy dinner.

    The formula: dips, bread, fresh, briny, rich

    Every great mezze board answers five cravings. Pick one or two from each group and you cannot go wrong:

    • Dips: hummus, whipped feta, baba ganoush, tzatziki or muhammara.
    • Bread and crunch: warm pita, grissini, seeded crackers, toasted sourdough.
    • Fresh: cucumber batons, cherry tomatoes, radishes, mint and parsley sprigs.
    • Briny: olives, pepperoncini, pickled turnips, capers, stuffed vine leaves.
    • Rich: feta chunks, labneh with olive oil, halloumi, roasted red peppers, spiced nuts.

    Two five-minute dips worth making fresh

    Whipped feta: blend 200 g feta with 3 tablespoons Greek yogurt, 1 tablespoon olive oil and a squeeze of lemon until silky. Top with honey and black pepper.

    Upgraded hummus: start with good store-bought hummus, spread it in a shallow bowl, swirl with the back of a spoon and finish with olive oil, smoked paprika, toasted pine nuts and chopped parsley. It tastes homemade in ninety seconds.

    How to arrange it beautifully

    1. Place bowls of dips on the board first, spaced apart, as anchors.
    2. Fan the pita and crackers in two or three sections between them.
    3. Fill the big gaps with the fresh vegetables in clusters, not scattered singles.
    4. Tuck olives and briny things into small dishes or directly into corners.
    5. Finish every dip with olive oil and herbs, and fill any last holes with nuts.

    The rule of thumb: no empty wood. A crowded board always looks abundant, even when it is mostly cucumbers and pita.

    Warm touches that make it special

    If you want one hot element, choose a single skillet item: halloumi seared until golden, or store-bought falafel crisped in the oven. Warm the pita directly over a gas flame or in a hot dry pan for thirty seconds a side. That little bit of char is the difference between good and unforgettable.

    Make-ahead notes

    Dips keep for three days in the fridge, vegetables can be cut the morning of, and the board itself can be arranged an hour ahead and covered with a damp tea towel. Add bread and anything warm at the last minute. Leftovers become tomorrow’s lunch bowls with rice or grains.

    Save this mezze guide to your food board on Pinterest for your next gathering, and find more easy recipes and food ideas on Plumeo. We share new inspiration daily at @Plumeoblog.
  • Creamy Butter Chicken That Beats Takeout

    Creamy Butter Chicken That Beats Takeout

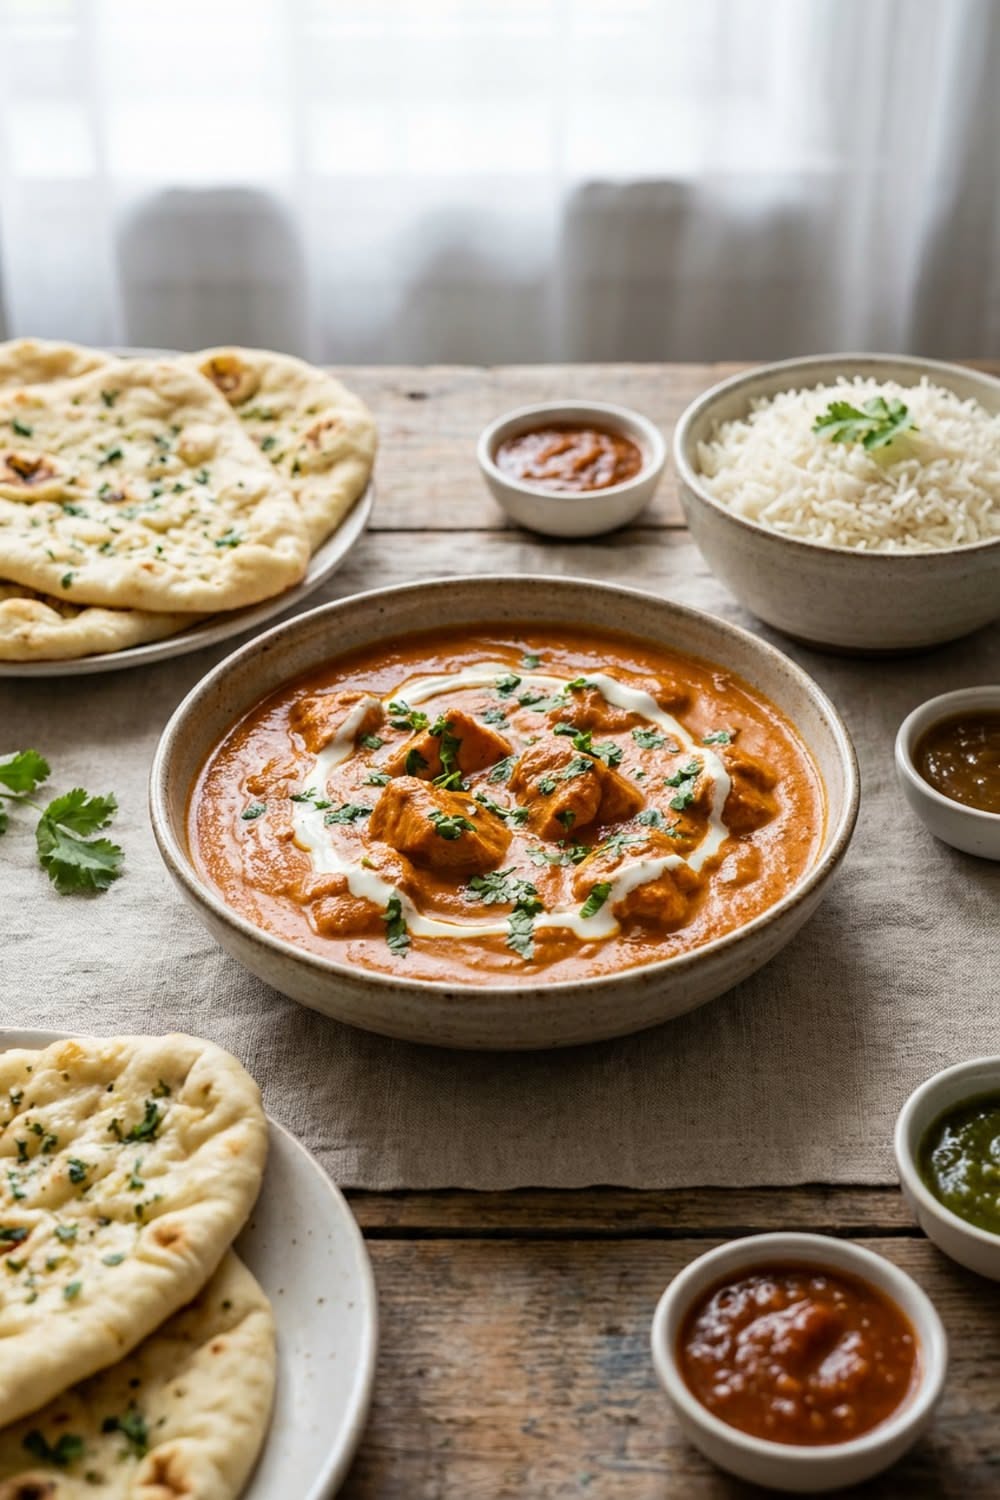
    Butter chicken, murgh makhani, is the dish that converts people to Indian cooking: tandoori-style chicken folded into a tomato cream sauce so silky it barely seems legal. The restaurant version feels unattainable; it is not. Two stages, one pan, and the patience to let the sauce simmer properly, that is the entire mystery.

    Stage one: the marinade does the heavy lifting

    Cut 700g of boneless chicken thighs into large chunks and marinate in 150g plain yogurt with a tablespoon of grated ginger and garlic, a teaspoon each of garam masala, ground cumin and Kashmiri chili powder, half a teaspoon of turmeric, a squeeze of lemon and a good pinch of salt. One hour minimum, overnight for the real thing: yogurt tenderizes in a way nothing else does. Thighs, not breasts, they forgive and they flavor.

    Char the chicken first

    Restaurants use a tandoor; you use your broiler or a screaming-hot cast iron pan. Cook the marinated chicken in a single layer until it takes on real char at the edges, about 4 minutes a side under a hot broiler. It will finish cooking in the sauce, what you want here is smoke and color, the flavor that separates butter chicken from generic curry.

    Stage two: the silky sauce

    1. Melt 3 tablespoons of butter and soften a finely diced onion until golden, about 8 minutes.
    2. Add a tablespoon of ginger-garlic paste, 2 teaspoons garam masala, a teaspoon of Kashmiri chili and a half teaspoon of ground fenugreek; bloom 60 seconds until fragrant.
    3. Add 400g crushed tomatoes and a teaspoon of sugar; simmer 15 minutes until deep brick red.
    4. Blend until completely smooth: this step is the silkiness, do not skip it.
    5. Return to the pan, stir in 150ml cream, add the charred chicken and simmer gently for 10 minutes.
    6. Finish with a knob of butter, a pinch of crushed kasuri methi (dried fenugreek leaves) and salt to taste.

    Serving it right

    A swirl of cream on top, scattered cilantro, and warm naan for the essential sauce-mopping, basmati rice alongside if you are feeding a crowd. The sauce is even better the next day, and it freezes beautifully, so doubling the batch is less a suggestion than a warning about how fast the first one disappears.

    The two ingredients that matter most

    Kashmiri chili powder gives the iconic color with gentle heat (paprika plus a pinch of cayenne substitutes in a pinch), and kasuri methi delivers the elusive restaurant aroma nothing else replicates: both keep for ages, and both are the difference between good and can’t-stop-eating.

    Save this recipe for curry night, and simmer through more cozy recipes on Plumeo. Daily deliciousness at @Plumeoblog.

  • French Onion Soup, the Slow and Proper Way

    French Onion Soup, the Slow and Proper Way

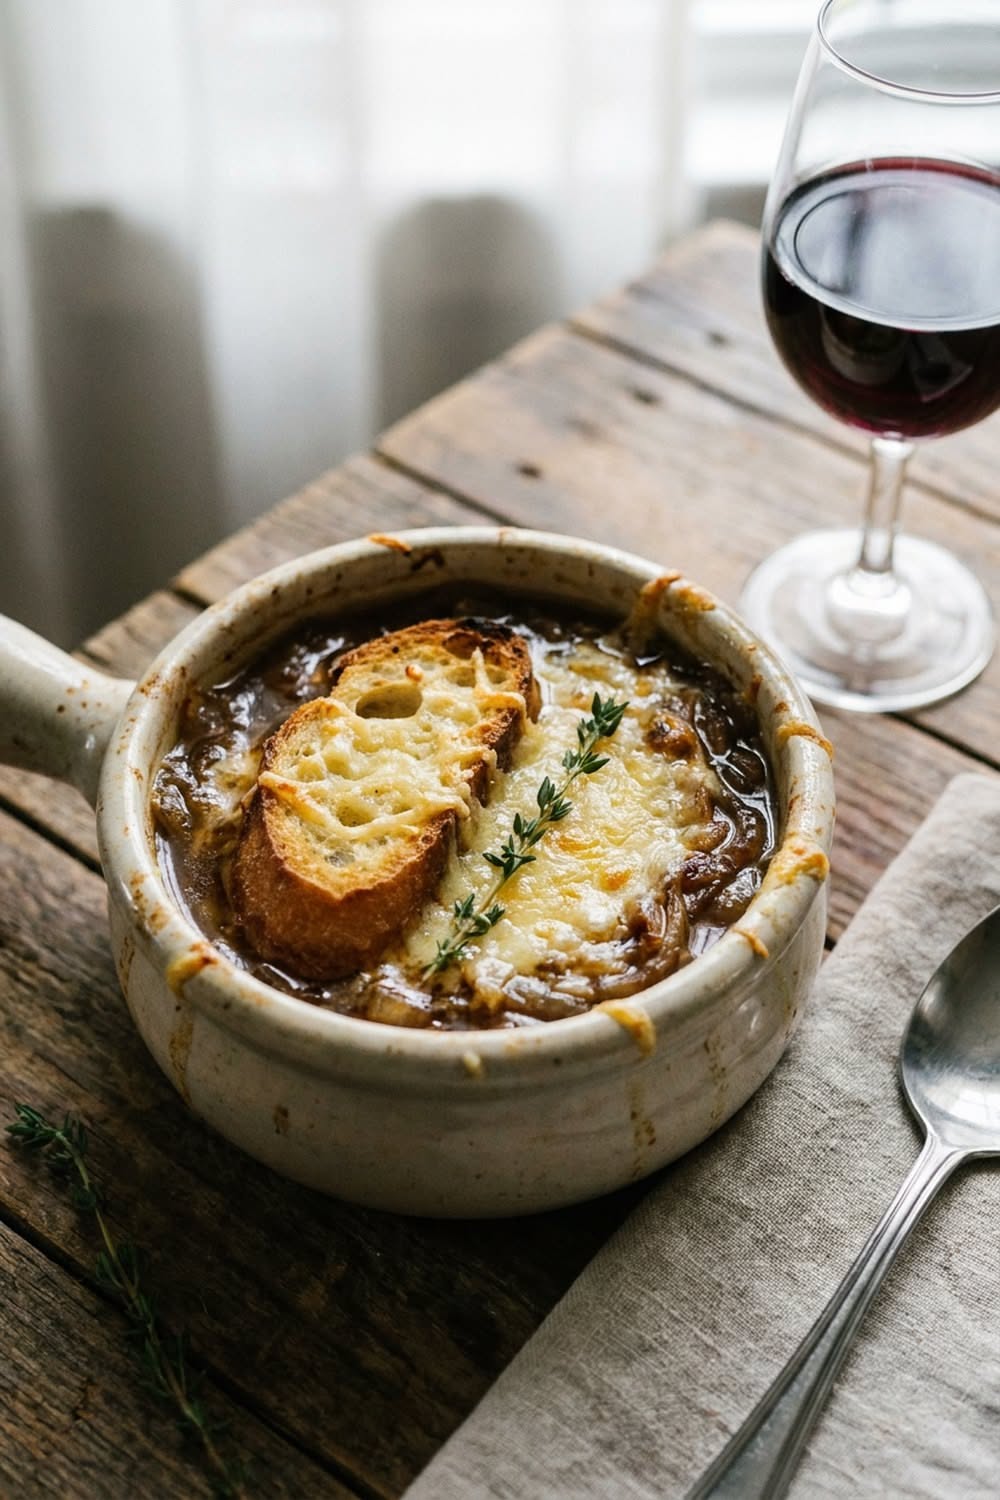
    French onion soup is a masterclass in patience economics: humble onions, transformed by 45 unhurried minutes into something bistros charge real money for, crowned with a raft of toasted baguette and a molten lid of Gruyère. There are no shortcuts that work, and once you accept that, the recipe is almost foolproof.

    The caramelization is the recipe

    Slice a full kilo of yellow onions into thin half-moons: they will collapse to a fraction of their volume, and abundance is the point. Melt 3 tablespoons of butter in a heavy pot over medium-low heat, add the onions with a big pinch of salt, and cook, stirring every few minutes, for 40 to 50 minutes. They will go soft, then golden, then a deep glossy mahogany. If the pot bottom darkens, splash in water and scrape: that dissolved browning is pure flavor. High heat produces fried onions, not caramelized ones: resist.

    Build the broth

    1. Stir a tablespoon of flour into the finished onions and cook 2 minutes.
    2. Deglaze with 150ml dry white wine, scraping the bottom clean, and let it mostly evaporate.
    3. Add 1.2 litres of good beef stock (or a rich vegetable stock), a bay leaf and a few thyme sprigs.
    4. Simmer gently for 20 minutes, then season with salt, pepper and a teaspoon of sherry vinegar or brandy to sharpen the sweetness.

    The lid: bread and cheese engineering

    Toast thick slices of baguette until properly dry, they must hold their structure against hot broth, and rub each with a cut garlic clove. Ladle soup into ovenproof bowls, float the toast, and bury it under a serious handful of grated Gruyère (Comté and Emmental blend beautifully; add a little Parmesan for salt). Under the broiler for 3 to 4 minutes until the cheese bubbles, browns at the edges and drapes over the rim: the drape is traditional and non-negotiable.

    Serving and surviving it

    The bowls emerge volcanic: warn everyone, then watch them ignore you. The first spoonful should break through cheese and sodden toast into sweet-savory broth, the whole dish in one archaeology. A green salad with sharp vinaigrette alongside is the classic counterweight, and the same white wine from the pot belongs in the glasses.

    Make-ahead intelligence

    The soup base improves overnight and freezes perfectly, so caramelize once, eat twice. Keep the bread and cheese stage for the last five minutes before serving, always. On a cold evening with rain against the window, there may be no better return on 45 minutes of gentle stirring anywhere in cooking.

    Save this bistro classic, and ladle up more cozy recipes on Plumeo. Daily comfort food at @Plumeoblog.

  • Grilled Chicken Avocado Salad That Eats Like a Meal

    Grilled Chicken Avocado Salad That Eats Like a Meal

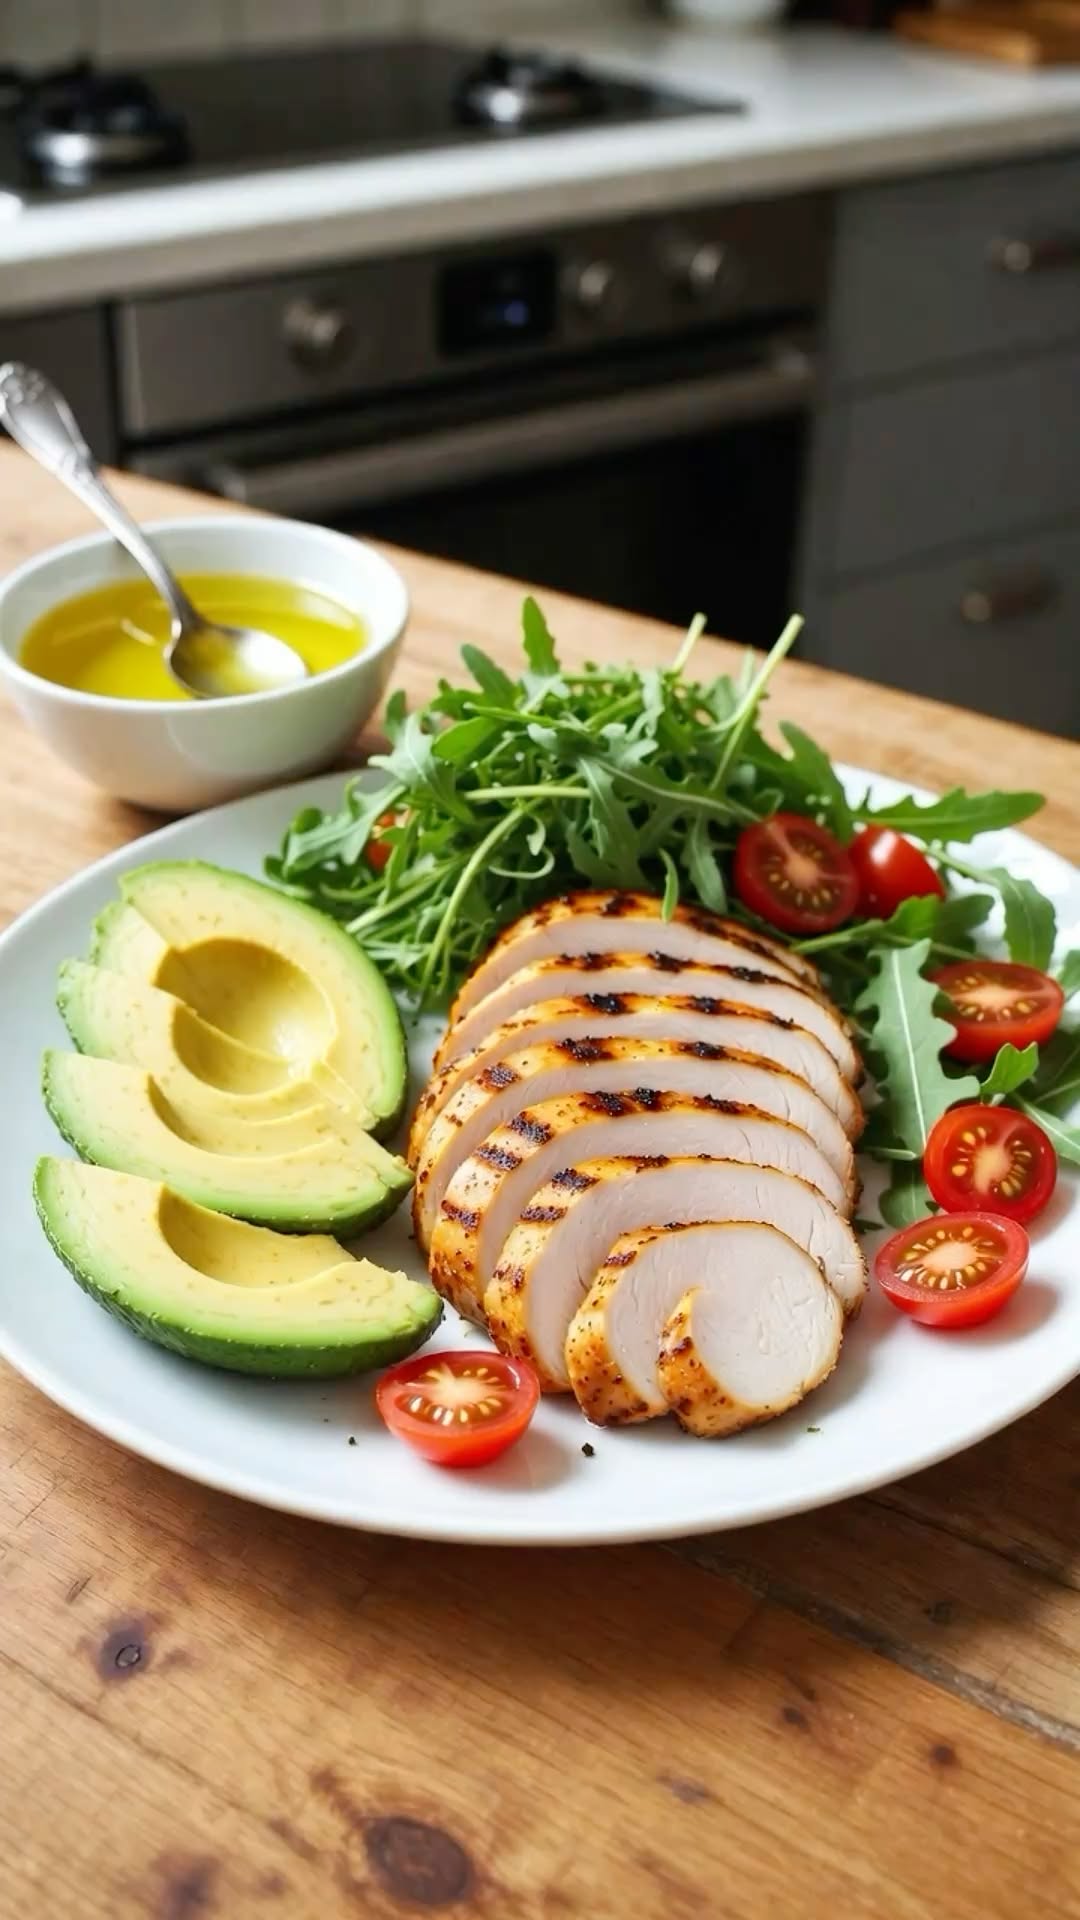
    The difference between a salad you order and a salad you settle for is usually protein, fat and dressing done with intent. This one has all three: char-grilled marinated chicken, creamy avocado, crisp romaine and tomatoes, under a honey-lime dressing with actual personality. It eats like a main course because it is one, and it comes together in 25 minutes.

    The chicken: flavor before fire

    Marinate 2 chicken breasts (butterflied for even cooking) or 4 boneless thighs in olive oil, the juice of a lime, a teaspoon each of cumin and smoked paprika, 2 minced garlic cloves and a good pinch of salt: 20 minutes while you prep everything else, or overnight for deeper flavor. Grill or pan-sear over high heat 4 to 5 minutes per side until charred at the edges and just cooked through, then, crucially, rest 5 minutes before slicing against the grain. Resting keeps the juices in the chicken instead of on the cutting board.

    The honey-lime dressing

    Whisk 4 tablespoons of olive oil with the juice of a lime, a teaspoon of honey, a half teaspoon of Dijon, a small grated garlic clove, salt and pepper. It is bright enough to cut the avocado’s richness and sweet enough to flatter the char on the chicken: the trifecta the salad runs on. A spoonful of chopped cilantro in the dressing is optional and correct.

    Assembly with intent

    • The base: chopped romaine or a spinach-arugula mix, dressed lightly first so every leaf gets its share.
    • The build: halved cherry tomatoes, thin red onion, cucumber for crunch.
    • The stars: warm sliced chicken and a full fanned avocado per two servings, added last so they stay intact.
    • The finishers: crumbled feta or cotija, toasted pepitas, a final drizzle of dressing and a lime wedge.

    Variations and meal-prep

    Add charred corn and black beans and it leans southwest: swap the honey-lime for a yogurt-herb dressing and it goes Mediterranean: pile everything into a wrap tomorrow and lunch is solved twice. For meal prep, store components separately and slice the avocado day-of: assembled salads are a today food, and this one deserves to be eaten at its best.

    Why this one sticks

    Protein, healthy fat, crunch, acid: the salad hits every satisfaction lever, which is why it holds up as an actual dinner and not a prelude to one. It is the recipe that quietly ends the what-should-we-eat negotiation two nights a month, indefinitely.

    Save this weeknight hero, and toss up more fresh recipes on Plumeo. Daily deliciousness at @Plumeoblog.

  • Fudgy Brownies: The Crackly-Top Formula

    Fudgy Brownies: The Crackly-Top Formula

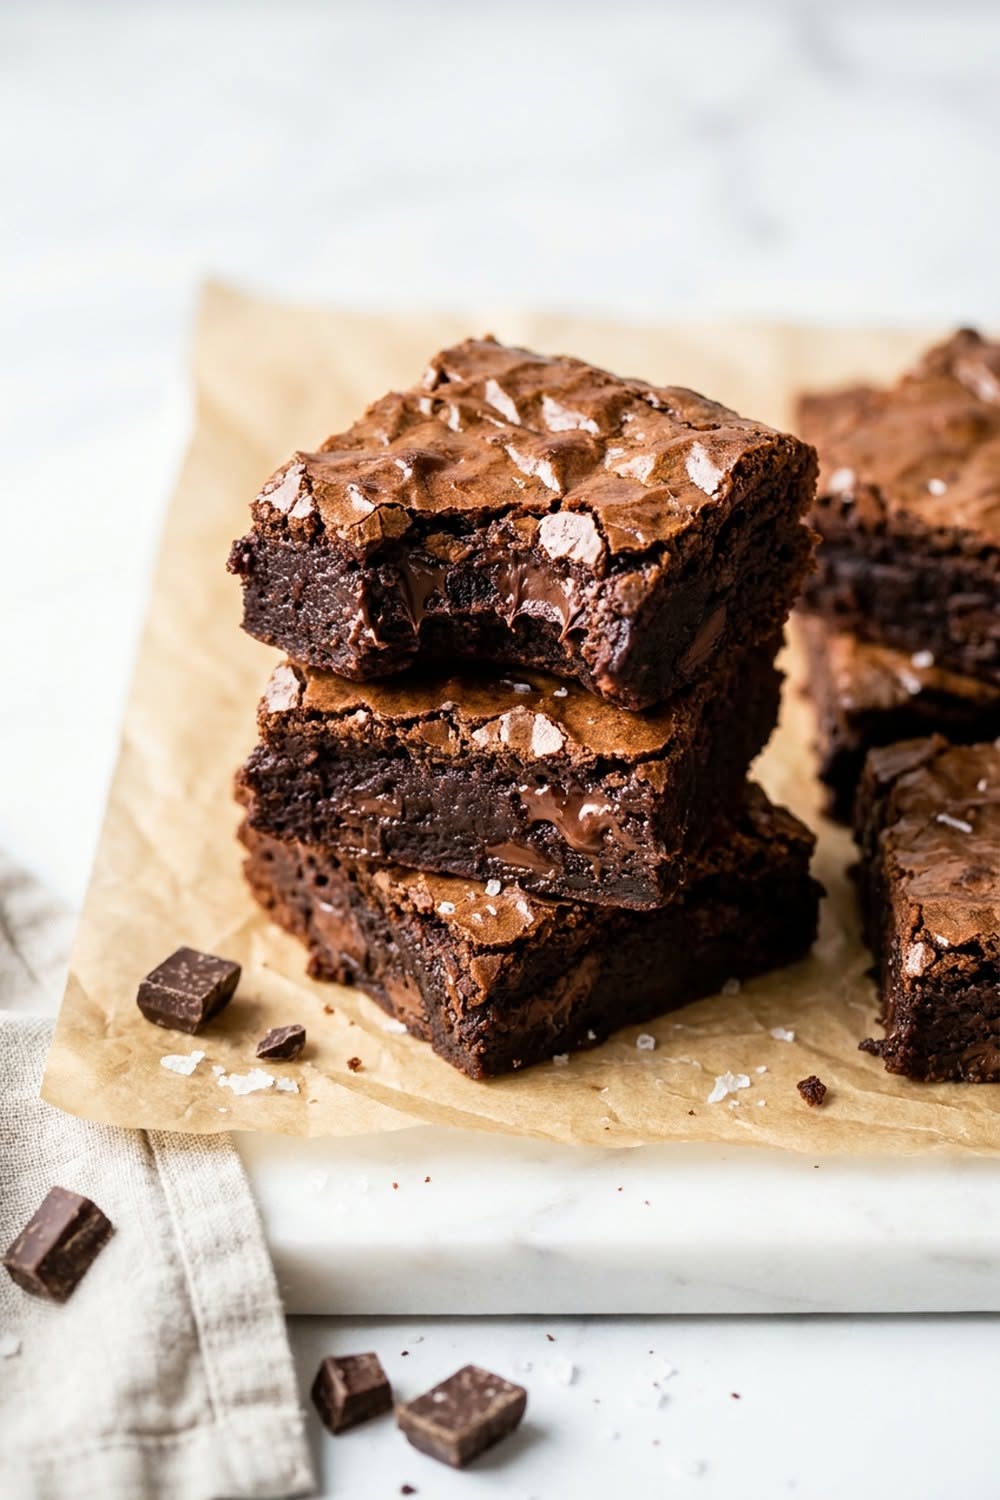
    The perfect brownie is a settled question: fudgy, dense, deeply chocolatey, with that glossy, tissue-thin crackly top that shatters under the knife. Cakey brownies are chocolate cake with poor boundaries. The fudgy ideal comes from one bowl, real chocolate, and two specific tricks that most box mixes accidentally taught us to expect and most homemade recipes forget to include.

    Trick one: melt real chocolate with the butter

    Melt 200g of dark chocolate with 175g of butter until smooth. Cocoa-only brownies can be good: chocolate-plus-butter brownies are fudgy at a molecular level, the cocoa butter is the texture. Stir in 60g of cocoa powder too, for the dark depth: the two chocolates do different jobs and the brownie needs both.

    Trick two: whip the sugar into the eggs

    Whisk 3 eggs with 250g of sugar vigorously for a full 2 to 3 minutes until pale and slightly thickened, then stream in the warm (not hot) chocolate mixture. That dissolved-sugar-and-egg film is precisely what bakes into the shiny crackle top: skip the whipping and you get a matte brownie that tastes fine and photographs like regret. Add a tablespoon of vanilla and a proper half teaspoon of salt: chocolate without salt is chocolate at half volume.

    Flour: barely

    1. Fold in just 90g of flour: low flour is the fudge guarantee: until barely combined.
    2. Optional: a handful of chocolate chunks for molten pockets, or toasted walnuts for the traditionalists.
    3. Into a parchment-lined 20 cm square pan, corners pushed full.

    The underbake window

    Bake at 175°C for 25 to 30 minutes, and pull them when a toothpick comes out with moist crumbs clinging, not clean. Clean means overbaked: the center firms as it cools, and the difference between fudgy and dry is about four minutes. Then the hardest instruction in baking: cool completely, ideally an hour, before cutting. Warm brownies are delicious chaos; cooled brownies are clean-edged fudge. Hot knife, wiped between cuts, for the bakery squares.

    Upgrades for the second batch

    Flaky salt on top before baking: a swirl of peanut butter or dulce de leche dragged through with a knife: espresso powder (a teaspoon) to make the chocolate taste more like itself. They keep four days in a tin and freeze perfectly, and the corner-versus-center piece debate will outlive us all: bake in a rectangle and let people self-sort.

    Save this formula, and sink into more chocolate recipes on Plumeo. Daily indulgence at @Plumeoblog.

  • Bakery-Style Vanilla Cupcakes with Silky Buttercream

    Bakery-Style Vanilla Cupcakes with Silky Buttercream

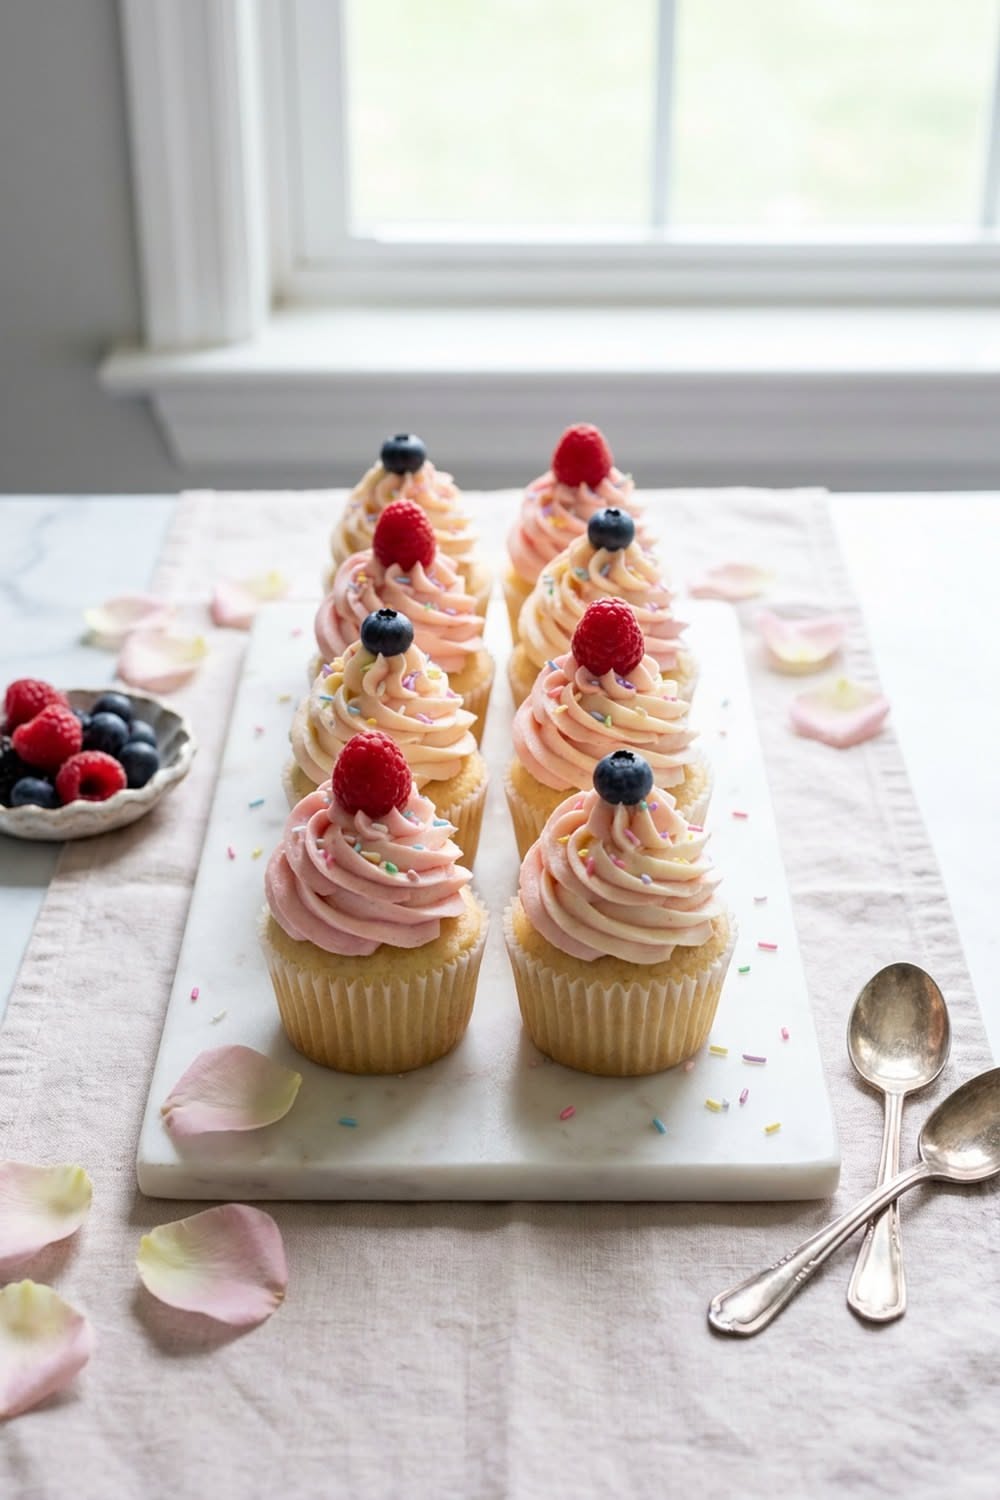
    The vanilla cupcake is baking’s white t-shirt: simple, endlessly useful, and unforgiving of shortcuts. When it is right, tender crumb, tall dome, buttercream like silk, it outclasses every over-decorated competitor on the table. The difference between dry-and-dense and bakery-soft comes down to temperature, timing and restraint.

    Room temperature is a real instruction

    Cold eggs and butter refuse to emulsify, and a broken batter bakes into a dense crumb, so let everything, butter, eggs, milk, stand out for an hour. Cream 115g of soft butter with 200g sugar for a full 3 to 4 minutes until genuinely pale and fluffy: this creaming builds the air the cupcake rises on. Beat in 2 eggs one at a time and 2 teaspoons of good vanilla.

    The batter and the bake

    1. Whisk 190g flour with 1½ teaspoons baking powder and a half teaspoon of salt.
    2. Add to the butter mixture in thirds, alternating with 120ml milk, mixing only until combined: overmixing is the dryness factory.
    3. Fill liners two-thirds: no more, or you bake mushrooms.
    4. Bake at 175°C for 18 to 20 minutes: out the moment a toothpick comes clean.
    5. Cool completely before frosting: warm cakes melt buttercream into soup.

    Buttercream that behaves

    Beat 225g of soft butter alone for 3 minutes until pale, then add 375g powdered sugar gradually, followed by 2 tablespoons of cream, 2 teaspoons of vanilla and a pinch of salt. Whip 3 more minutes until it looks like whipped cloud. The double-whipping is what separates silky from sugary-grainy. Too soft? Ten minutes in the fridge. Too stiff? Another spoonful of cream. It forgives everything except impatience.

    The swirl and the finish

    A piping bag with a large star tip, held vertical, swirled from the outside in with even pressure, produces the bakery spiral on the second try (the first is practice; eat the evidence). No piping bag: a generous swoop with the back of a spoon has its own rustic charm. Sprinkles, a berry, or nothing at all: a perfect swirl needs no jewelry.

    Keeping and gifting

    Unfrosted cupcakes freeze beautifully for a month: frosted ones keep two days at cool room temperature under a cake dome (the fridge dries them: avoid it if you can). The recipe doubles cleanly for parties, and a boxed half-dozen remains one of the most reliably joy-producing gifts a kitchen can issue.

    Save this classic to your baking board, and frost through more sweet recipes on Plumeo. Daily treats at @Plumeoblog.

  • Hawaiian Poke Bowl Recipe: Fresh and Easy

    Hawaiian Poke Bowl Recipe: Fresh and Easy

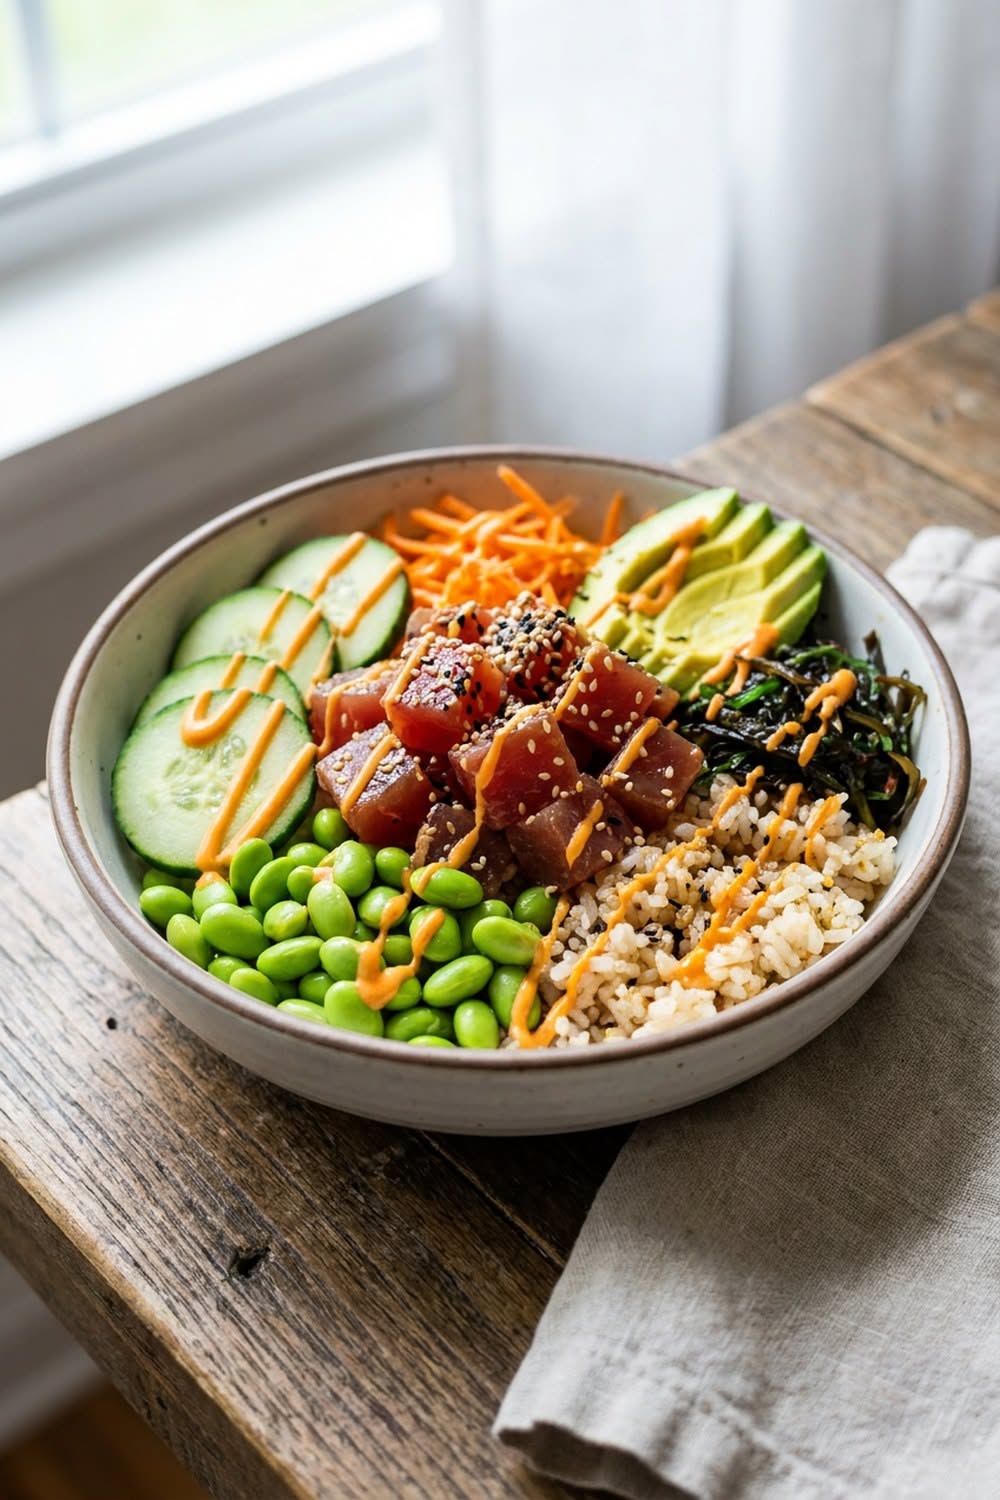
    A poke bowl is proof that healthy and craveable are not opposites: cool marinated fish, warm rice, creamy avocado, crunch everywhere. It started as a Hawaiian fisherman’s snack, cubed fresh catch with salt and seaweed, and grew into the build-your-own bowl we all order too often. Making it at home costs half as much and takes twenty minutes.

    The fish, and the honest shortcut

    Classic poke uses raw sashimi-grade ahi tuna or salmon. Buy from a fishmonger you trust, say it is for poke, keep it cold and eat it the day you buy it. Cube 300 g of fish and toss with 2 tablespoons soy sauce, 1 teaspoon sesame oil, 1 teaspoon rice vinegar, a little grated ginger and sliced scallions. Ten minutes of marinating is plenty.

    Not doing raw fish today? Use cooked shrimp, seared teriyaki salmon, canned tuna mixed with sriracha mayo, or crispy tofu for an excellent vegetarian bowl. The formula forgives everything.

    Build the bowl (serves 2)

    1. Base: 2 cups warm cooked sushi rice, seasoned with a splash of rice vinegar and a pinch of sugar and salt. Brown rice or greens also work.
    2. Protein: the marinated fish or your alternative.
    3. Fresh: avocado, cucumber ribbons, shredded carrot, edamame, mango if you like sweet-savoury.
    4. Crunch: crispy onions, toasted sesame, chopped macadamias, wonton crisps.
    5. Sauce: sriracha mayo (3 tablespoons mayo, 1 to 2 teaspoons sriracha, squeeze of lime) drizzled generously.

    Arrange it like the pretty bowls

    The restaurant look is just sectioning: place each topping in its own wedge around the fish rather than mixing, then drizzle the sauce in stripes and finish with sesame and scallions. It takes an extra ninety seconds and makes lunch feel like an occasion. Then, of course, stir the whole thing together to eat: that is the correct method and everyone knows it.

    Meal-prep notes

    Prep rice, chopped vegetables and sauce up to three days ahead and store separately. Marinate fish only on the day you eat it. For workday lunches, pack components in one container with the sauce in a small pot, and the bowl assembles in a minute. Fresh, fast and considerably cheaper than the takeaway version you were about to order.

    Pin this bowl for your healthy-dinner board, and find more fresh and easy recipes on Plumeo. Daily food inspiration at @Plumeoblog.

  • True Margherita Pizza in a Home Oven

    True Margherita Pizza in a Home Oven

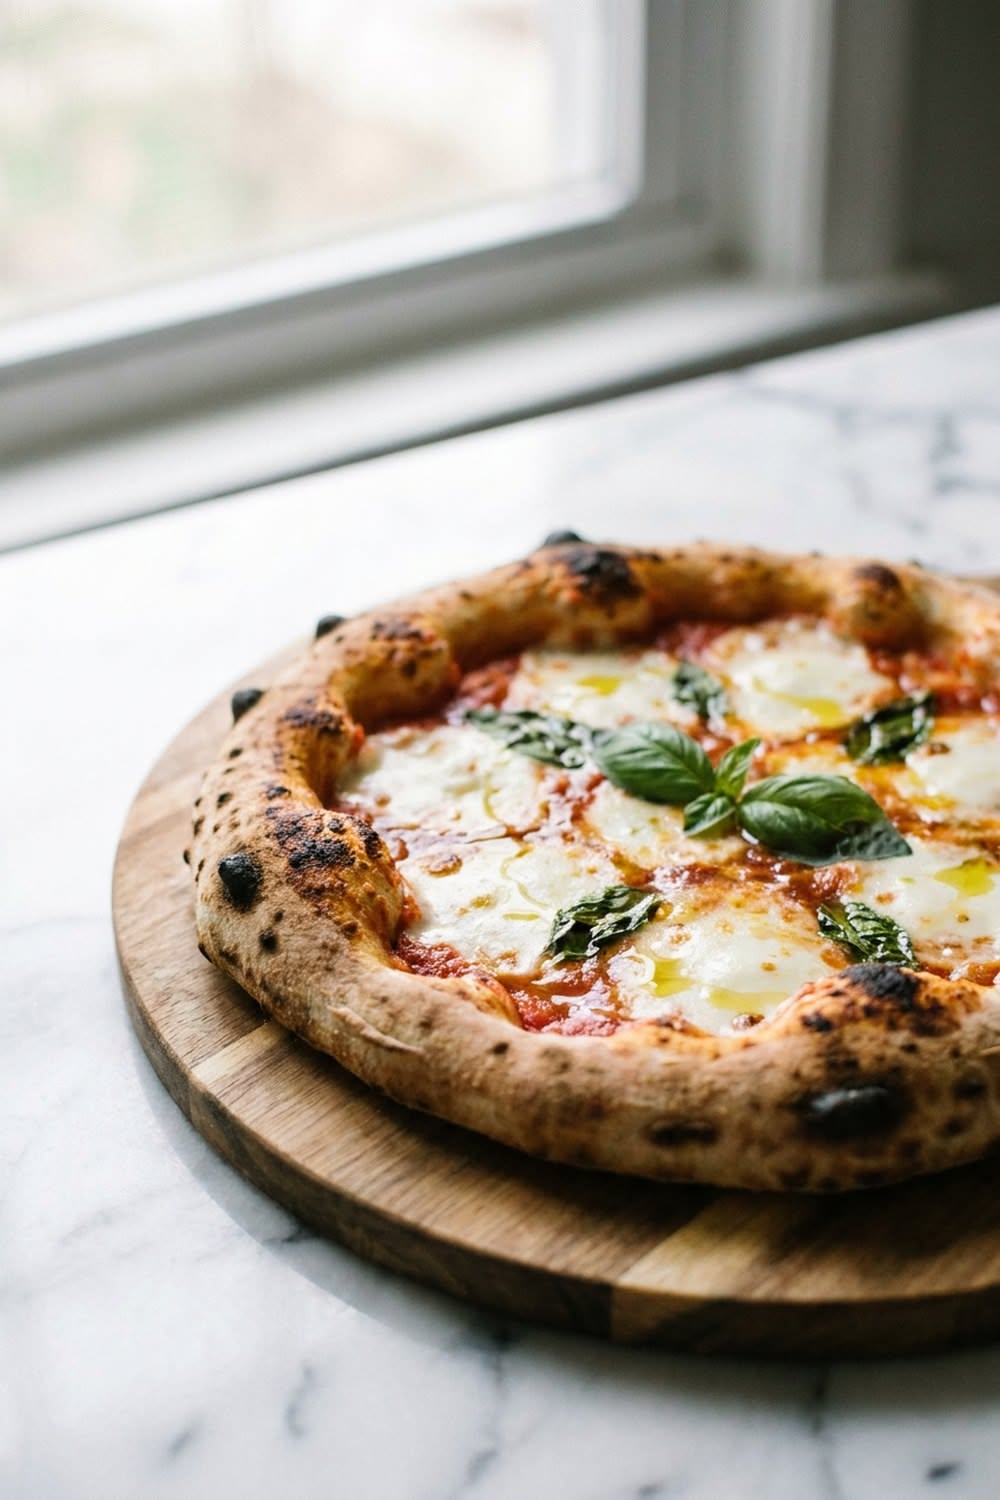
    The margherita is pizza stripped to its essentials: dough, tomato, mozzarella, basil, olive oil, the Italian flag in edible form. With no toppings to hide behind, everything depends on the crust and the quality of five ingredients. The good news: a home oven, pushed correctly, gets shockingly close to the pizzeria blister. Here is how.

    The dough wants time, not effort

    Mix 500g bread flour, 325ml water, 10g salt and just 2g of yeast: knead briefly until smooth, then let time do the flavor work: 24 to 48 hours in the fridge, covered. The long cold ferment builds the complex, faintly sour depth that fast doughs never reach. Divide into three balls, and bring them to room temperature two hours before baking. Stretch by hand, pressing from the center outward and leaving the rim untouched: that untouched inch becomes the puffed, leopard-spotted cornicione.

    Sauce: do almost nothing

    Crush canned San Marzano (or any good whole peeled) tomatoes by hand with a pinch of salt. That is the sauce: no cooking, no garlic, no sugar, no oregano lecture. It cooks on the pizza in minutes and tastes vividly of tomato, which is the entire point of a margherita.

    The home-oven heat trick

    1. Put a pizza steel or stone on a rack in the upper third of the oven: heat at maximum temperature for a full 45 minutes.
    2. Switch to broiler for the last 10 minutes: the steel is now savagely hot.
    3. Launch the dressed pizza from a floured peel (or upturned baking sheet) onto the steel.
    4. Bake under the broiler 4 to 6 minutes until the rim blisters and chars in spots.

    Steel plus broiler mimics a pizza oven’s floor-and-dome heat and is the single biggest upgrade in home pizza.

    Cheese and basil, timed right

    Use fresh mozzarella, torn into pieces and drained on paper towels first (wet cheese makes soup). Distribute sparsely: bare patches of sauce are correct. Basil goes on after baking, or slipped under the cheese to protect it, never raw leaves on top for the full bake, where they blacken. Finish out of the oven with a thread of good olive oil and, if you like, a pinch of flaky salt on the rim.

    Pizza night, properly run

    Bake one at a time and eat in shifts, pizza waits for no schedule. The dough recipe scales infinitely, the balls freeze well, and margherita night has a way of becoming a weekly institution: five ingredients, one screaming-hot steel, and the smug silence of people eating something better than delivery.

    Save this for pizza night, and slice into more Italian classics on Plumeo. Daily deliciousness at @Plumeoblog.

  • French Macarons: A Beginner’s Honest Guide

    French Macarons: A Beginner’s Honest Guide

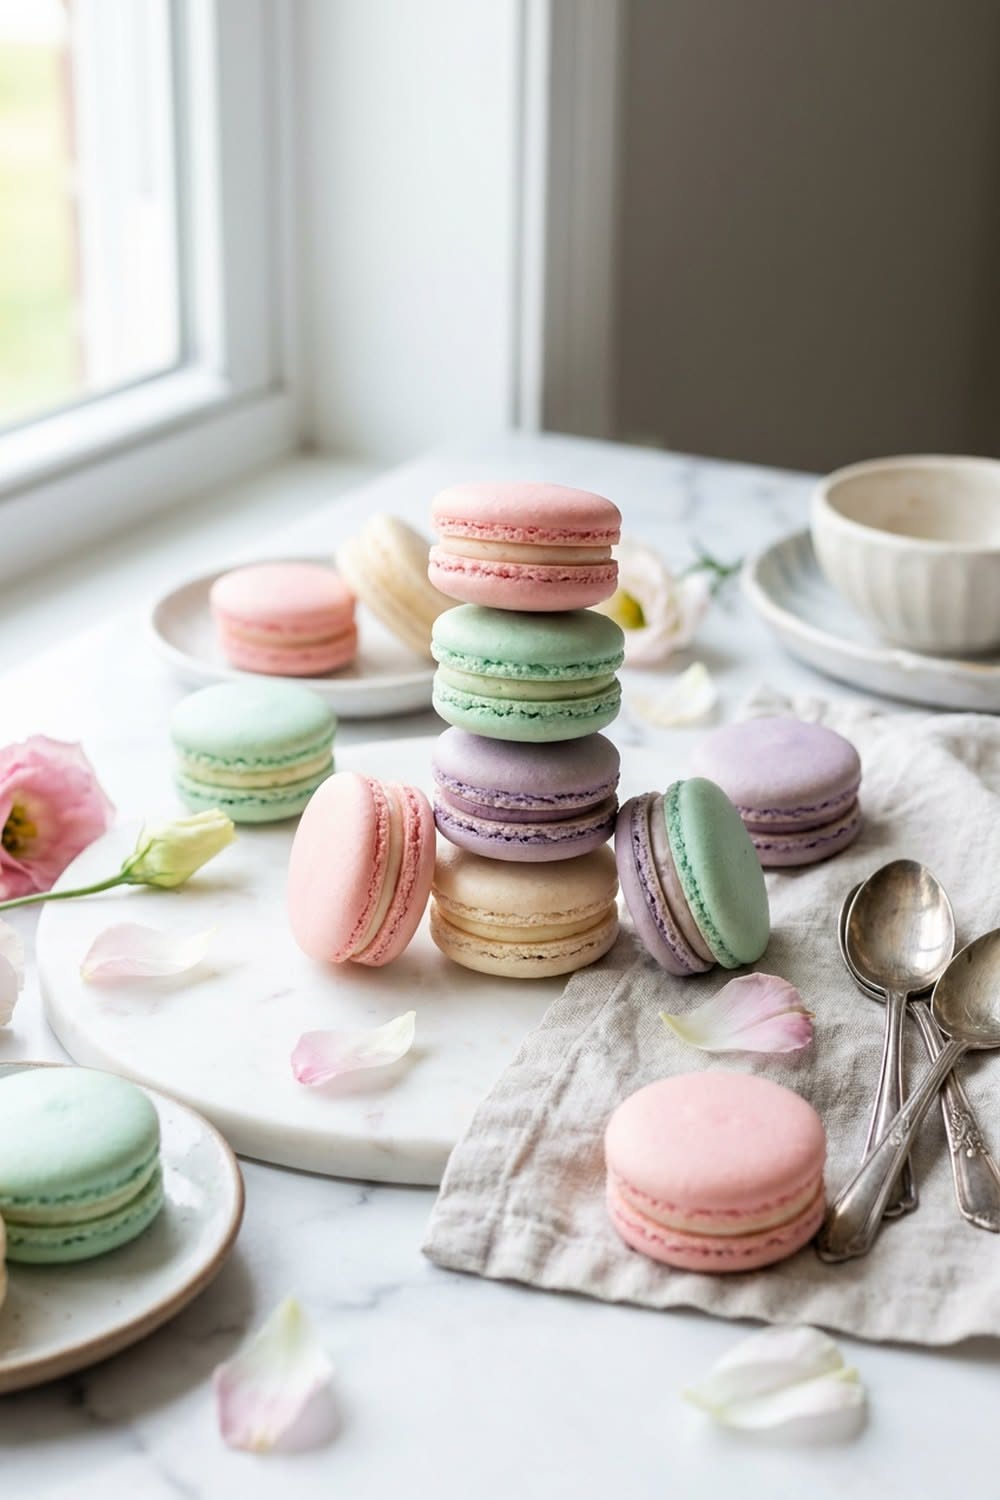
    Macarons are the fussiest cookie in the world, and everyone should make them at least twice: once to fail informatively, once to feel like a wizard. The gap between failure and success is not talent: it is four checkpoints, batter flow, the rest, the oven, the maturing, each of which this guide will name honestly.

    The ingredients, weighed to the gram

    100g egg whites (aged a day on the counter, or at minimum room temperature), 100g caster sugar, 110g almond flour, 100g powdered sugar. A kitchen scale is not optional: macarons are chemistry with pastel ambitions. Sift the almond flour and powdered sugar together twice: gritty flour means bumpy shells, and bumpy shells haunt.

    Meringue, then the macaronage test

    Whip the whites, adding caster sugar gradually, to stiff, glossy peaks (gel color goes in here if you want pastels). Now macaronage: fold in the dry mixture deliberately, pressing batter against the bowl, until it flows off the spatula in a slow, unbroken ribbon that melts back into itself within about twenty seconds, the famous lava or figure-eight test. Underfolded batter pipes pointy hats: overfolded runs into sad puddles. When in doubt, stop one fold early: you can test-pipe a single round.

    Pipe, rest, bake

    1. Pipe 3 cm rounds onto parchment or silicone, then rap the tray hard on the counter several times to evict air bubbles.
    2. Rest 30 to 60 minutes until the tops form a dry skin your finger can touch without sticking: the skin forces the rise downward, creating feet.
    3. Bake at 150°C for 13 to 15 minutes: shells are done when they wiggle only slightly on their feet.
    4. Cool fully before lifting: warm shells stick and break hearts.

    Every oven lies: an oven thermometer and a sacrificial first tray are the professionals’ actual secret.

    Fill and, crucially, wait

    Pair shells by size, pipe a ring of filling, buttercream, ganache, or jam-centered buttercream, and sandwich gently. Then the step impatience always skips: mature the filled macarons 24 hours in the fridge. The filling softens the shell interiors into that chewy-crisp signature: same-day macarons are genuinely a different, lesser cookie. Serve at room temperature to people who should feel honored.

    Reading your failures

    No feet: batter overfolded or rest skipped. Cracked tops: air bubbles unrapped or oven too hot. Hollow shells: meringue overwhipped or oven too cool. Lopsided: uneven piping or a warped tray. Every failed batch still tastes like almond and sugar, and every macaron baker alive has produced a tray of frisbees: the second attempt is where the wizardry begins.

    Save this guide for a rainy-day bake, and perfect more pastry recipes on Plumeo. Daily sweetness at @Plumeoblog.

  • Impossibly Fluffy Pancakes, Decoded

    Impossibly Fluffy Pancakes, Decoded

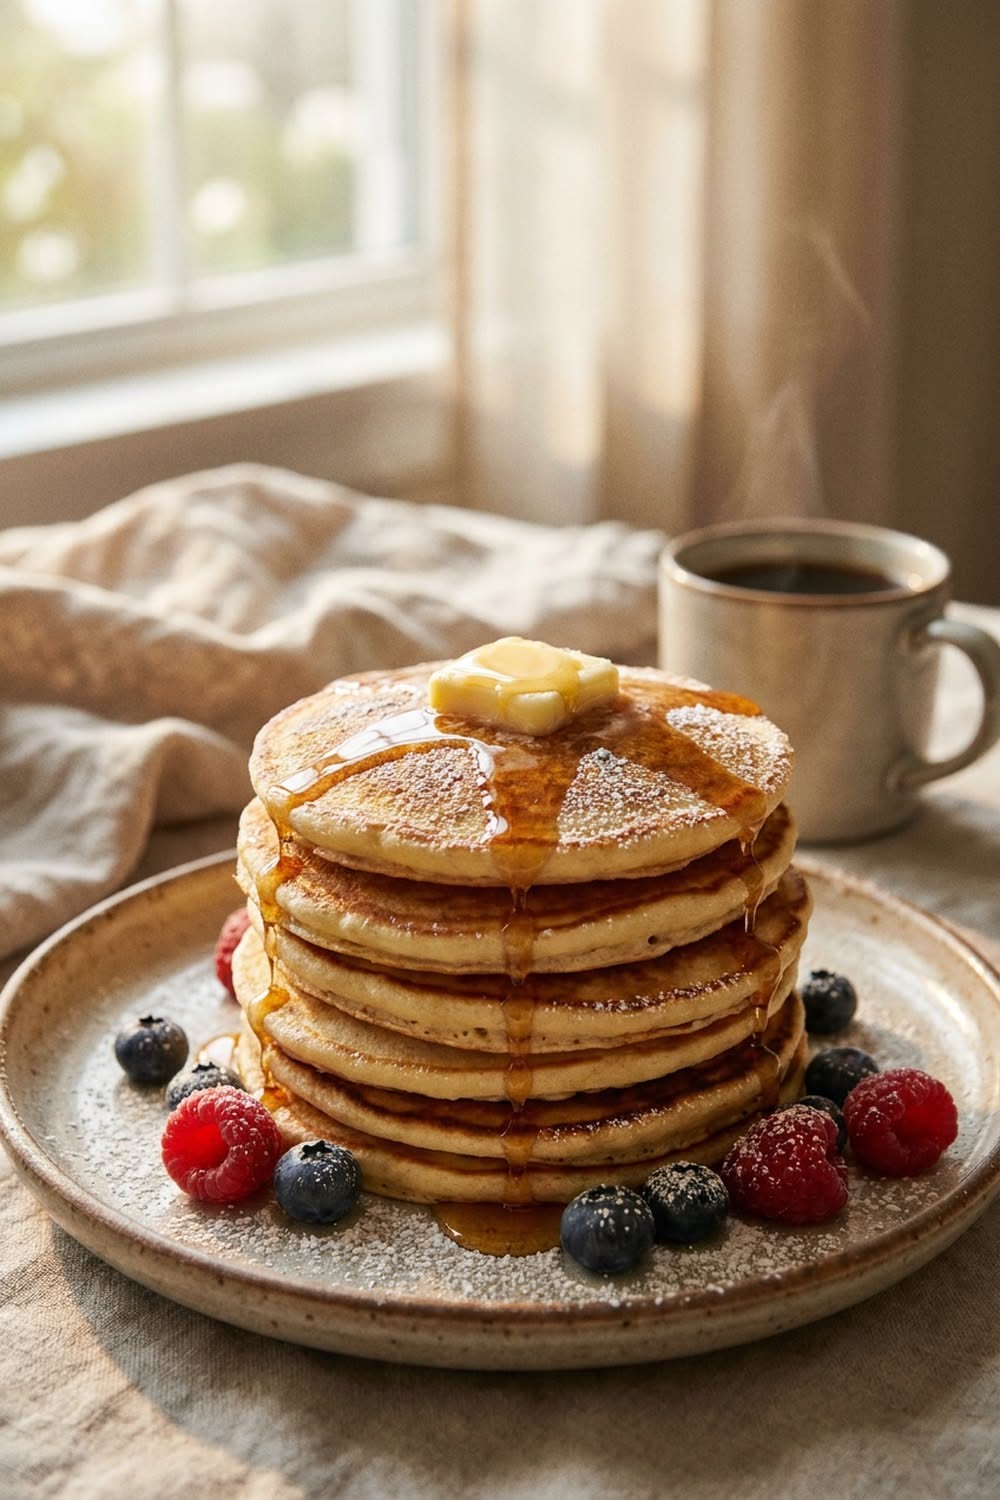
    The tall, tender, diner-style pancake is not a secret recipe: it is four small habits, applied in order. Fresh leavening, lumpy batter, a patient first side and an unhurried griddle. Get those right and the same pantry ingredients everyone owns rise into stacks with actual altitude. Here is the whole system.

    The batter: buttermilk and restraint

    Whisk together 250g flour, 2 tablespoons sugar, 2 teaspoons baking powder, half a teaspoon of baking soda and half a teaspoon of salt. Separately: 350ml buttermilk, 2 eggs, 45g melted butter. Combine wet into dry with a few lazy strokes and stop while lumps remain: this is the commandment. Overmixing develops gluten, and gluten makes crepes with regrets. No buttermilk? Milk plus a tablespoon of lemon juice, rested five minutes, does the job: the acidity is what wakes the baking soda for the extra lift.

    Rest, then griddle

    Rest the batter five to ten minutes while the pan heats: the flour hydrates and the bubbles organize. Heat a griddle or heavy pan over medium, not high, and grease lightly with butter, wiping the excess so the surface is filmed, not pooled. Test with a drop of batter: a gentle sizzle means go; an angry one means the first pancake is about to be the traditional sacrifice.

    The flip, timed by bubbles

    1. Pour about 80ml per pancake: give them room.
    2. Wait for bubbles to form and pop across the surface and the edges to look set: 2 to 3 minutes.
    3. Flip once, decisively: no double flips, no pressing down with the spatula: pressing evicts the air you worked for.
    4. Second side needs only 1 to 2 minutes.

    Hold finished pancakes in a single layer on a rack in a 90°C oven: stacked on a plate they steam themselves flat.

    Toppings and add-ins

    Classic is classic for a reason: good butter melting into the top pancake, real maple syrup warmed for ten seconds. Blueberries go into the pancake on the griddle, not the batter bowl (a purple batter helps no one): chocolate chips likewise. Whipped cream and berries for the weekend crowd, a pinch of cinnamon in the dry mix for the cozy months, and lemon zest plus ricotta if the morning feels ambitious.

    The slow-morning stack

    Pancakes are less a food than a pace: they demand you stand at a warm stove flipping quietly while coffee brews and the household drifts in. Double the batch, freeze extras between parchment, and toast them on weekdays, but know the real recipe is the unhurried Sunday it comes with.

    Save this stack for the weekend, and flip through more breakfast recipes on Plumeo. Daily comfort at @Plumeoblog.