Soft-luxury living

Category: Food & Recipes

Recipes, bakes and food inspiration.

  • Molten Chocolate Lava Cake in 20 Minutes

    Molten Chocolate Lava Cake in 20 Minutes

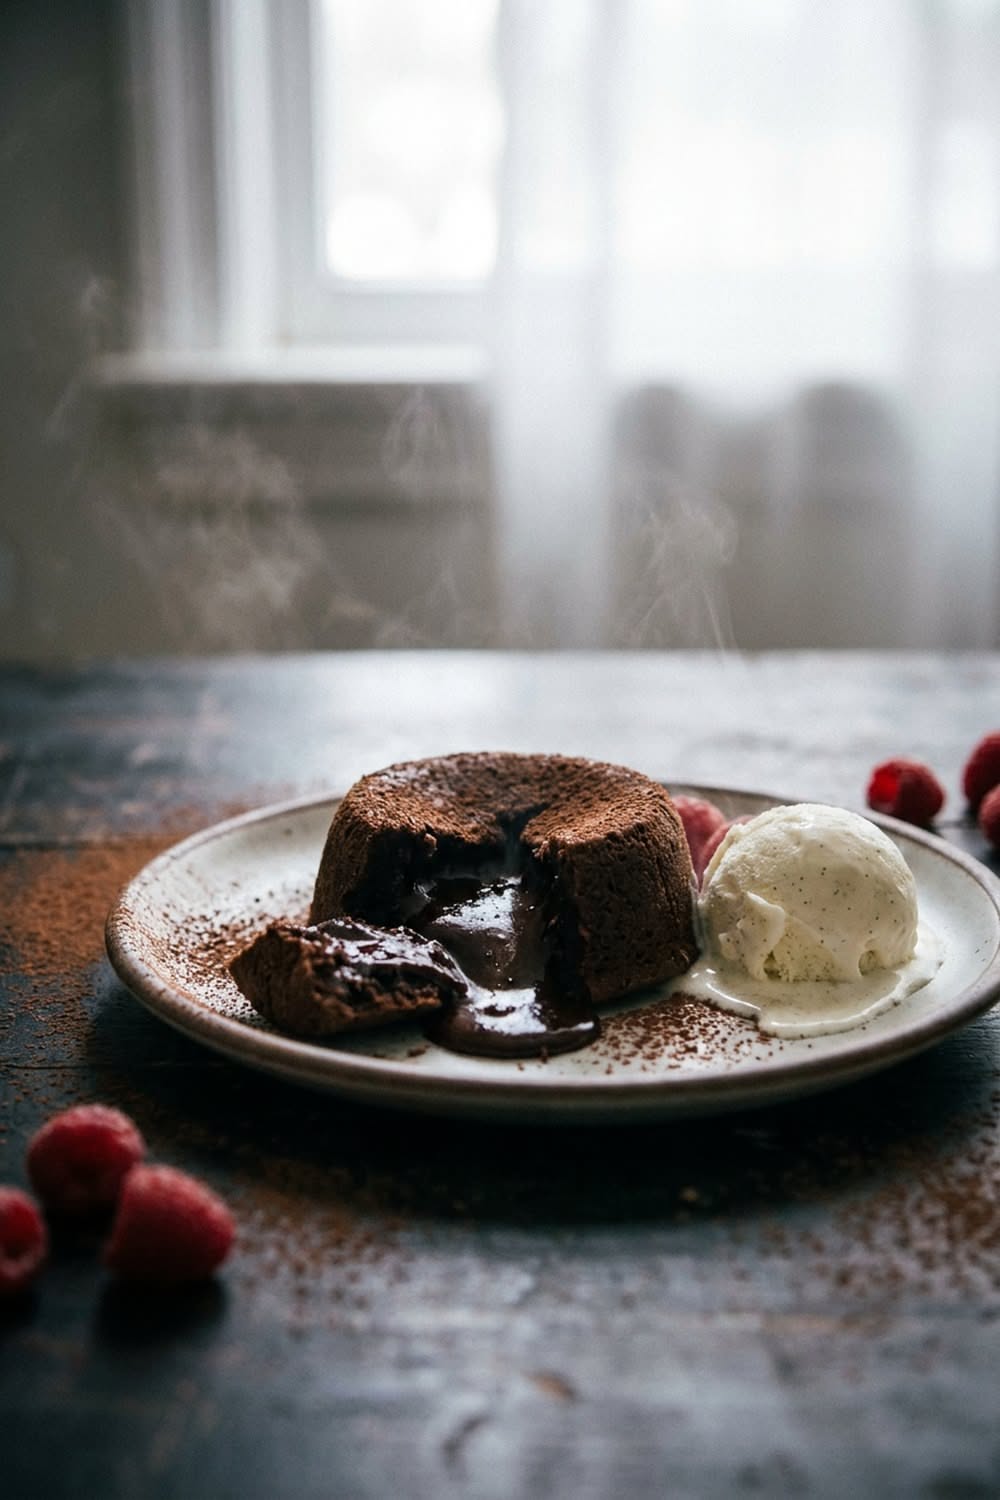
    The chocolate lava cake is dessert’s great magic trick: a delicate cake that turns out to be hiding a molten heart, achieved not by pastry wizardry but by deliberate, precise underbaking. It takes twenty minutes, uses one bowl, and can be staged in the fridge hours ahead, which makes it the highest-impact-per-effort dinner party dessert in existence.

    One bowl, six ingredients

    For four cakes: 150g dark chocolate (60 to 70 percent, and quality matters since it is the whole flavor), 120g butter, 2 whole eggs plus 2 yolks, 80g sugar, 40g flour, pinch of salt. Melt the chocolate and butter together gently. Whisk eggs, yolks and sugar until slightly thickened and pale, stream in the chocolate, then fold in the flour and salt just until smooth. Done: that is the entire batter.

    Prepare the ramekins like you mean it

    Butter four ramekins thoroughly, then dust with cocoa powder, tapping out the excess. This is not fussiness: the coating is the release system for the flip, and a stuck lava cake is a pudding with a broken heart. Fill each about three-quarters full. At this point they can wait, covered, in the fridge all day: add one extra minute to the bake if they go in cold.

    The bake: precision underbaking

    1. Oven fully preheated to 220°C: a real 220, not an optimistic one.
    2. Bake 10 to 12 minutes: the edges should be set and puffed, the center still soft with a slight sheen and jiggle.
    3. Rest exactly 1 minute: run a thin knife around the edge.
    4. Invert onto a plate, count three seconds, lift the ramekin with ceremony.

    Every oven differs, so sacrifice one cake to calibration on a quiet night: once you know your minute, the recipe never misses again.

    Serving the moment

    Dust with powdered sugar, add a scoop of vanilla ice cream or a few raspberries for the hot-cold contrast, and serve immediately: the lava waits about five minutes before it starts setting into (still delicious) truffle. The tableside spoon-break is the whole show: let your guests do it themselves.

    Riffs for repeat offenders

    Press a square of caramel-filled chocolate or a spoonful of peanut butter into each center before baking for a flavored core: add orange zest or a pinch of espresso powder to the batter for depth: or a whisper of cinnamon and cayenne for the Mexican-chocolate version. The formula tolerates everything except overbaking, which turns magic into muffin.

    Save this showstopper, and melt into more dessert recipes on Plumeo. Daily sweetness at @Plumeoblog.
  • Creamy Mushroom Risotto Worth the Stirring

    Creamy Mushroom Risotto Worth the Stirring

    Risotto has a reputation for being demanding, and the truth is gentler: it asks for 25 minutes of your presence, a ladle in one hand and maybe a glass of the cooking wine in the other. Mushroom risotto is the deepest version of the dish, woodsy, savory, gilded with butter and Parmesan, and it turns a handful of pantry staples into the coziest bowl in Italian cooking.

    The mushroom double play

    Use two forms. First, soak a small handful of dried porcini in 250ml hot water for 20 minutes: the mushrooms get chopped in, and the soaking liquid (strained) joins the stock, an instant depth upgrade. Second, sear 400g of fresh mushrooms, cremini, oyster, whatever looks good, in a hot, dry-ish pan with olive oil until deeply golden. Sear in batches without crowding, salt only at the end, and set the best pieces aside for the top of the bowl.

    The risotto method

    1. Keep a litre of stock (plus the porcini liquid) at a bare simmer beside you: cold stock stalls the rice.
    2. Soften a finely diced shallot in butter, then toast 300g arborio or carnaroli rice for 2 minutes until the edges turn translucent.
    3. Pour in 120ml dry white wine and stir until absorbed.
    4. Add stock a ladle at a time, stirring often, letting each addition mostly absorb before the next: about 18 to 20 minutes.
    5. Fold in the chopped porcini and most of the seared mushrooms for the last 5 minutes.
    6. Stop when the rice is al dente and the whole thing flows lazily: looser than you think it should be.

    The mantecatura: the finish that makes it

    Off the heat, beat in a generous knob of cold butter and 50g of grated Parmesan until the risotto turns glossy and creamy: this is the mantecatura, and it is where the luxury comes from (no cream required, ever). Rest one minute, then serve onto warm plates, giving each portion a gentle shake to spread: risotto should relax across the plate, not stand in a mound.

    Topping and table

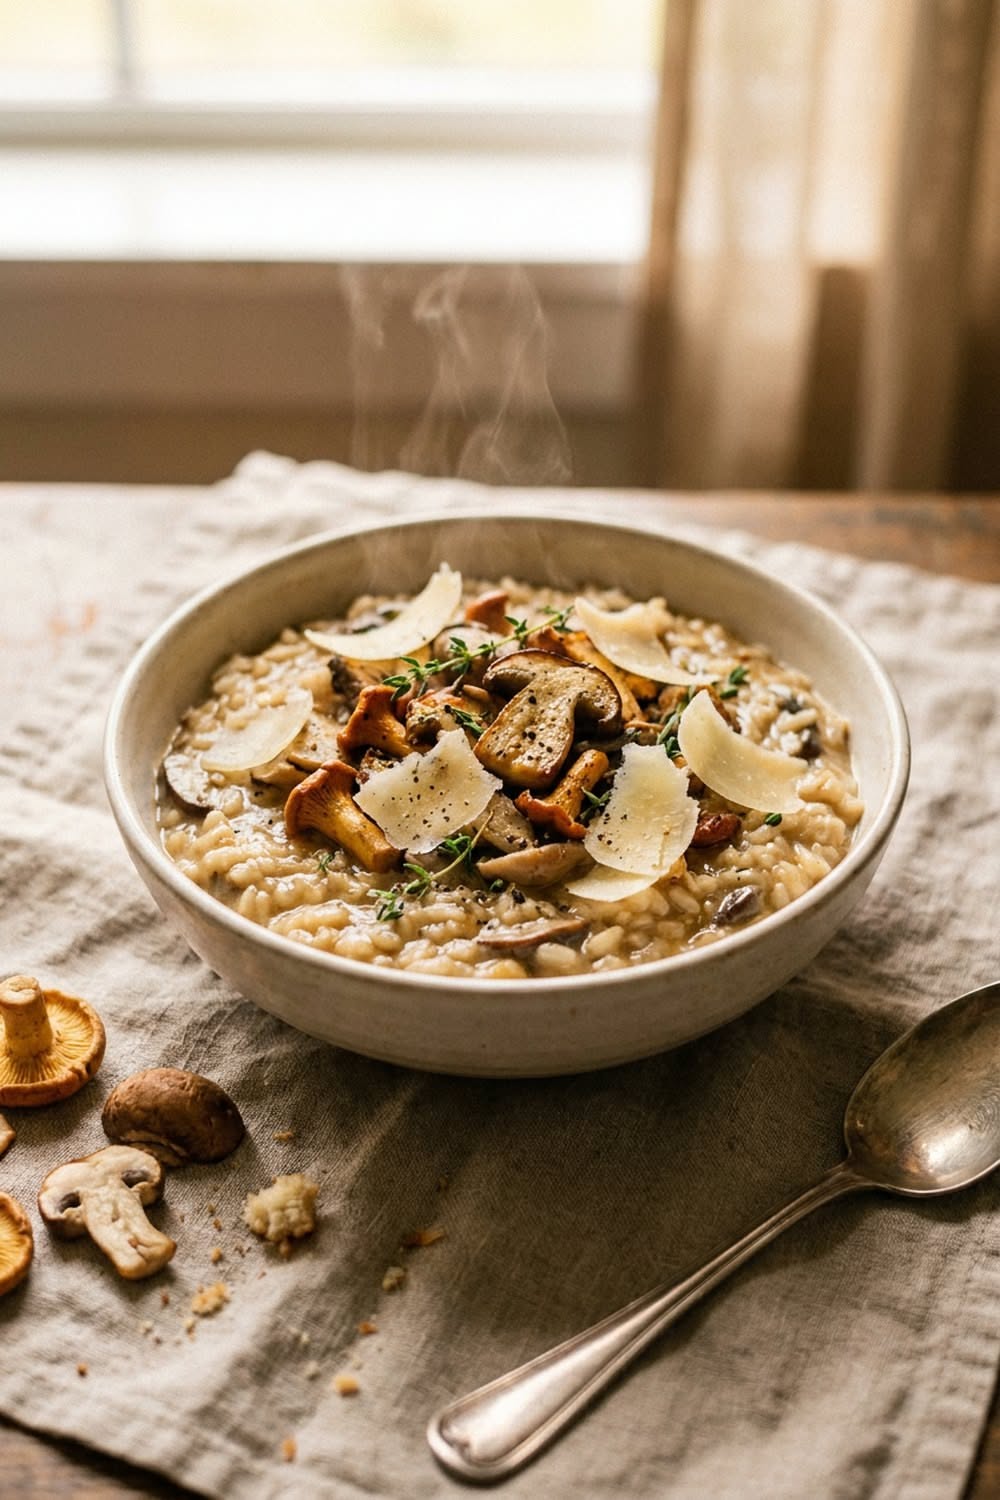
    Crown with the reserved seared mushrooms, a few thyme leaves, more Parmesan and a crack of black pepper: a drizzle of truffle oil if the evening calls for it. Eat immediately, risotto’s best minute is its first, with the rest of the white wine and someone worth 25 minutes of stirring.

    Save this cozy classic, and stir through more comfort recipes on Plumeo. Daily deliciousness at @Plumeoblog.

  • Green Smoothie Bowls That Taste as Good as They Look

    Green Smoothie Bowls That Taste as Good as They Look

    The green smoothie bowl has an image problem and a secret: it looks like a wellness lecture and tastes, when made correctly, like tropical soft-serve. The trick is understanding that spinach is a color, banana and mango are the flavor, and thickness is a technique. Get those three in order and the prettiest breakfast in the fridge is also one of the easiest.

    The base formula

    Two frozen bananas, a big handful of fresh spinach (two if you are feeling invincible), 150g of frozen mango, and just 100ml of milk or coconut milk. Blend low and slow, scraping down and pressing the mixture into the blades: it should fight back. The result is thick enough to hold a spoon upright, tastes overwhelmingly of mango-banana cream, and happens to be vividly, photogenically green. Spinach is the ideal green because it is flavor-invisible: kale asserts itself, and mornings deserve peace.

    Thickness is a technique, not luck

    • Everything frozen except the greens: fresh fruit thins, frozen fruit builds.
    • Minimal liquid, added last, a splash at a time only if the blender truly stalls.
    • A frozen bowl: five minutes in the freezer keeps the base thick to the final bite.
    • Optional builders: Greek yogurt or a scoop of vanilla protein for staying power and extra body.

    Toppings: contrast is everything

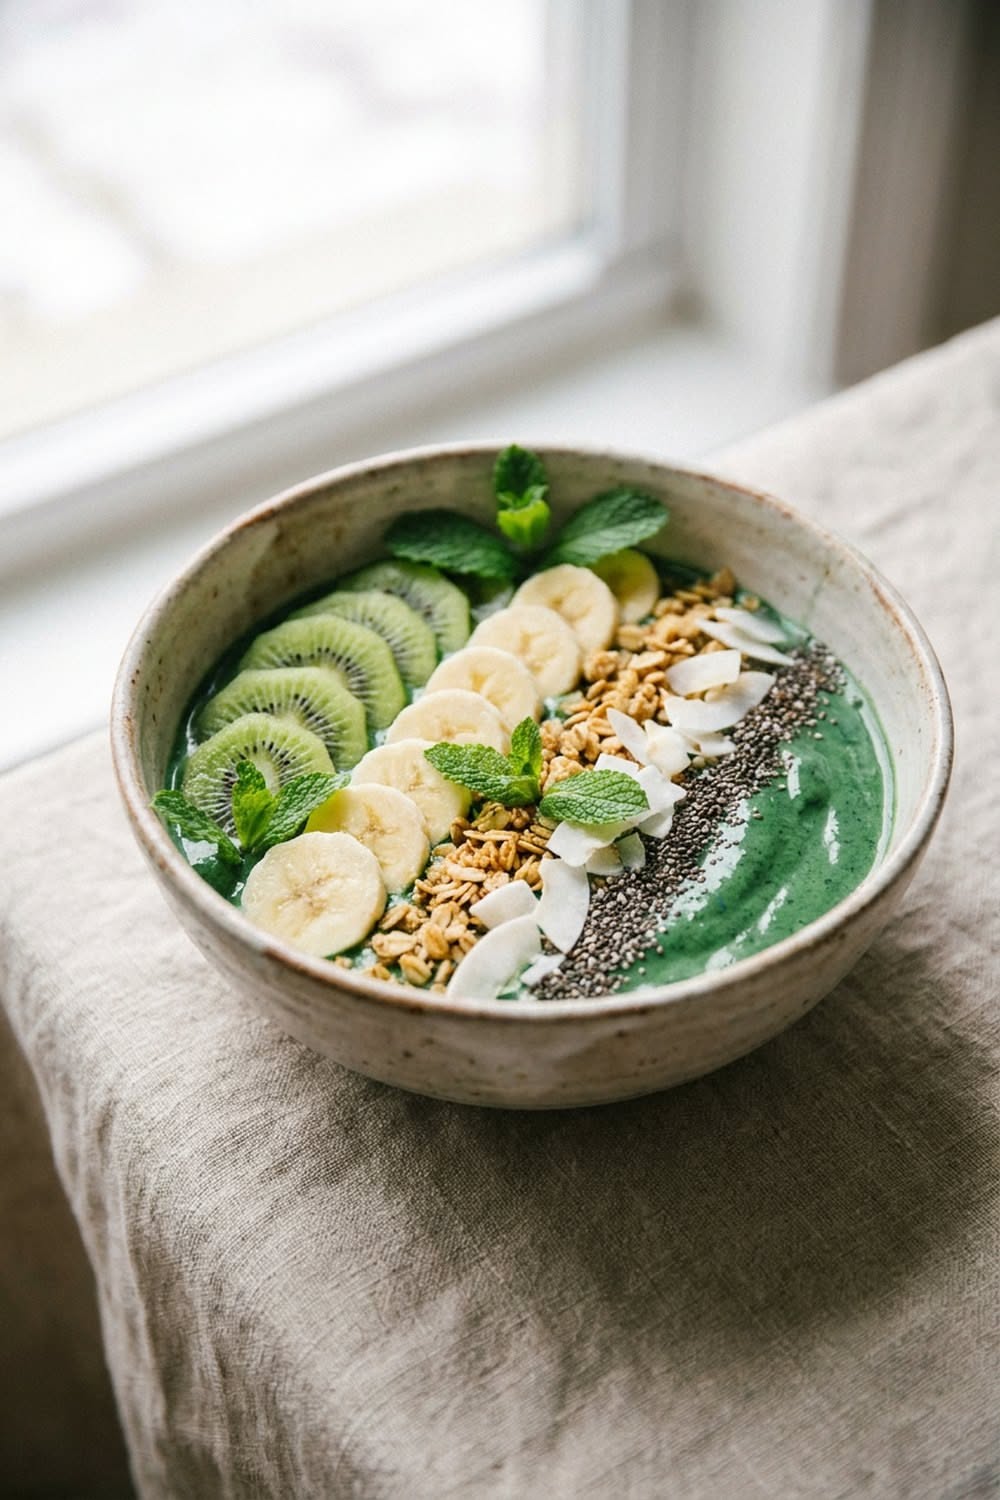
    The creamy base wants crunch and color on top: granola in a generous stripe, kiwi and banana coins, coconut flakes, chia or hemp seeds, a few berries for contrast against the green, and a drizzle of honey or almond butter. Arrange in rows or wedges: the two extra minutes of composition are, honestly, half the reason smoothie bowls exist, and breakfast that looks like this gets eaten slower and enjoyed more.

    Variations on the green theme

    Swap mango for pineapple for a sharper tropical angle, add half an avocado for extreme silkiness, a knob of ginger for the wake-up call, or a spoonful of spirulina if you want the deep-teal wellness-influencer green. The formula forgives everything except too much liquid, and by the third bowl you will be freestyling without measurements like a juice bar veteran.

    The five-minute setup

    Keep bananas peeled and frozen in halves, mango bagged, spinach washed, toppings in jars: the entire breakfast then takes five minutes including staging. It travels to work in a jar (bring the granola separately), doubles as a post-workout refuel, and quietly delivers a serving of greens before 9 am without tasting like a single one of them.

    Save this vibrant bowl, and blend more fresh recipes on Plumeo. Daily inspiration at @Plumeoblog.

  • Red Velvet Cake with Proper Cream Cheese Frosting

    Red Velvet Cake with Proper Cream Cheese Frosting

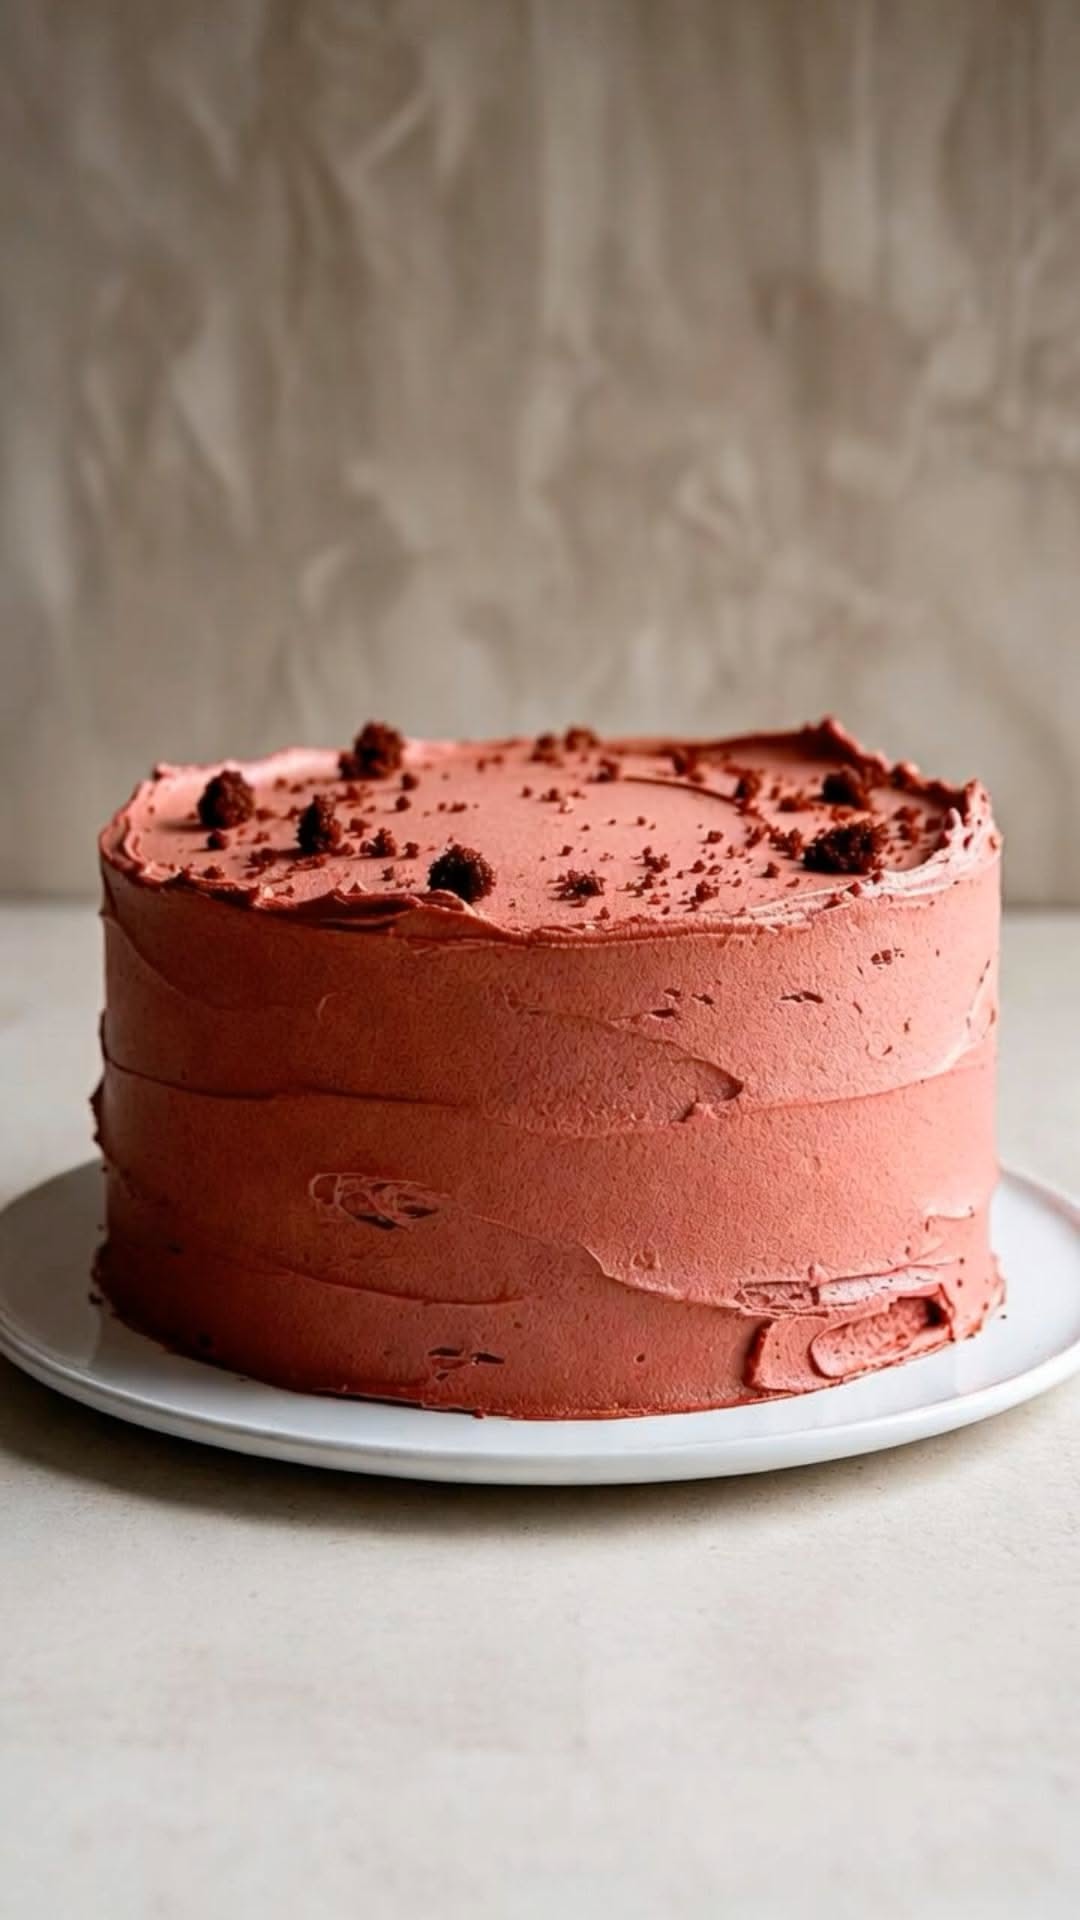
    Red velvet is not chocolate cake in costume: it is its own thing, a fine, plush, faintly cocoa crumb with buttermilk tang, wrapped in cream cheese frosting, wearing that unmistakable crimson. The velvet in the name is a texture promise, delivered by a specific chemistry of buttermilk, vinegar and a light hand. Here is the classic, done properly.

    The chemistry that makes it velvet

    Whisk 320g flour with 2 tablespoons (only) of cocoa and a teaspoon of salt. Cream 115g butter with 300g sugar, then beat in 240ml of vegetable oil (the butter-plus-oil combination gives flavor and days of moistness), 3 eggs and 2 teaspoons of vanilla. Add the dry mix alternating with 240ml buttermilk. Finally the signature pair: a teaspoon of baking soda dissolved into a tablespoon of white vinegar, folded in fizzing at the very end. That acid-base flourish is what tenderizes the crumb to its namesake texture.

    The red, honestly discussed

    The original red came from cocoa reacting with acid: today’s scarlet is gel food coloring, about a tablespoon, added with the buttermilk. Gel, not liquid: liquid coloring waters the batter and still underdelivers. Beet powder works for the natural-color camp, landing at a dignified burgundy. Whichever route, the color show is half the cake’s job: commit.

    Bake and stack

    1. Divide between two (tall) or three (elegant) lined 20 cm tins.
    2. Bake at 175°C for 25 to 30 minutes, until a toothpick comes out with a few moist crumbs.
    3. Cool ten minutes in the tin, then fully on racks: chill before frosting for clean assembly.

    Cream cheese frosting with structure

    The eternal problem, cream cheese frosting that slides, has a simple fix: cold cream cheese, soft butter. Beat 115g of genuinely soft butter until pale, add 450g of cold, brick-style cream cheese just until smooth, then 500g of powdered sugar and a teaspoon of vanilla. Mix only until combined: overbeating is what liquefies it. The result spreads in luxurious swoops and stays where it is put. Frost between layers, over the top, and around the sides, then press the traditional crumbs from a trimmed edge onto the frosting if you like the classic deli look.

    Serving the occasion

    Red velvet cuts most cleanly cold but tastes best at cool room temperature: pull it 30 minutes ahead. The crimson-and-white cross-section does its own marketing at birthdays, holidays and any table with a camera present. Keeps four days refrigerated under a dome, though the corner pieces rarely see day two.

    Save this classic showstopper, and frost through more baking recipes on Plumeo. Daily sweetness at @Plumeoblog.
  • Sushi Night at Home: How to Build a Beautiful Platter

    Sushi Night at Home: How to Build a Beautiful Platter

    Sushi night at home sounds ambitious until you learn the secret: the rice is 80 percent of the game, rolls are far easier than nigiri, and arrangement does the rest. You do not need to be a chef. You need one good batch of seasoned rice, a few fillings and a big platter.

    The rice that makes it sushi

    Rinse 2 cups of short-grain sushi rice until the water runs nearly clear, then cook with 2 cups of water. While it is hot, fold in a mixture of 4 tablespoons rice vinegar, 2 tablespoons sugar and 1 teaspoon salt, cutting and turning gently rather than stirring. Fan it as you fold if you can. Properly seasoned, glossy, body-temperature rice is what separates homemade sushi from sad homemade sushi.

    Choose fillings that are easy to love

    • No raw fish required: cucumber, avocado, cooked shrimp, smoked salmon, crab sticks, tamago (sweet omelette), cream cheese, spicy canned tuna mixed with sriracha mayo.
    • If you want raw fish: buy sashimi-grade salmon or tuna from a fishmonger you trust, tell them it is for sushi, and use it the same day.
    • Toppings: sesame seeds, tobiko, sliced scallions, a drizzle of spicy mayo or unagi sauce.

    Rolling, minus the stress

    1. Lay nori shiny-side down on a mat wrapped in cling film.
    2. Spread a thin, even layer of rice with wet fingertips, leaving a bare strip at the top edge.
    3. Line up fillings in a modest row near the bottom. Overfilling is the classic beginner error.
    4. Roll firmly using the mat, seal on the bare strip, and rest seam-side down.
    5. Slice with a very sharp, damp knife, wiping between cuts. Eight pieces per roll.

    Inside-out rolls, hand rolls (cones of nori you fill at the table) and rice bowls with the same toppings are all legitimate, easier siblings. A temaki hand-roll bar is honestly the most fun format for guests.

    Arranging the platter

    Use your largest board or platter. Arrange rolls in diagonal lines rather than rings, group by type, and leave deliberate gaps for small bowls of soy sauce, pickled ginger and wasabi. Garnish with a scatter of sesame and something green, cucumber fans or a few shiso or salad leaves. Chopsticks laid across the corner finish the picture. Abundant but orderly is the look.

    Round out the meal

    Miso soup from paste takes three minutes, edamame with flaky salt takes five, and a crisp cold drink completes it. Sushi night rewards a low-stress menu: two or three roll types, one starter, done. The leftovers problem does not exist.

    Pin this for your next sushi night, and find more easy recipes and food ideas on Plumeo. Daily delicious things at @Plumeoblog.

  • Old-Fashioned Strawberry Shortcake

    Old-Fashioned Strawberry Shortcake

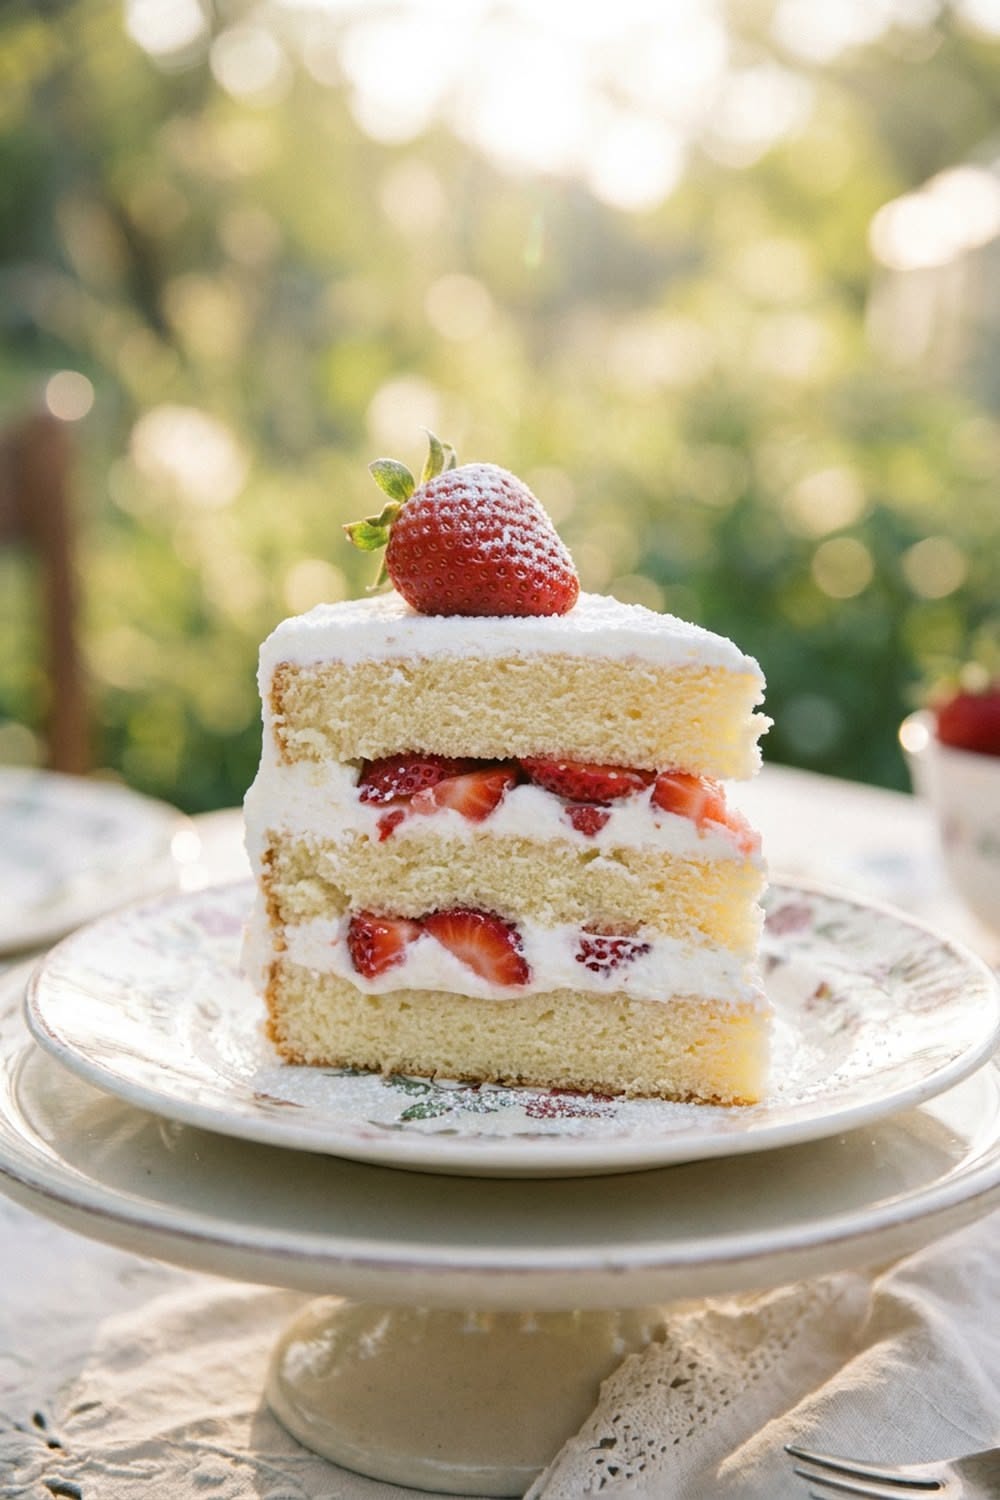
    Strawberry shortcake is proof that three good things need no fourth: a tender, barely sweet biscuit, strawberries that have been convinced to make their own syrup, and cream whipped to soft peaks. It is the dessert of June evenings and checkered tablecloths, and the homemade version, warm shortcake, cold cream, is a different species from anything sold in a plastic dome.

    Macerate the berries first

    Start here, because time does the work. Hull and quarter 500g of ripe strawberries, toss with 3 tablespoons of sugar and a small squeeze of lemon, and let them sit at room temperature for at least 30 minutes. The sugar pulls out the juice and builds a glossy ruby syrup that soaks into the split shortcakes later. Taste one: if the berries are peak-season sweet, hold back a spoonful of the sugar.

    The shortcakes: biscuits with ambition

    1. Whisk 250g flour with 3 tablespoons sugar, a tablespoon of baking powder and a half teaspoon of salt.
    2. Cut in 85g of cold cubed butter until the mixture looks like coarse crumbs with some pea-sized flecks: those flecks become flaky layers.
    3. Stir in 180ml cold heavy cream just until a shaggy dough forms: do not knead it smooth.
    4. Pat 2.5 cm thick, cut rounds, brush tops with cream and sprinkle with sugar.
    5. Bake at 210°C for 13 to 15 minutes until golden and risen.

    Cold butter and a light hand are the whole game: overworked dough makes hockey pucks, and shortcake deserves better.

    Whip the cream softly

    Whip 250ml cold heavy cream with a tablespoon of sugar and a splash of vanilla to soft, drooping peaks, not stiff ones. Soft cream flows into the berry syrup and biscuit crevices; stiff cream sits on top like insulation. A spoonful of sour cream or crème fraîche whipped in adds a professional tang.

    The assembly, done right

    Split the shortcakes while still faintly warm. Bottom half on the plate, a generous spoon of berries and their syrup, a cloud of cream, the top half set at a jaunty angle, then one more spoon of berries over everything so the syrup runs down. Serve immediately: shortcake waits for no one, which is part of its charm.

    Variations worth knowing

    Peaches and blackberries take to the same treatment in late summer. A little lemon zest in the biscuit dough brightens everything, and day-old shortcakes revive perfectly in a low oven for ten minutes. But the classic, berries, cream, biscuit, warm, is the version people remember, and there is no improving on a memory.

    Save this classic to your dessert board, and bake through more cozy recipes on Plumeo. Daily sweetness at @Plumeoblog.