Soft-luxury living

Category: Food & Recipes

Recipes, bakes and food inspiration.

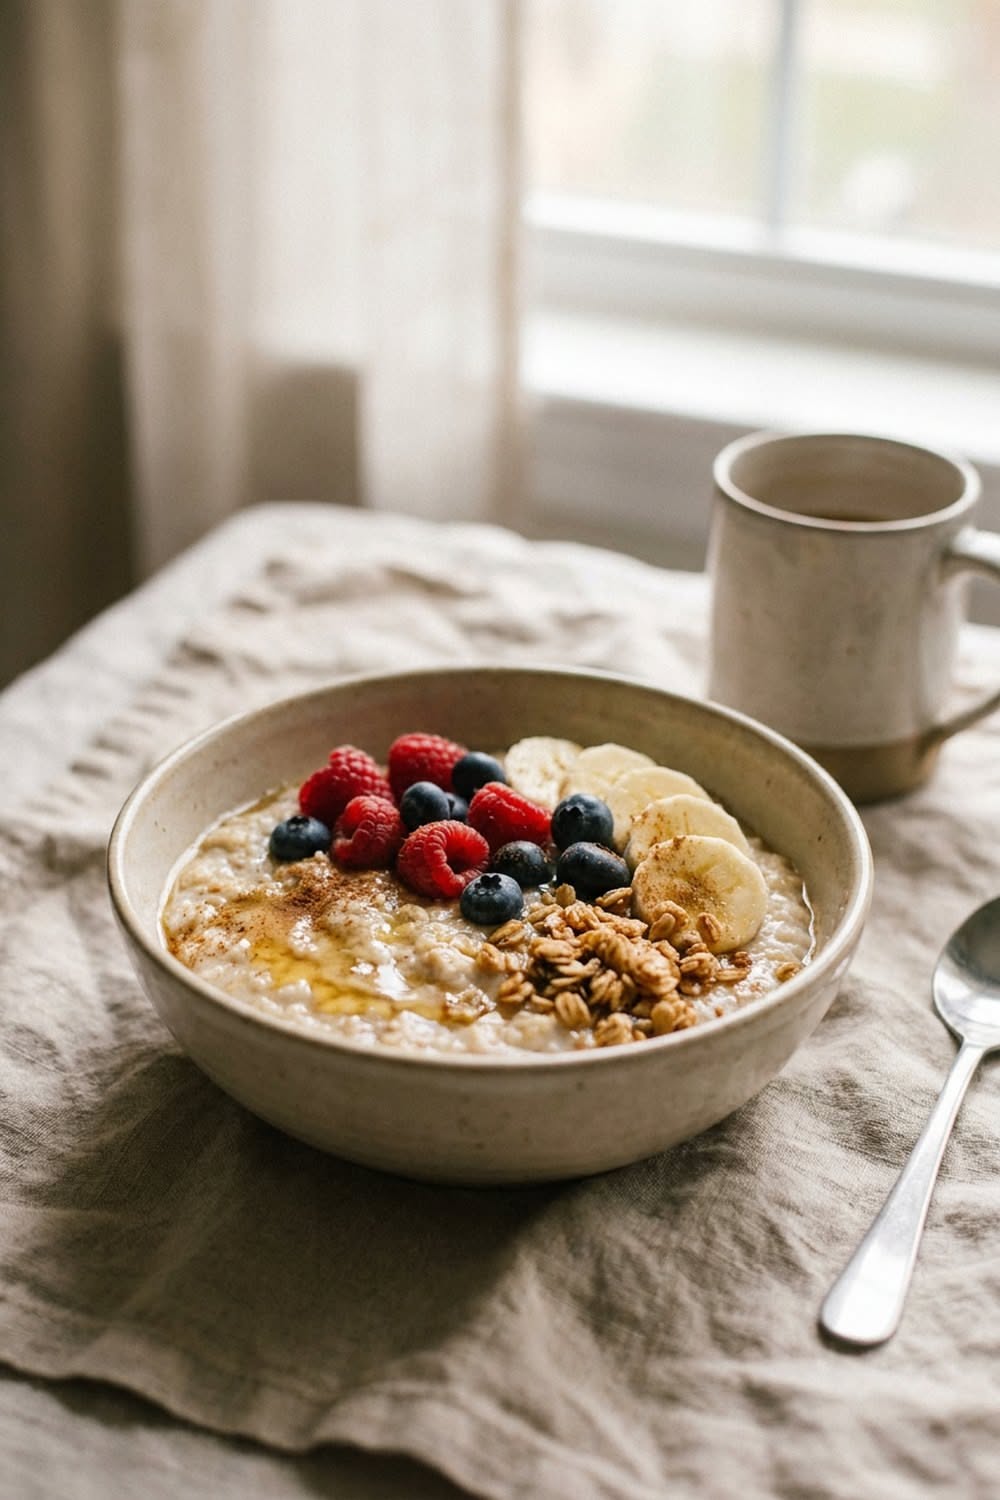
  • Cozy Oatmeal Bowls You’ll Actually Crave

    Cozy Oatmeal Bowls You’ll Actually Crave

    Oatmeal has a marketing problem: decades of gray, gluey wallpaper paste have obscured the fact that properly made porridge, creamy, gently sweet, crowned with good things, is one of the great comfort breakfasts. The fix is five minutes of technique and a topping strategy. After that, cold mornings start looking forward to themselves.

    The creamy stovetop method

    Use old-fashioned rolled oats, not instant: one part oats to two parts liquid, and the liquid should be half milk (any kind), half water, with a pinch of salt that is absolutely not optional: unsalted oatmeal is the source of oatmeal’s entire reputation. Simmer gently 5 to 7 minutes, stirring occasionally, and finish with a small knob of butter or spoonful of nut butter stirred through. The last-minute stir-in of a splash more cold milk is the creamy-diner secret. Toast the dry oats in the pot for two minutes first and the whole bowl gains a nutty depth most people cannot place.

    Five bowls worth waking for

    • Caramelized banana: banana coins seared in butter and a little brown sugar, walnuts, cinnamon.
    • Berry compote: frozen berries simmered 5 minutes with honey, swirled through with almond butter.
    • Apple pie: sautéed apple, cinnamon, maple, toasted pecans: autumn in a bowl.
    • The chocolate defense: cocoa stirred in, banana, a square of dark chocolate melting in the center.
    • Savory (trust it): cheese folded through, a soft-fried egg, scallions, chili crisp: congee’s weeknight cousin.

    The topping architecture

    Every great bowl has four layers: something creamy (nut butter, yogurt), something crunchy (seeds, granola, toasted nuts), something fruity (fresh or cooked), and a finishing drizzle (honey, maple, tahini). Arrange in sections rather than stirring to mush: breakfast eaten with the eyes first tastes measurably better, and this is settled science in every cafe that charges nine dollars for it.

    Make-ahead for dark mornings

    Overnight oats (equal parts oats and milk plus a spoon of yogurt and chia, refrigerated in a jar) hand you a cold, creamy breakfast with zero morning effort: warm-uppers can microwave the same jar. A big weekend batch of stovetop oatmeal reheats all week with a splash of milk. Either way, the topping bar stays the ritual: thirty seconds of arranging that makes a Tuesday feel considered.

    Save these bowls for cold mornings, and warm up with more breakfast recipes on Plumeo. Daily comfort at @Plumeoblog.
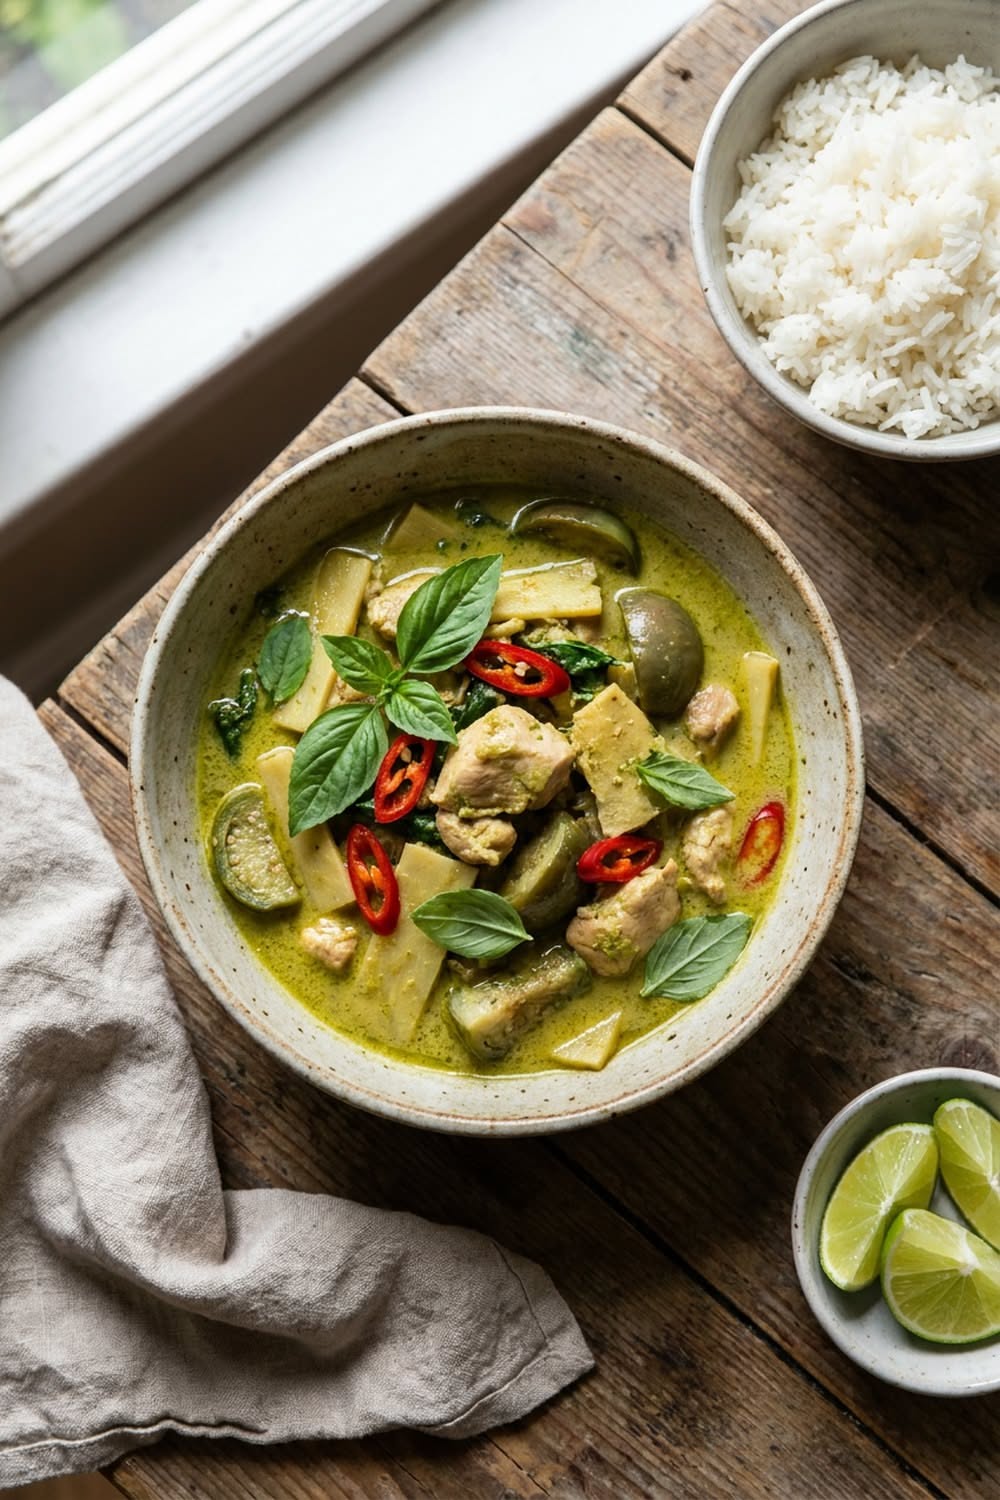
  • Thai Green Curry Recipe: Cozy Takeout-Style at Home

    Thai Green Curry Recipe: Cozy Takeout-Style at Home

    Green curry is the takeout order that feels impossible to recreate, all fragrant heat and silky coconut, and yet the home version takes thirty minutes and one pan. The trick is not making everything from scratch. It is treating a good curry paste properly.

    Ingredients (serves 4)

    • 3 to 4 tablespoons Thai green curry paste (a Thai brand if you can find one)
    • 2 cans (400 ml each) coconut milk, full fat, not shaken
    • 500 g chicken thighs, sliced, or tofu and extra vegetables
    • 1 small eggplant or zucchini, chunked, plus a handful of green beans and half a red pepper
    • 1 tablespoon fish sauce, 1 teaspoon brown sugar or palm sugar
    • Kaffir lime leaves if available, Thai basil (or regular basil), lime to serve
    • Jasmine rice, cooked, for serving

    The method that unlocks the flavour

    1. Open a can of coconut milk without shaking it and spoon the thick cream from the top into a hot pan.
    2. Fry the curry paste in that coconut cream for 2 to 3 minutes until it splits, sizzles and smells incredible. This step is the whole difference between flat and fabulous.
    3. Add the chicken and coat it in the paste. Pour in the rest of the coconut milk and lime leaves.
    4. Simmer 10 minutes, add the vegetables, and cook 5 to 7 minutes more until just tender.
    5. Season with fish sauce and sugar, taste, and adjust: it should balance salty, sweet, spicy and rich.
    6. Turn off the heat, tear in the basil, and serve over jasmine rice with lime wedges.

    Make it yours

    Shrimp needs only the final five minutes. Tofu prefers to be pan-crisped separately and added at the end. Sweet potato and bamboo shoots are wonderful additions, and a spoon of peanut butter creates a rounder, richer curry that children tend to love. Heat lovers can bloom extra paste or add sliced fresh chilies; the coconut will keep it civilised.

    Little details, big payoff

    Do not boil the curry hard after the coconut milk goes in, a gentle simmer keeps it silky. Fish sauce smells bold and tastes essential: trust it. And make extra, because green curry is one of those rare dishes that is genuinely better the next day, once the flavours have had a night to get acquainted.

    Save this for your cozy dinner board, and find more easy comfort recipes on Plumeo. Daily food inspiration at @Plumeoblog.

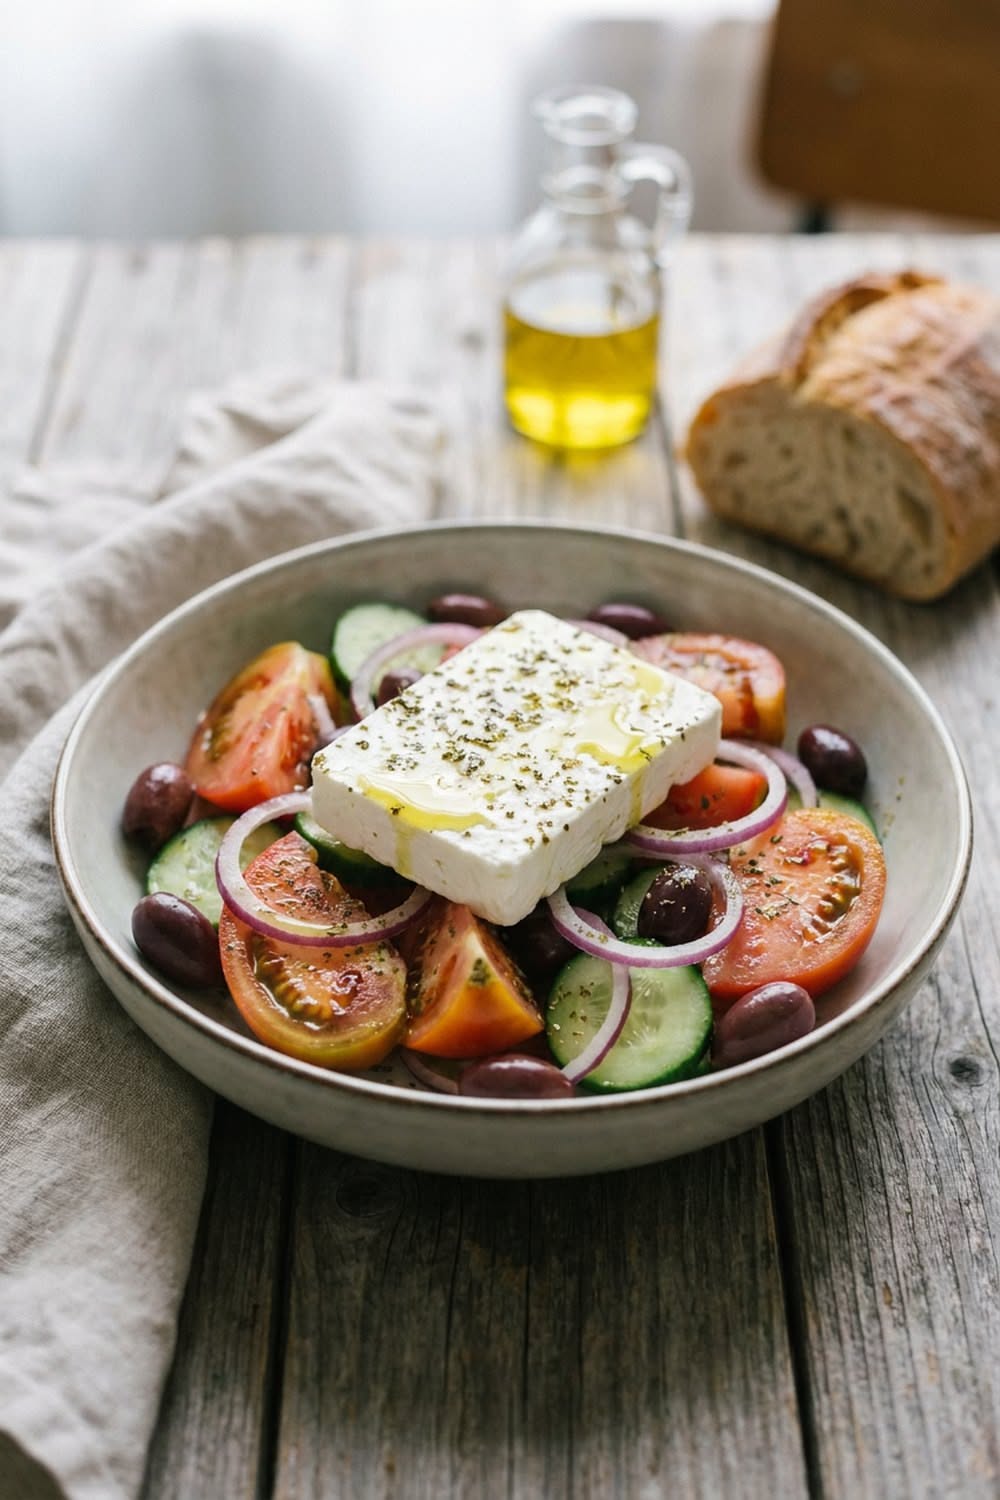
  • The Real Greek Salad (Horiatiki)

    The Real Greek Salad (Horiatiki)

    The Greek salad served in Greece, horiatiki, the village salad, contains no lettuce, and this is the first thing to know. It is a bowl of high-summer vegetables in big confident pieces, a scatter of olives, and an unapologetic slab of feta laid over the top like a flag. Five minutes of knife work, no cooking, and it only fails if the tomatoes do.

    The tomato rule

    This salad is a tomato delivery system, so ripeness is everything: use the best in-season tomatoes you can find, ideally slightly warm from the counter, never the fridge. Cut them into fat, irregular wedges over the bowl so the juices fall in, those juices become half the dressing. If it is January and the tomatoes are sad, make a different salad; horiatiki does not do off-season.

    The build

    • 4 ripe tomatoes, in wedges, juices and all.
    • 1 cucumber, peeled in stripes and thickly sliced.
    • Half a red onion, in thin half-moons (soak 5 minutes in cold water to soften the bite).
    • 1 green bell pepper, in thin rings: the traditional, often-forgotten member.
    • A generous handful of Kalamata olives, pits in: they taste better and it is tradition.
    • A thick slab of feta laid whole on top: never crumbled: crumbling is for imitations.

    Dress it the Greek way

    No vinaigrette, no whisking, no emulsion. Pour good extra virgin olive oil over everything with real generosity, the pool at the bottom is for bread, add a small splash of red wine vinegar, a big pinch of dried oregano (rubbed between your fingers over the feta), and salt, lightly, because the feta and olives carry plenty. Toss at the table, breaking the feta into the vegetables as you go.

    What to serve it with

    Crusty bread is mandatory for the tomato-oil slick at the bottom of the bowl, in Greece that puddle has fan clubs. The salad sits naturally beside anything grilled, or becomes lunch on its own with bread and a few extra olives. A cold glass of white or a beer sweating in the heat completes the taverna simulation.

    The mindset ingredient

    Horiatiki resists improvement: no avocado, no quinoa, no balsamic glaze zigzag. Its genius is restraint, ripe things, good oil, salty cheese, and the discipline to stop there. Make it once in August with proper tomatoes and you will understand why an entire country refuses to change the recipe.

    Save this taverna classic, and toss together more fresh recipes on Plumeo. Daily deliciousness at @Plumeoblog.

  • The Burrito Bowl That Beats the Chain

    The Burrito Bowl That Beats the Chain

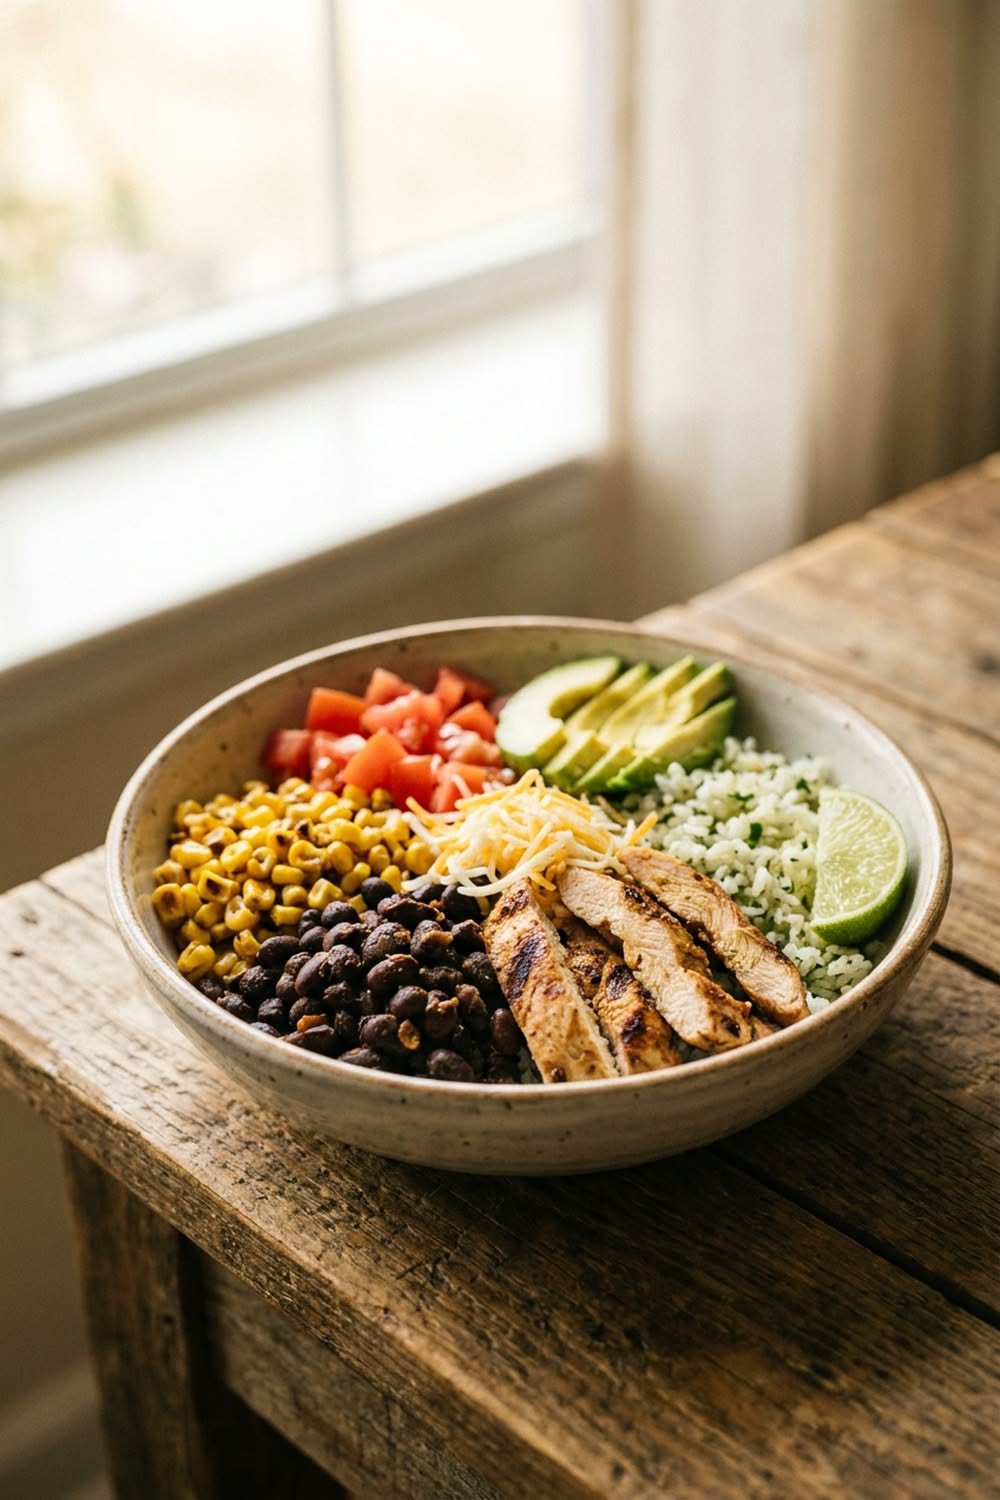
    The burrito bowl conquered lunch for good reasons: customizable, colorful, filling without the food coma. The homemade version beats the chain on every axis, cost, portion of guacamole, quality of chicken, and it meal-preps so well that one Sunday hour produces a week of assembled-in-two-minutes lunches. Here is the full build.

    Cilantro-lime rice: the foundation

    Cook 300g of long-grain rice as usual, then, while hot, fold in the zest and juice of a lime, a handful of chopped cilantro and a half teaspoon of salt. This one-minute upgrade is what separates a burrito bowl from rice with stuff on it. Brown rice or lime-dressed cauliflower rice swap in seamlessly for different goals.

    The chicken: marinade with authority

    Marinate 600g of boneless thighs in 2 tablespoons of olive oil, a tablespoon of chipotle in adobo (or a teaspoon of smoked paprika plus chili powder), a teaspoon of cumin, 2 minced garlic cloves, the juice of a lime and a teaspoon of salt: 30 minutes minimum. Sear in a hot pan or grill 5 to 6 minutes per side until charred at the edges, rest, then chop. The char plus chipotle smoke is the flavor the chains approximate and never quite reach.

    The supporting cast

    • Black beans: a can, simmered 5 minutes with cumin, garlic and a splash of their liquid.
    • Corn salsa: charred corn, diced red onion, jalapeño, lime and cilantro: the brightest thing in the bowl.
    • Quick pico: tomato, onion, lime, salt: ten minutes ahead so the flavors marry.
    • Guacamole: avocado, lime, salt, restraint: or simply sliced avocado with flaky salt.
    • Finishers: shredded cheese, sour cream or lime crema, pickled jalapeños, hot sauce.

    Assembly and the ratio rule

    Rice as the base, protein and beans in neighboring regions, salsas and cool toppings arranged in wedges, never stirred by the cook (stirring is the eater’s privilege). Aim for roughly a third grain, a third protein and beans, a third fresh toppings: the chain’s secret ratio, reverse-engineered at your own counter with double the guacamole and zero upcharge.

    Meal-prep mode

    Store rice, chicken, beans and salsas in separate containers: four days of lunches, assembled in the time it takes coffee to brew. Keep avocado whole until serving day and add the crunchy things last. The bowl also reskins endlessly: shrimp, carnitas-style pork, roasted sweet potato for the meatless days: the formula holds, and lunch stops being a decision.

    Save this formula for lunch week, and build more fresh recipes with Plumeo. Daily deliciousness at @Plumeoblog.

  • Perfect Grilled Salmon Every Single Time

    Perfect Grilled Salmon Every Single Time

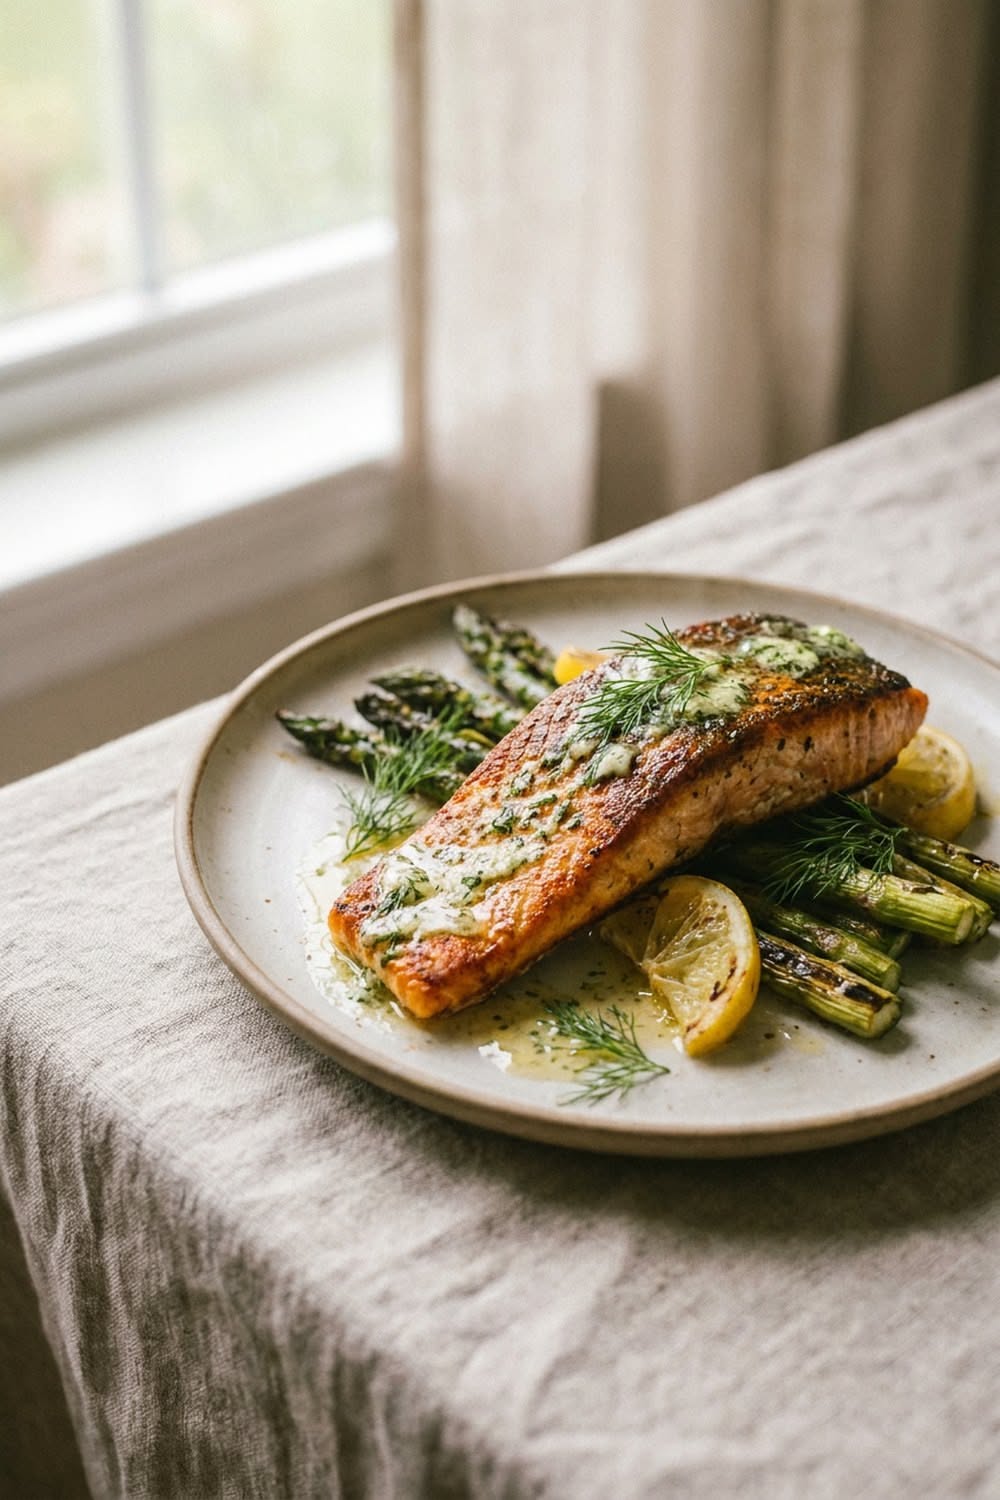
    Grilled salmon sits at the exact intersection of impressive and easy, dinner-party worthy, weeknight fast, and good for you into the bargain. The two fears, sticking and overcooking, both have simple fixes, and once you know them, salmon becomes the most reliable ten minutes in your cooking week.

    Buy it right

    Skin-on fillets, always, for grilling: the skin protects the flesh, crisps like a gift, and releases from the grate far more willingly than bare fish. Center-cut pieces of even thickness cook uniformly: about 150 to 180g per person. Pat the fillets very dry, rub lightly with oil, and season simply with salt and pepper: the glaze or finish comes later.

    The no-stick protocol

    1. Heat the grill properly: medium-high, lid down, a full 10 minutes.
    2. Scrub the grates clean, then oil them with a folded paper towel held in tongs.
    3. Lay salmon skin-side down at a diagonal and then do not touch it.
    4. Fish releases when it is ready: if it resists the spatula, give it another minute.

    Cook skin-side down about 5 to 6 minutes for the crisp, then flip for just 1 to 2 more, or skip the flip entirely and finish with the lid down: gentler and just as good.

    Doneness: pull it early

    Salmon is done when it flakes at the thickest point but still looks slightly translucent at the very center, around 50 to 52°C internal, and it keeps cooking off the grill. The white protein beads appearing on the surface are the two-minute warning. Chalky, pale-all-the-way-through salmon is simply overcooked salmon: err early, rest three minutes, and be rewarded.

    Finishes and glazes

    • Classic: lemon squeezed over at the table, flaky salt, soft herbs (dill is the natural ally).
    • Honey-garlic: honey, soy and grated garlic brushed on in the last 2 minutes: watch for burning, sugar moves fast.
    • Miso-maple: equal parts white miso and maple syrup: caramelizes into lacquer.
    • Herb butter: a disk of parsley-lemon butter melting over the hot fillet.

    Round out the plate

    Charred asparagus or zucchini can share the grill in the same ten minutes: add a grain or crusty bread and dinner is complete. Leftover fillets flake into tomorrow’s grain bowls and salads without complaint, which makes grilling one extra piece the smartest habit in this entire recipe.

    Save this technique to your dinner board, and reel in more easy recipes on Plumeo. Daily deliciousness at @Plumeoblog.

  • Crème Brûlée: Cracking the Classic at Home

    Crème Brûlée: Cracking the Classic at Home

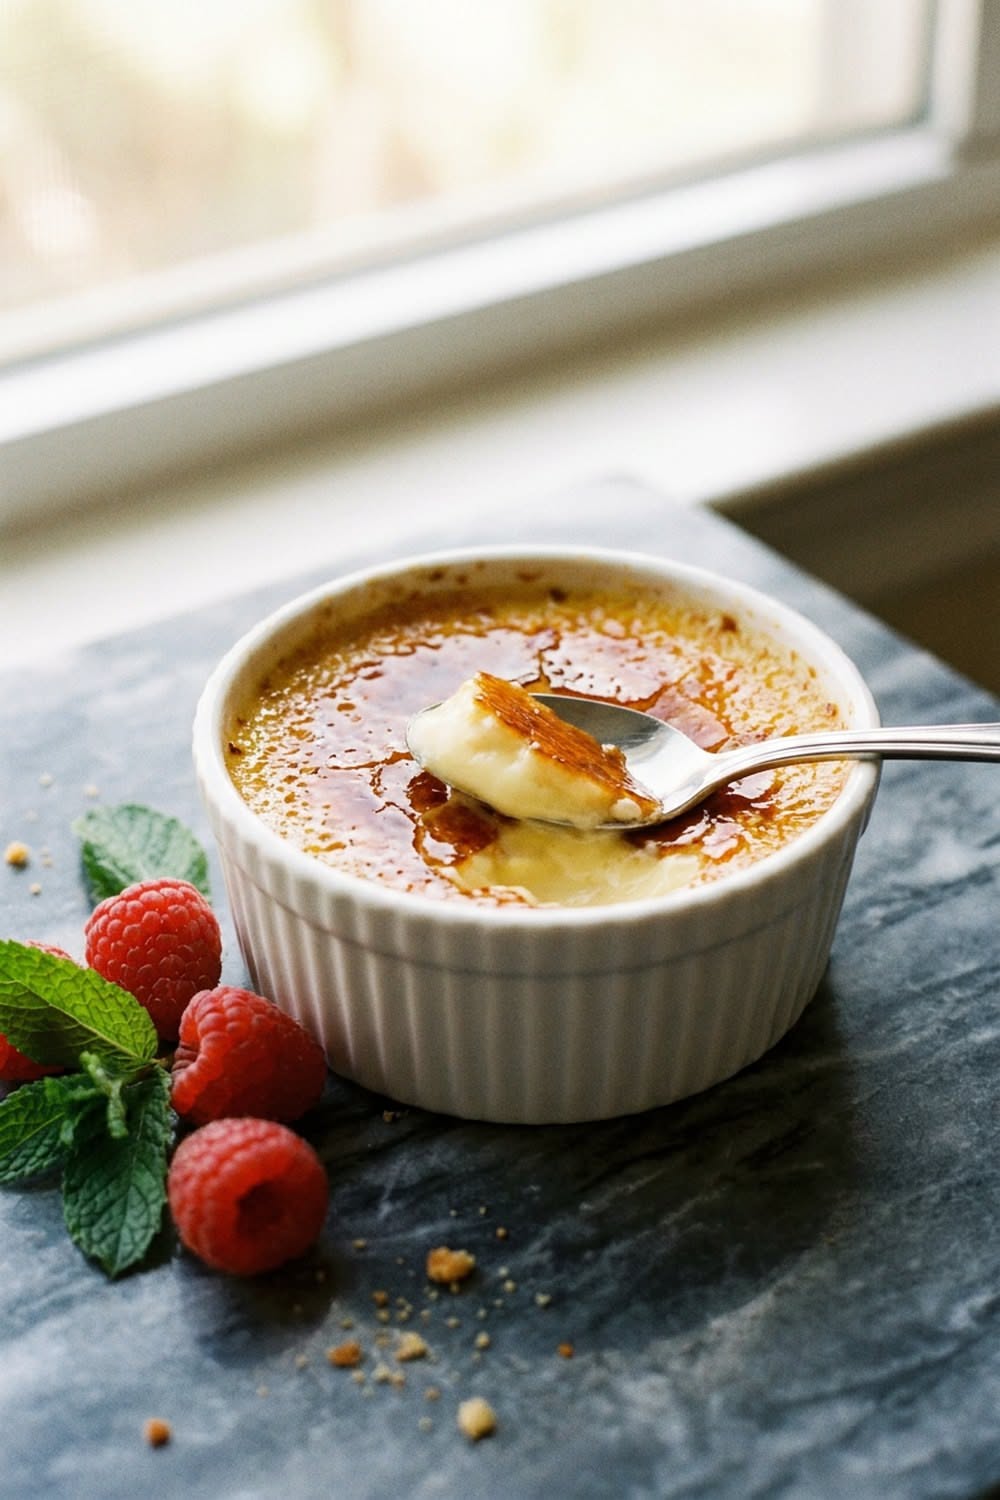
    No dessert has better theater than crème brûlée: the tap of the spoon, the crack of the caramel, the give of cold silk underneath. It seems like restaurant-only sorcery, and it is actually four ingredients and one technique, a gentle water bath, plus the most fun a kitchen torch will ever be. Here is the whole ritual.

    Four ingredients, chosen well

    For four ramekins: 500ml heavy cream, 5 egg yolks, 70g sugar, and real vanilla, a split and scraped pod is worth it here, though good extract works. That is the entire list. Crème brûlée is a custard with nowhere to hide, so the cream should be fresh and the yolks the best you have.

    The custard, step by step

    1. Warm the cream with the vanilla pod until steaming (not boiling); rest 10 minutes to infuse.
    2. Whisk yolks with sugar until pale: then pour in the warm cream gradually, whisking gently to avoid foam.
    3. Strain the mixture: this catches any cooked egg bits and guarantees silk.
    4. Divide between shallow ramekins set in a deep baking dish; pour hot water halfway up their sides.
    5. Bake at 150°C for 30 to 35 minutes until set at the edges with a slight tremble dead center.
    6. Chill at least 4 hours: cold custard under hot caramel is the entire contrast.

    The water bath is not optional: it buffers the heat so the custard sets creamy instead of curdled. The tremble test beats any timer.

    The brûlée moment

    Just before serving, blot any moisture off the custard surface, sprinkle a thin, even layer of sugar (about 2 teaspoons per ramekin, tilt and tap to distribute), and torch in slow circles until it melts amber and glassy. No torch? The broiler works: ramekins close to the element, door open, eyes on, 2 to 3 minutes. Let the caramel harden for one minute: then serve immediately, while the crust is glass and the custard is still cold beneath it.

    Where it can go wrong (and the fix)

    Scrambled texture means the oven ran hot or the bath was skipped: trust 150°C. A crust that turns wet means it was torched too far ahead: caramelize within 20 minutes of serving. And a bitter top is just over-torching, aim for amber, not mahogany. Flavor riffs, espresso in the cream, a little orange zest, lavender for the ambitious, all work, but the vanilla original is the one that gets requested twice.

    Save this for your next dinner party finale, and crack into more classic recipes on Plumeo. Daily sweetness at @Plumeoblog.

  • Mexican Street Tacos: An Easy Taco Night Recipe

    Mexican Street Tacos: An Easy Taco Night Recipe

    The best tacos in the world are the simplest: two small corn tortillas, well-seasoned meat, onion, cilantro, lime. No shredded lettuce mountain, no hard shells. Street tacos are about doing a few things properly, which conveniently makes them one of the easiest great dinners you can cook.

    The marinade (serves 4)

    For 600 g of chicken thighs or skirt steak, whisk together: 3 tablespoons orange juice, 2 tablespoons lime juice, 2 tablespoons oil, 3 minced garlic cloves, 1 teaspoon each of ground cumin, smoked paprika and dried oregano, half a teaspoon of chili powder and a good pinch of salt. Marinate 30 minutes at room temperature or up to overnight in the fridge. The citrus plus smoke combination is what makes it taste like the taqueria.

    Cook it hot and rest it

    Get a cast-iron pan or grill properly hot. Cook the meat in a single layer without crowding: chicken thighs about 5 minutes a side, skirt steak 3 to 4 minutes a side for medium-rare. You want charred edges. Rest for five minutes, then chop small, street tacos use chopped meat, not slices, so every bite fits the tortilla.

    Treat the tortillas like they matter

    Corn tortillas, always, and warmed properly: thirty seconds a side in a dry hot pan, or directly over a gas flame until lightly blistered. Stack them in a clean tea towel to stay soft. The street move is doubling them, two tortillas per taco, which keeps juicy fillings from breaking through.

    A five-minute salsa verde-style sauce

    Blend a handful of cilantro, 1 jalapeno (seeded for mild), 1 garlic clove, the juice of a lime, 3 tablespoons of oil and a pinch of salt. Loose, green and bright, it lifts everything it touches. A creamy shortcut: blend the same with 3 tablespoons of mayo or crema.

    Assemble like a taqueria

    1. Double tortilla, warm.
    2. A modest spoonful of chopped meat. Restraint is authentic.
    3. Finely diced white onion and rough-chopped cilantro.
    4. Salsa, then a squeeze of lime at the table. Optional: sliced radish and a grilled spring onion on the side.

    Serve everything family-style with plenty of lime wedges and cold drinks. Charred corn, black beans or a simple avocado salad rounds it out if you need sides, but honestly, three tacos each and nobody asks for more.

    Save this for your next taco night, and find more easy dinner recipes on Plumeo. Daily food inspiration at @Plumeoblog.

  • The Perfect Lemon Tart: Bright, Silky, Classic

    The Perfect Lemon Tart: Bright, Silky, Classic

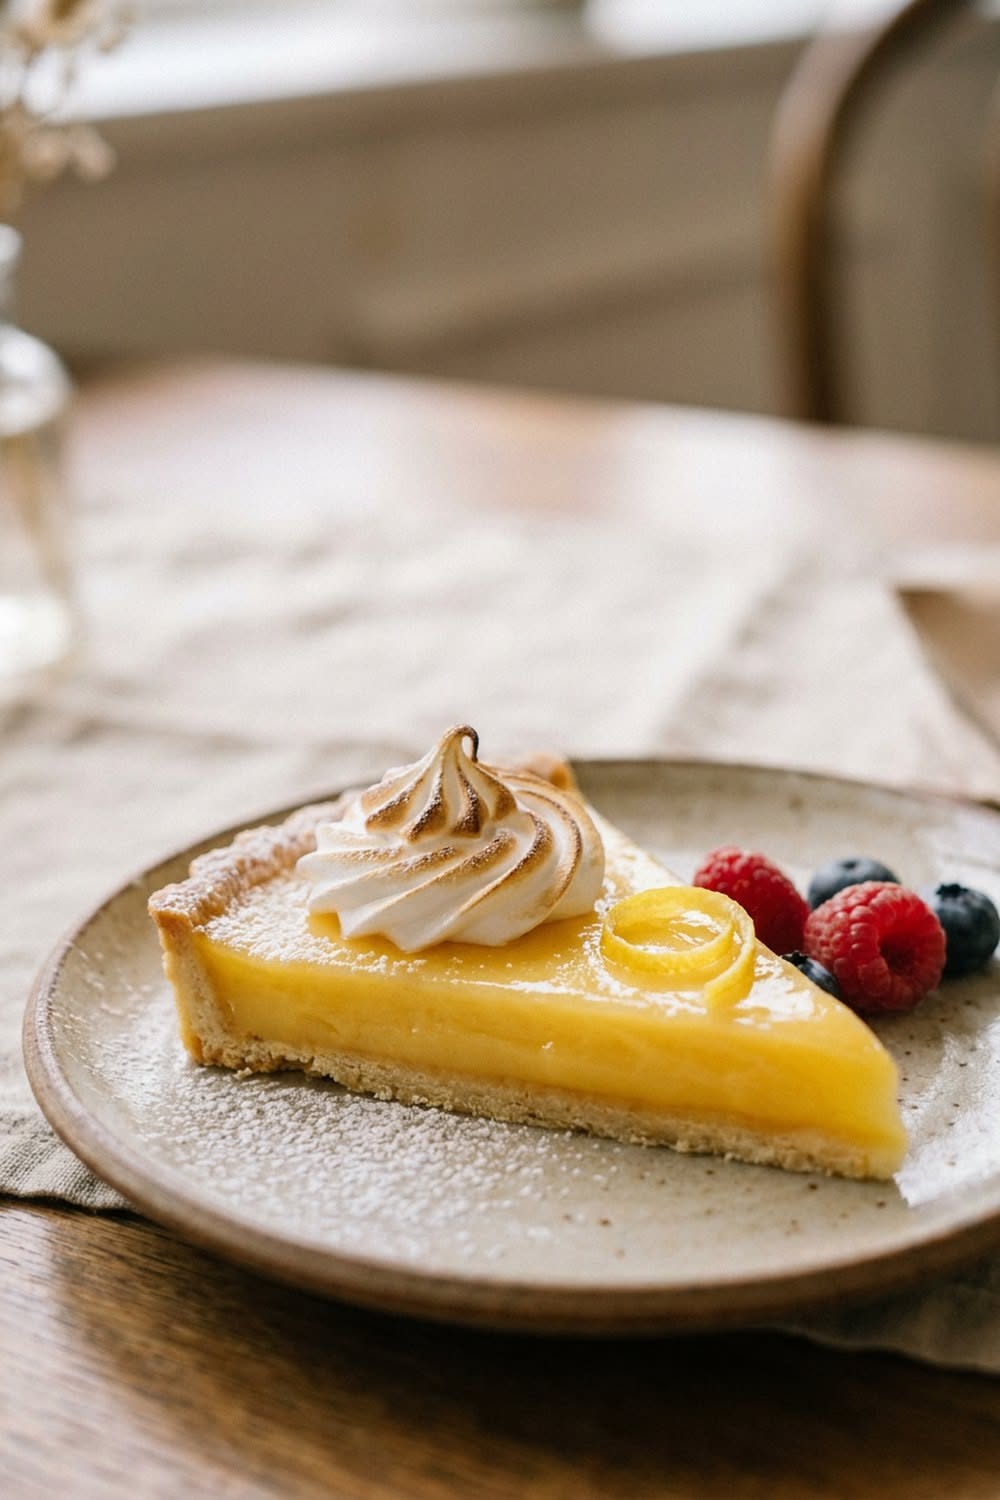
    The lemon tart is pastry’s great equilibrium act: rich but sharp, elegant but essentially simple, the dessert that ends a heavy meal like a window being opened. A crisp sweet crust, a filling that sets to silk, and enough lemon to make the room sit up: two components, both forgiving once you know their rules.

    The pastry: cold and blind-baked

    Rub 200g flour with 100g cold butter and 50g powdered sugar to fine crumbs, bind with one egg yolk and a tablespoon of cold water, and chill the dough a full 30 minutes. Roll thin, line a 23 cm tart tin, prick, and chill again. Blind-bake with paper and baking beans at 180°C for 15 minutes, then 8 more uncovered until biscuit-golden. The double chill prevents shrinkage; the full blind-bake prevents the soggy base that sinks most homemade tarts. Brush the hot crust with a little beaten egg white to waterproof it against the filling.

    The filling: lemon, cream, restraint

    Whisk 4 eggs with 150g sugar until just combined (not foamy), then add the zest of 2 lemons and 120ml of fresh lemon juice, about 4 lemons’ worth, and 150ml of cream. Strain the mixture: the strain is the silkiness insurance. It will look thin: that is correct, the oven does the thickening.

    The gentle bake and the wobble test

    1. Pour the filling into the warm crust: doing this on the pulled-out oven rack prevents spills.
    2. Bake low, 140°C, for 25 to 30 minutes.
    3. Pull when the edges are set but the center still shivers like panna cotta when nudged.
    4. Cool completely at room temperature: it finishes setting as it cools: then chill an hour.

    An overbaked lemon tart cracks and scrambles: the shiver is the signal, trust it over the clock.

    Serving it beautifully

    Serve in slim wedges with, at most, a little softly whipped cream or a few raspberries: the tart needs no entourage. A dusting of powdered sugar just before serving, or a brief pass under a hot broiler for a brûléed top if you own drama. Clean slices come from a hot dry knife, wiped between cuts.

    Why this one earns its place

    The lemon tart keeps two days in the fridge and travels well, which makes it the thinking cook’s dinner-party dessert: made entirely ahead, served cold, and guaranteed to end the evening on a bright note. Few desserts work this hard while tasting this much like sunshine.

    Save this classic to your baking board, and brighten up with more dessert recipes on Plumeo. Daily sweetness at @Plumeoblog.

  • Homemade Butter Croissants: A Weekend Worth Taking

    Homemade Butter Croissants: A Weekend Worth Taking

    The croissant is the Everest of home baking: not because any single step is hard, but because it is a dozen easy steps spread across two days, each asking for cold butter and mild patience. The reward is absurd: shattering golden layers, a honeycomb interior, and a kitchen that smells like a Paris side street at 7 am. Here is the project, honestly described.

    Day one: dough and butter block

    Make a simple enriched dough: 500g flour, 10g salt, 55g sugar, 10g yeast, 300ml cool milk, kneaded briefly (unlike bread, croissant dough wants minimal gluten drama). Chill it. Separately, beat 280g of good butter, the highest fat percentage you can find, into a flat 20 cm square between parchment sheets and chill until cool but pliable. The entire craft of croissants is keeping dough and butter at the same yielding-but-cold consistency: butter that shatters or smears is where layers go to die.

    Lamination: three folds, no heroics

    1. Roll the dough to a rectangle, place the butter square in the center, and fold the dough over it like a letter: sealed on all sides.
    2. Roll gently to a long rectangle and fold in thirds (a letter fold). That is fold one.
    3. Chill 30 minutes: repeat twice more, chilling between: three folds total, 27 butter layers.
    4. Rest the finished dough overnight in the fridge: flavor and relaxation, both required.

    If butter ever breaks through, patch with flour, chill, and continue: croissants forgive more than their reputation admits.

    Day two: shape, proof, bake

    Roll the dough to a long strip about 4 mm thick, cut tall triangles, and roll each from base to tip with gentle confidence, tip tucked under. Now the step most home bakers rush: proofing. Two to three hours somewhere just-warm, until the croissants are visibly puffed, jiggly, and the layers have begun separating like pages. Underproofed croissants leak butter and bake dense: the jiggle is the green light. Egg-wash, then bake at 200°C for 18 to 20 minutes to deep mahogany, pale croissants are a moral failure, the color is the flavor.

    The payoff and the honest math

    Listen when you cut the first one: the crackle is the sound of laminated success, above a honeycomb of air and butter. Total active work is maybe 90 minutes spread across a weekend, and the batch of twelve costs a fraction of a bakery’s dozen. Freeze shaped, unproofed croissants and bake two at a time on future mornings: a move so luxurious it should require a license.

    Save this weekend project, and rise to more baking adventures on Plumeo. Daily bakes at @Plumeoblog.

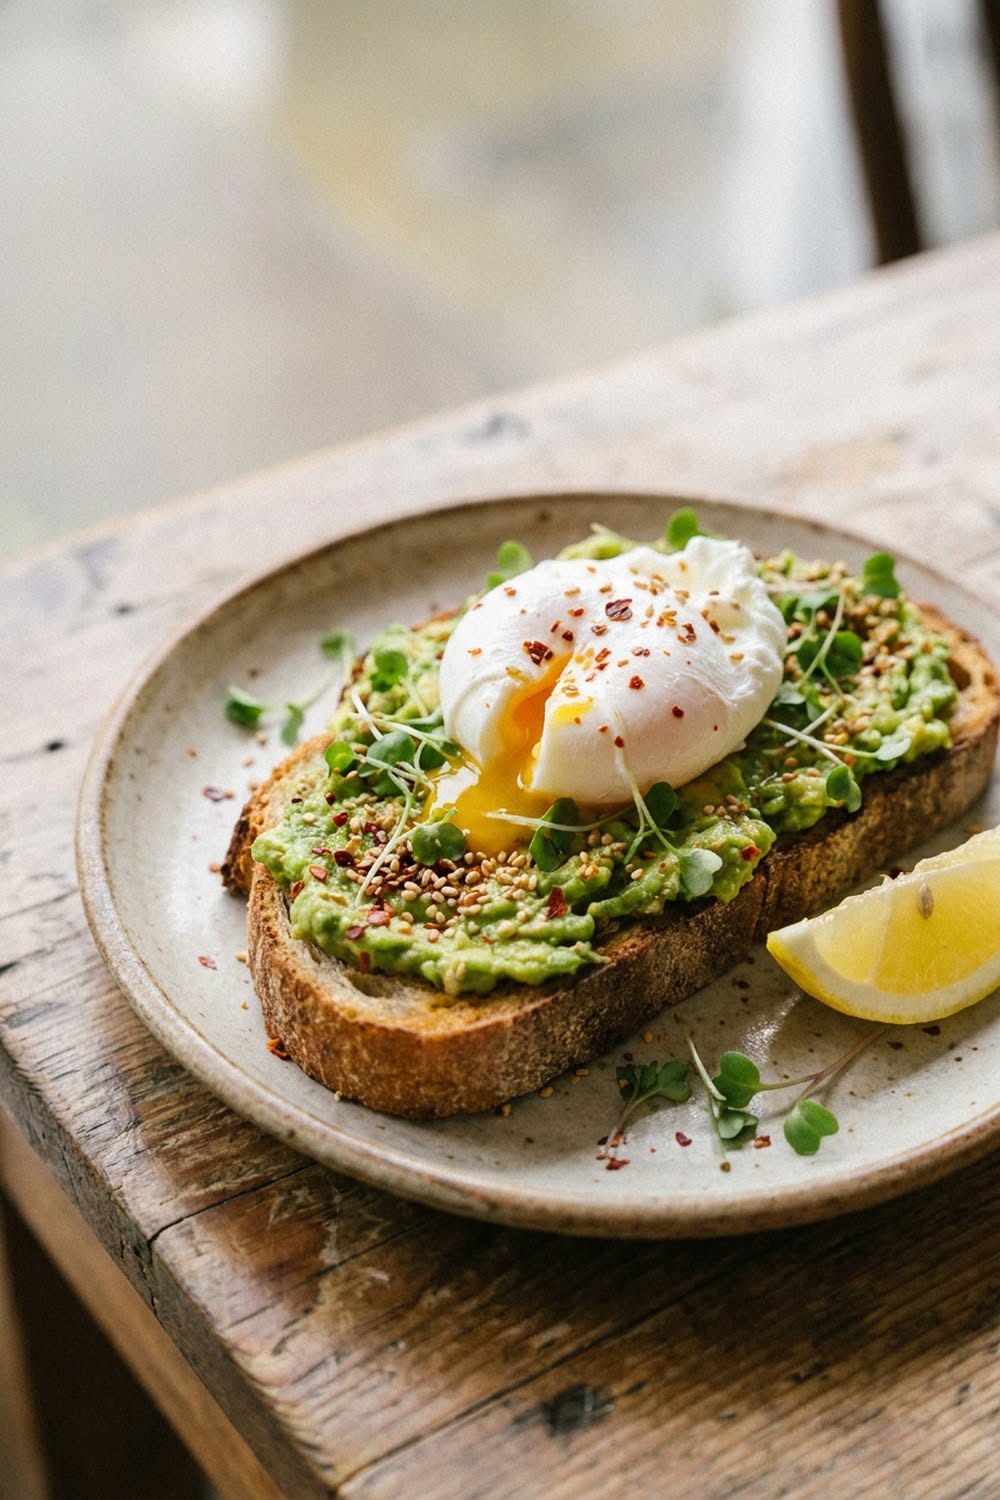
  • Avocado Toast, Elevated Beyond the Basic

    Avocado Toast, Elevated Beyond the Basic

    Avocado toast survived being a punchline because it deserved to: creamy fat, crunchy toast, acid and salt is simply a great piece of food engineering. The difference between the sad version and the cafe version is about four small decisions, bread, ripeness, seasoning, and one topping with a point of view. None of them cost more than attention.

    The bread is half the dish

    Thick-cut sourdough is the standard for a reason: sturdy enough to carry weight, tangy enough to cut the richness, and it toasts to a proper crunch. Toast it darker than timid: the structural contrast is the whole experience. Rub the hot toast lightly with a cut garlic clove if you want the stealth upgrade most cafes use, and a thin film of olive oil or butter underneath the avocado is not gilding, it is waterproofing.

    Avocado: ripeness and technique

    A ripe avocado yields to gentle pressure at the stem end, dark skin, no squish. Halve, pit, and fork-mash it coarsely right on the toast or in a bowl with a squeeze of lemon or lime, a pinch of flaky salt and black pepper: chunky beats purée, always. The acid is not optional: it brightens the fat and keeps the green from going nostalgic. One avocado covers two generous slices.

    Five directions worth taking

    • Chili-lime: chili flakes or a chili crisp spoonful, extra lime, cilantro: the wake-up call.
    • The protein play: a jammy seven-minute egg or poached egg on top: breakfast that holds until lunch.
    • Whipped feta: a layer of blended feta and yogurt beneath the avocado: tangy luxury.
    • The crunch garden: shaved radish, cucumber ribbons, sprouts and toasted seeds.
    • Tomato summer: halved cherry tomatoes marinated in olive oil and salt, spooned over warm.

    Seeds, oils and the finish line

    Everything bagel seasoning, toasted sesame, or pumpkin seeds add the top-note crunch: a thread of good olive oil and one more pinch of flaky salt finish every version. If it looks like it belongs on a cafe menu, you have seasoned it correctly: pale and unseasoned is the only real way to fail this dish.

    The honest economics

    The cafe charges five times the ingredient cost for assembly you can do in four minutes, which makes homemade avocado toast one of the better small luxuries: weekday-fast, weekend-worthy, endlessly variable, and, with the egg on top, an actual meal wearing brunch clothes.

    Save these combos to your breakfast board, and toast to more fresh recipes on Plumeo. Daily deliciousness at @Plumeoblog.