Soft-luxury living

Category: Beauty

Skincare, makeup and self-care beauty.

  • Eyebrow Shaping Guide: Brows That Frame Your Face

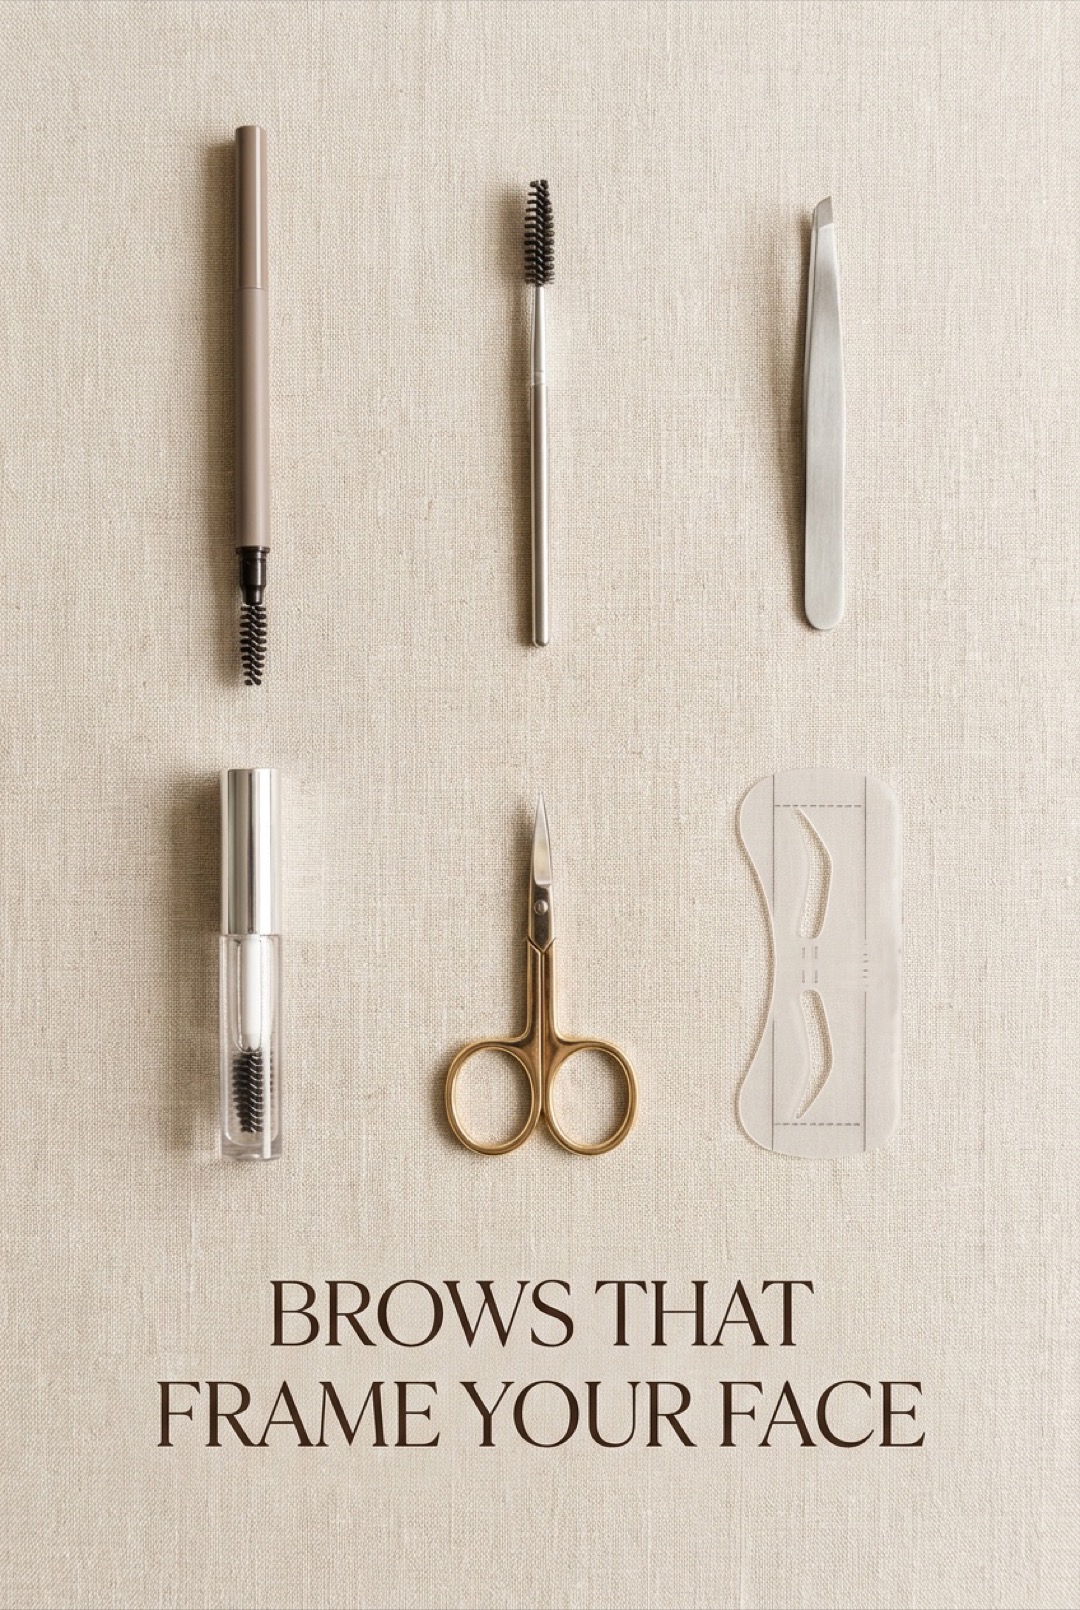
    Eyebrow Shaping Guide: Brows That Frame Your Face

    Brows carry the face: they frame the eyes, set expression, and quietly date a look faster than any other feature (every decade has its brow, and every decade regrets the previous one). The current era is kind: full, feathered, natural-but-groomed. Here is how to find your best shape and keep it.

    Map before you tweeze

    The classic three-point map still rules: the brow should begin roughly above the inner corner of the eye, peak on a diagonal from the nostril through the pupil, and end on a line from the nostril past the outer eye corner. Hold a pencil to check the three points, mark them lightly, and only remove hairs clearly outside the shape. The single most important rule: tweeze from below the brow, almost never above, and stop before you think you are done. Brows are edited, not redrawn.

    Filling: strokes, not blocks

    1. Brush hairs up and out with a spoolie to see the true shape and gaps.
    2. With a fine pencil one shade lighter than your hair, draw short hair-like strokes only where sparse, following growth direction.
    3. Keep the inner third softest: a dense square start is the fastest way to harsh.
    4. Blend with the spoolie: this step erases the drawn-on look entirely.
    5. Set upward with clear or tinted gel for the feathered finish.

    Lamination, tinting and the salon question

    Brow lamination delivers the brushed-up editorial look for six to eight weeks and suits unruly or flat-growing brows best: tinting darkens fine or fair hairs and buys weeks of not filling at all: threading or waxing once to establish a professional shape, then maintaining it yourself, is the budget-smart rhythm. None are mandatory: a good pencil and gel replicate 90 percent of it at home.

    Growing out the past

    Over-plucked eras leave gaps, and regrowth takes patient months: commit to no tweezing except obvious strays, brush daily (it genuinely stimulates), consider a growth serum, and fill the sparse zones while nature works. Most brows recover more than expected. The destination is worth it: brows at their natural best are the one feature that makes every other part of the face look finished.

    Save this brow guide, and frame more beauty tutorials on Plumeo. Daily inspiration at @Plumeoblog.
  • Latte vs Clean Girl vs Soft Glam: Which Makeup Aesthetic Is You?

    Latte vs Clean Girl vs Soft Glam: Which Makeup Aesthetic Is You?

    Makeup has sorted itself into named aesthetics, latte, clean girl, soft glam, and the labels are genuinely useful: each one is a coherent recipe of finish, palette and effort level. Knowing which aesthetic matches your taste, skin and schedule turns an overwhelming beauty feed into a shopping list. Here is the field guide.

    The contenders, defined

    • Clean girl: dewy skin, soap brows, cream blush, gloss: minimal products, maximum freshness: the 8-minute everyday.
    • Latte: warm brown monochrome: bronze eyes, caramel lips, sun-warmed skin: cozy and deeply flattering: 15 minutes.
    • Soft glam: perfected luminous base, warm shimmer eye, wispy lashes, nude-pink lip: the events default: 25 minutes.
    • Old money / quiet luxury: polished nothing: flawless skin, groomed brow, sheer flush, bitten lip: understated and precise.
    • Douyin / glass glam: poreless glass skin, aegyo-sal highlight, gradient lips: playful, precise, filter-like.

    Matching aesthetic to life

    Pick by schedule first, face second: clean girl suits busy mornings and great skin days: latte flatters warm undertones and anyone who loves a bronzer: soft glam earns its minutes for occasions and photos: quiet luxury fits conservative settings with taste intact. Most people land on a two-aesthetic wardrobe, an everyday and an evening, sharing half their products.

    The crossover kit

    The secret the labels hide: five products serve every aesthetic. A skin tint, a cream bronzer, a cream blush, a brow gel and a good mascara build clean girl as-is, become latte with a bronze shadow and caramel gloss, and upgrade to soft glam with one shimmer and lashes. Buy the base kit once, then let the aesthetic-specific extras be the small purchases. The aesthetics are outfits: the kit is the wardrobe.

    Wear the label lightly

    Aesthetics are starting points, not uniforms: the best version of any of them is adjusted to your features, coloring and taste. Steal the latte lip for a clean girl day, drop soft glam’s lashes when they feel like much: the feed’s categories exist to serve the face, never the reverse. Pick a lane, then drive it your way.

    Save this aesthetic guide, and explore more beauty inspiration on Plumeo. Daily looks at @Plumeoblog.

  • Blush Placement Guide: Lift Every Face Shape

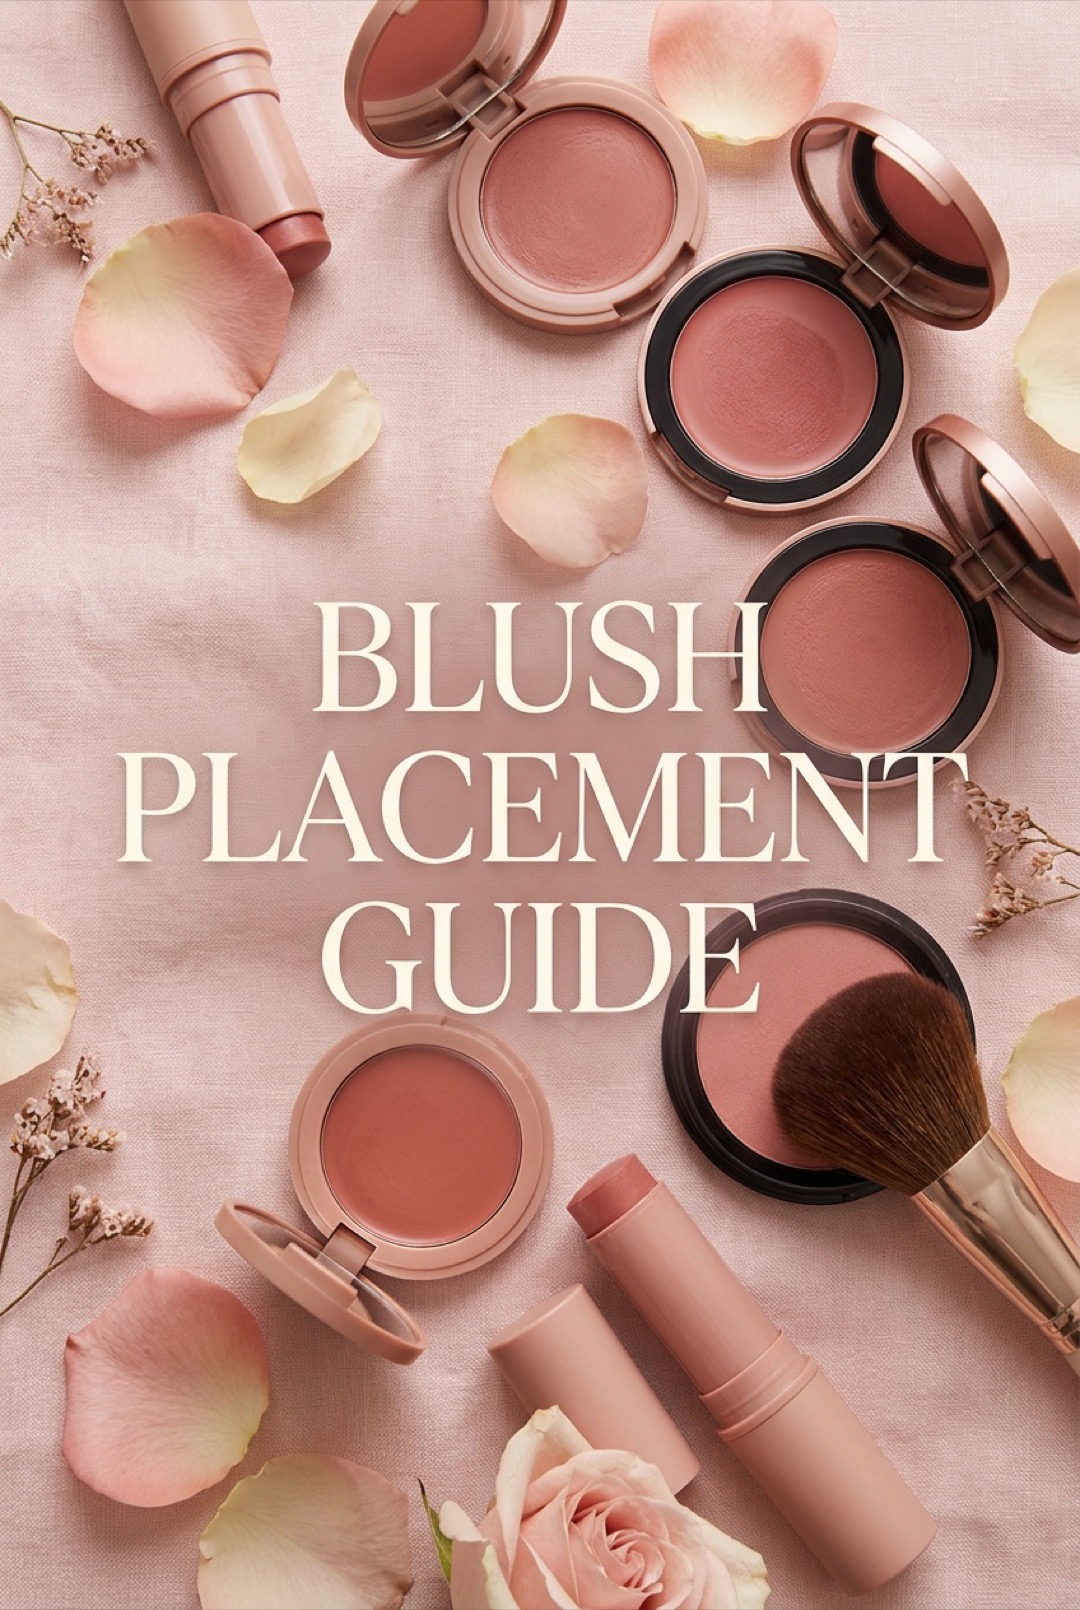
    Blush Placement Guide: Lift Every Face Shape

    Blush is having its renaissance, and placement is the entire plot: the same product applied two centimeters higher can lift the whole face, while the old apples-of-the-cheeks rule quietly drags it down. Where the color sits matters more than which color it is. Here is the modern placement map, face shape by face shape.

    The universal rule: up and back

    The contemporary default: start the color on the high point of the cheekbone, roughly level with the outer corner of the eye, and blend up and back toward the temple. This diagonal creates lift, mimics a natural flush caught mid-smile, and flatters on camera. The old smile-and-dab-the-apples method places color where gravity is already headed: friendly, but rarely flattering past noon.

    Placement by face shape

    • Round faces: keep blush higher and more angled toward the temples: the diagonal adds structure.
    • Long faces: bring it slightly more horizontal, across the cheekbone toward the ear: width balances length.
    • Heart faces: soften onto the outer cheekbone, away from the chin’s taper.
    • Square faces: rounder, softer blending high on the cheek melts the jaw’s angles.
    • The sun-kissed cheat for everyone: a light touch across the nose bridge connecting both cheeks.

    Cream versus powder

    Cream blush wins the modern look: it melts into skin, layers under or over base makeup, and applies with fingers, body heat doing the blending. Powder wins longevity and suits oilier skin: applied with a fluffy brush and a light hand. The pro move is both: cream first for the lit-from-within layer, a whisper of matching powder to set. Color rules stay simple: pinks and berries for cool undertones, peach and terracotta for warm, and less product than you think, built in two passes.

    The draping upgrade

    When blush becomes the star of the look, drape it: carry the color from the cheekbone up around the temple, almost touching the outer brow, and echo a trace on the eyelid. The monochromatic wash pulls the whole face together with one product, the reason half the fresh-faced looks on your feed use exactly this move. Blush placed well needs almost nothing else: that is the renaissance in one sentence.

    Save this placement map, and flush through more beauty guides on Plumeo. Daily inspiration at @Plumeoblog.
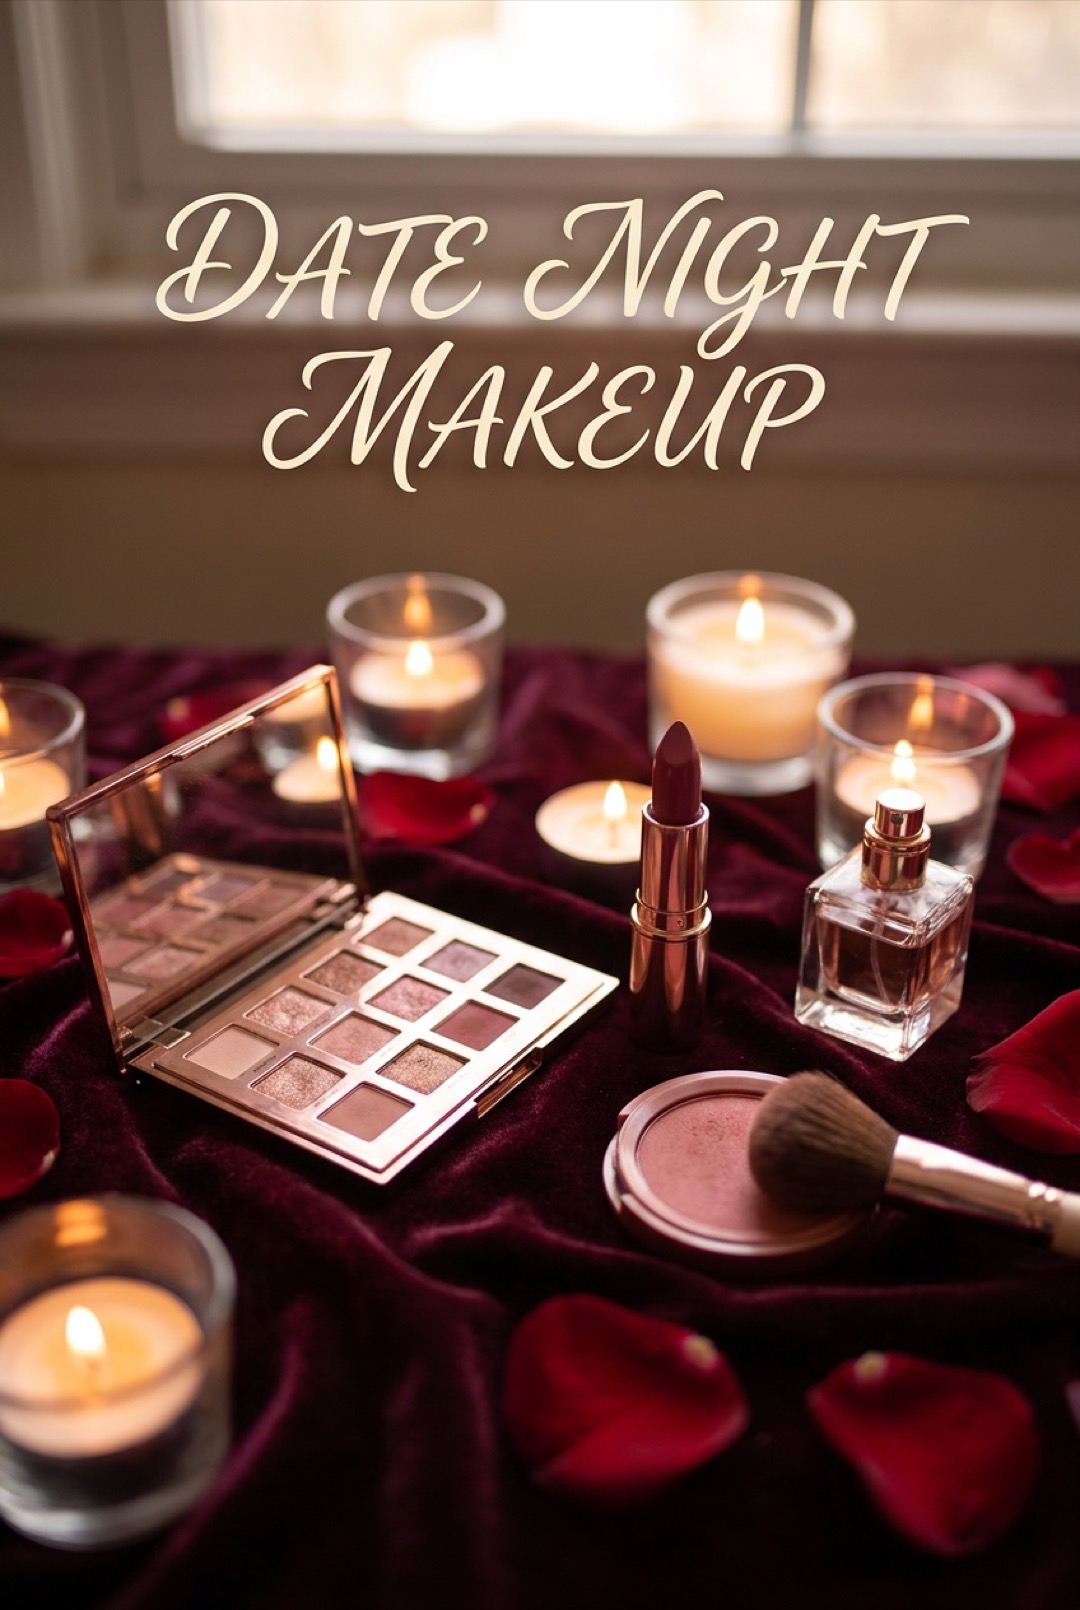
  • Date Night Makeup: Romantic and Camera-Ready

    Date Night Makeup: Romantic and Camera-Ready

    Date night makeup has a specific brief: look like the best version of yourself, survive candlelight, dinner and possible rain, and require zero mirror anxiety across three hours. The answer is a romantic middle register, rose-gold shimmer, real flush, satin berry lips, applied with staying power in mind. Here is the look that meets the brief.

    Skin for candlelight

    Restaurant lighting is warm and low, which flatters glow and exaggerates flatness: build a luminous base with a hydrating primer, a satin-finish foundation, and cream products throughout. Set only the T-zone and under-eyes: the cheekbones keep their sheen. A subtle warm highlight catches every candle in the room, which is, frankly, the point.

    The romantic eye

    1. Warm rose-brown matte through the crease for soft depth.
    2. Rose-gold shimmer pressed across the lid: the shade that flatters every eye color.
    3. A fine brown liner smudged along the upper lashes: softer than black, still defined.
    4. Two coats of mascara, curled first: fluttery beats spiky for this brief.

    Flush and the kiss-test lip

    Cheeks get a genuine-looking flush: a berry or rose cream blush placed high, slightly more than daytime, since low light eats color. Lips take the romantic middle path: a berry or rose satin lipstick, or a stained lip topped with balm, colors that leave a soft trace rather than a crime scene. Blot after applying, and the stain layer underneath means even a lipstick-losing evening ends with color intact.

    The three-hour insurance

    Setting spray over the finished face, powder only where shine genuinely arrives, and a two-item touch-up kit: the lip color and one blotting paper. Everything else is engineered to drift gracefully: cream products fade evenly instead of cracking. The end-of-evening version of this look, slightly softened, arguably beats the fresh application: which is exactly the kind of makeup a date deserves.

    Confidence, the final layer

    The best date makeup is the kind you forget you are wearing: nothing that needs checking, nothing that transfers, nothing that competes with actual conversation. Rose-gold, flush, berry, glow: a look that whispers effort and lets the evening do the talking.

    Save this romantic look, and charm through more beauty tutorials on Plumeo. Daily inspiration at @Plumeoblog.
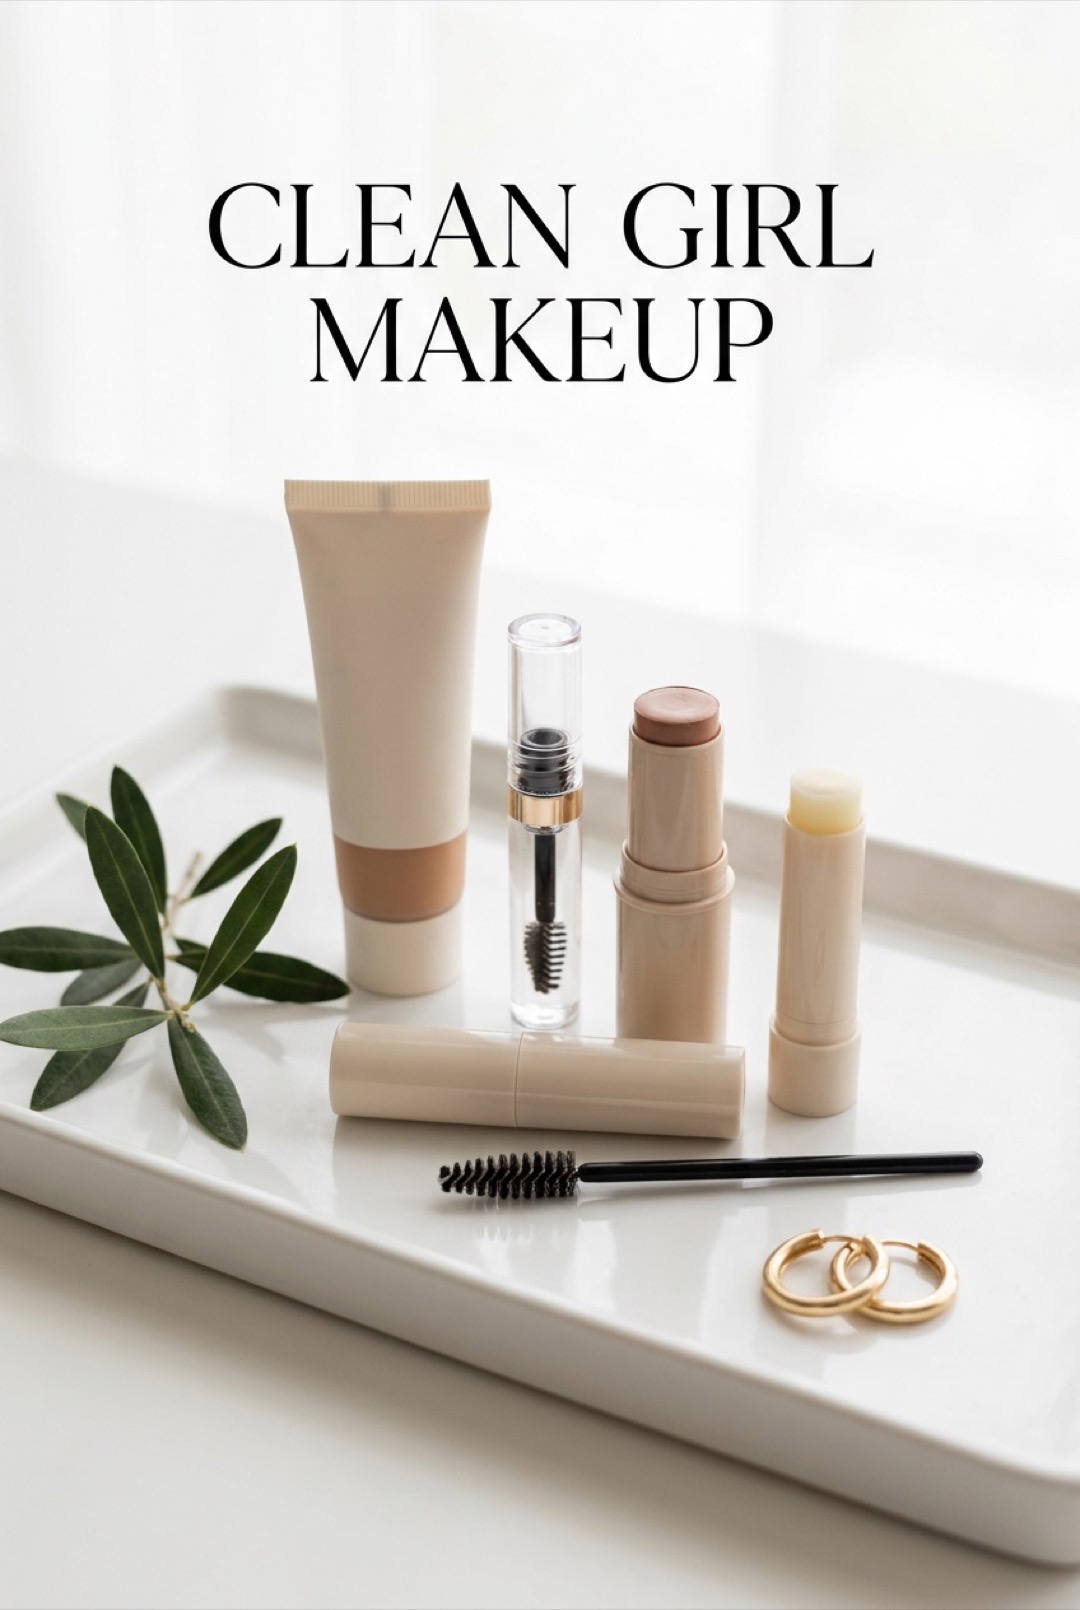
  • Clean Girl Makeup: The Effortless Dewy Routine

    Clean Girl Makeup: The Effortless Dewy Routine

    Clean girl makeup is the art of looking like you woke up glowing: dewy skin, feathered brows, a flush that could be from a brisk walk, lips that shine but do not shout. The aesthetic looks like no makeup and takes about eight minutes, which is precisely the appeal. Here is the full routine and the small tricks that make it read polished instead of plain.

    Skin first, always

    The look is 70 percent skincare: moisturizer massaged in properly, a glowy SPF or primer, then the lightest base you can get away with, a skin tint or tinted moisturizer pressed in with fingers, concealer only where genuinely needed. No full-coverage foundation, no heavy powder: the skin should look like skin, freckles and all, just better hydrated than everyone else’s.

    The five signature moves

    • Soap brows: brushed up and set with clear gel or a swipe of soap: feathered, full, slightly undone.
    • Cream blush: a rosy or peachy cream tapped high on the cheeks and across the nose bridge for the fresh-air flush.
    • Subtle glow: a dab of liquid highlighter on cheekbone tops and inner corners: sheen, never glitter.
    • Curled lashes: curler plus one coat of brown or black mascara, or a lash tint for true laziness rights.
    • Glossy lip: balm, gloss or a sheer tint in a shade your lips already almost are.

    The supporting cast

    Half the clean girl effect happens outside the makeup bag: the slicked bun or claw-clipped hair, gold hoops, glowing skin from actual water and sleep, and a general air of having your life together (the makeup fakes this part convincingly). A spritz of face mist over the finished look melts everything into one seamless surface.

    Keeping it clean, not invisible

    The line between effortless and unfinished is definition: brows groomed, lashes curled, lips glossed. Skip those three and minimal reads tired: include them and the whole face reads intentional. That is the entire secret of the aesthetic, five deliberate touches wearing a disguise of none.

    Save this everyday routine, and glow through more beauty guides on Plumeo. Daily inspiration at @Plumeoblog.
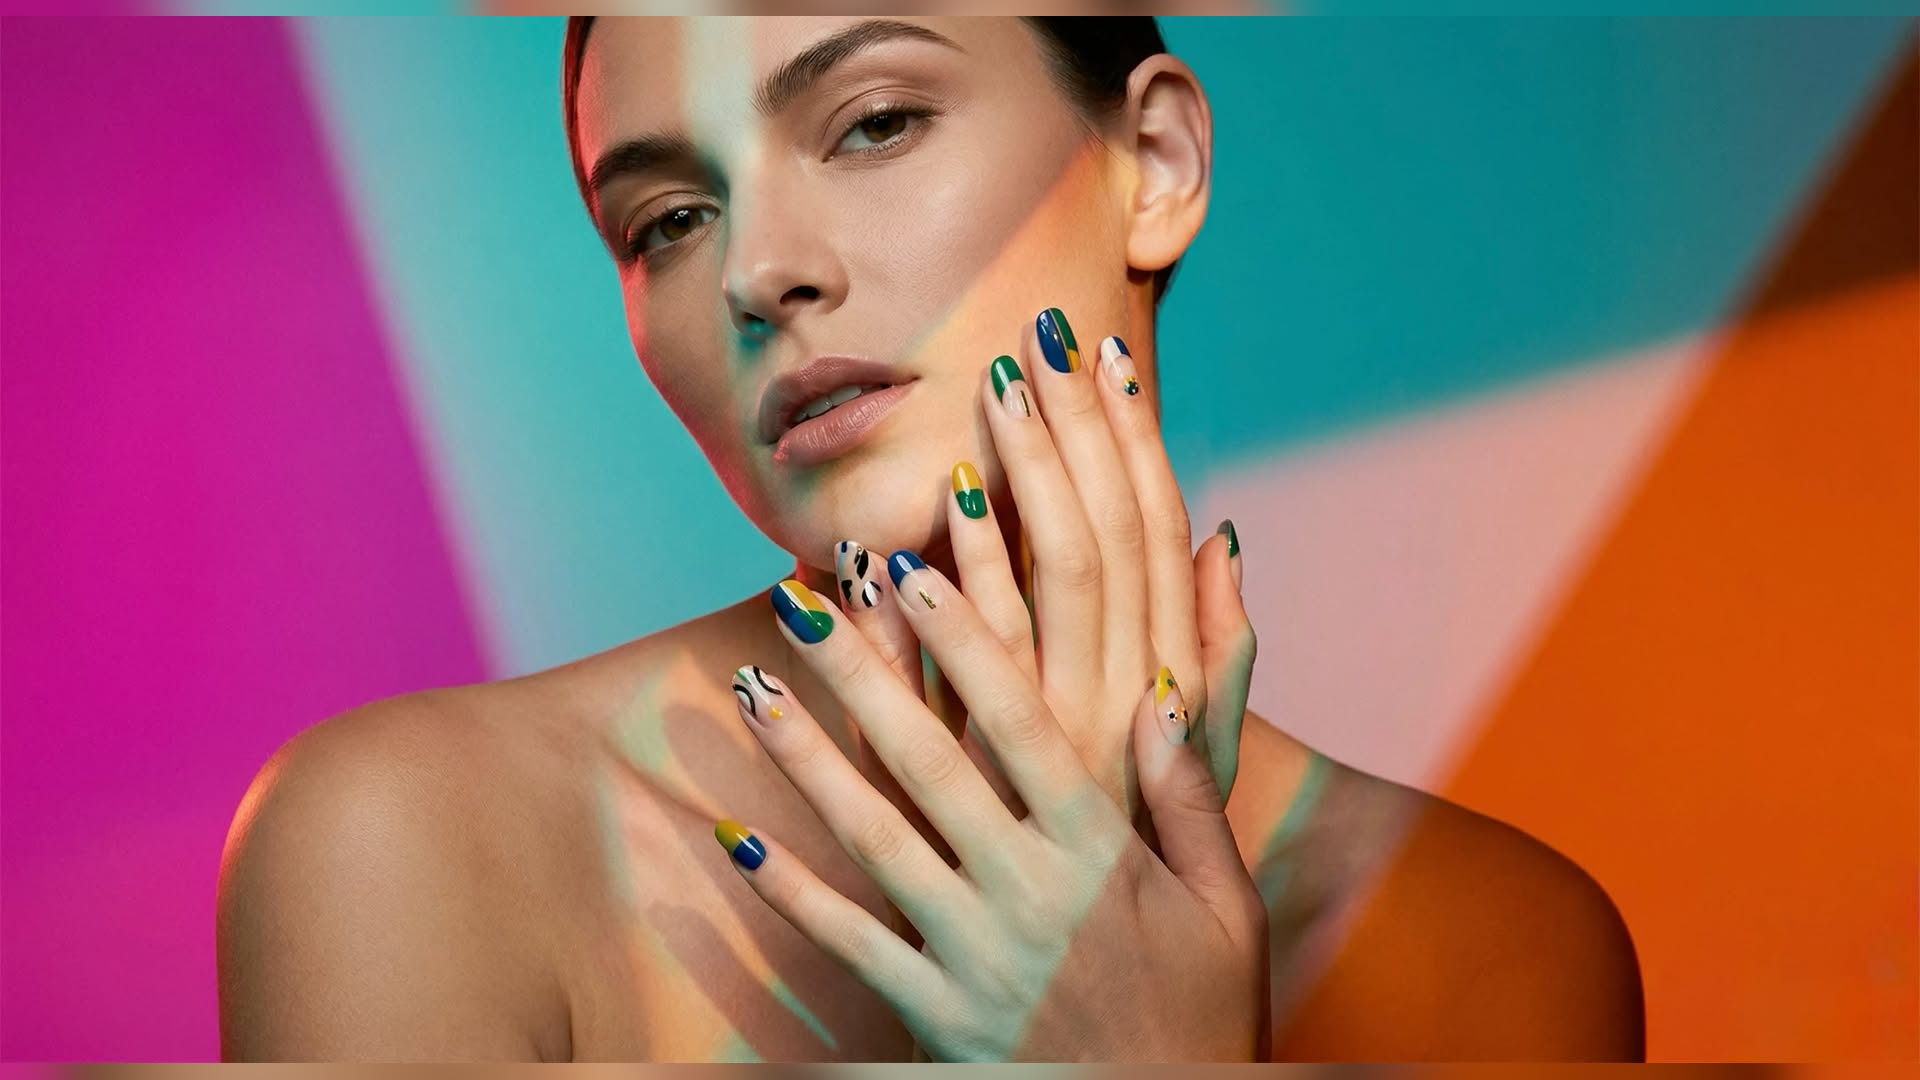
  • Abstract Nail Art Ideas: Wearable Little Paintings

    Abstract Nail Art Ideas: Wearable Little Paintings

    Abstract nail art is the manicure genre with the best secret: it is dramatically easier than it looks. Squiggles, blobs, off-center arcs and marble swirls have no wrong answers, which means wobbly hands produce gallery results by definition. Ten tiny canvases, a couple of polishes and a bobby pin: that is the entire barrier to entry.

    The beginner’s greatest hits

    • The squiggle: one looping freehand line across a nude base: imperfection is the aesthetic.
    • Matisse shapes: organic blobs and leaf-ish cutout forms in two or three colors, one per nail.
    • Abstract dots and dashes: scattered marks like a painter’s shorthand: a bobby-pin head is the only tool.
    • The half-and-half: two colors meeting in a soft wavy border instead of a straight line.
    • Marble swirl: two wet polish drops swirled with a toothpick: chaos, then a topcoat, then compliments.

    The mismatched-manicure principle

    Abstract sets are deliberately non-identical: each nail gets a different design from the same small palette, a squiggle here, two blobs there, one nearly-bare nail with a single arc as the rest note. The shared colors are what keep ten different paintings reading as one manicure. This is also the practical genius of the genre: no design must be repeated accurately ten times, which is the precise step where most home nail art dies.

    Palettes with a point of view

    Choose three to four colors and stay inside them: warm terracotta-cream-mustard-chocolate for the earthy editorial look, black and white on nude for the gallery minimal, pastels with one red interruption for playful, or jewel tones with gold flecks for evening. A milky sheer or nude base instead of stark color keeps the shapes floating and the grow-out forgiving: matte topcoat pushes everything further toward actual painting.

    Tools from the junk drawer

    No professional kit required: a bobby pin makes dots, a toothpick drags swirls, a cut drinking straw stamps circles, and the polish brush itself, wiped nearly dry, paints respectable blobs. The one purchase worth making is a cheap fine liner brush for squiggles. Work in thin layers, let each dry, and seal generously: abstract art still chips like ordinary polish, tragically.

    Permission to play

    The deeper appeal of abstract nails is the same as a sketchbook: low stakes, pure play, ten do-overs per hand available weekly. Save the sets that stop your scroll, steal their palettes rather than their exact shapes, and let each manicure be its own small edition. Art you wear, repaint and defend at brunch: no gallery offers better terms.

    Save these artsy sets, and paint through more beauty inspiration on Plumeo. Daily ideas at @Plumeoblog.

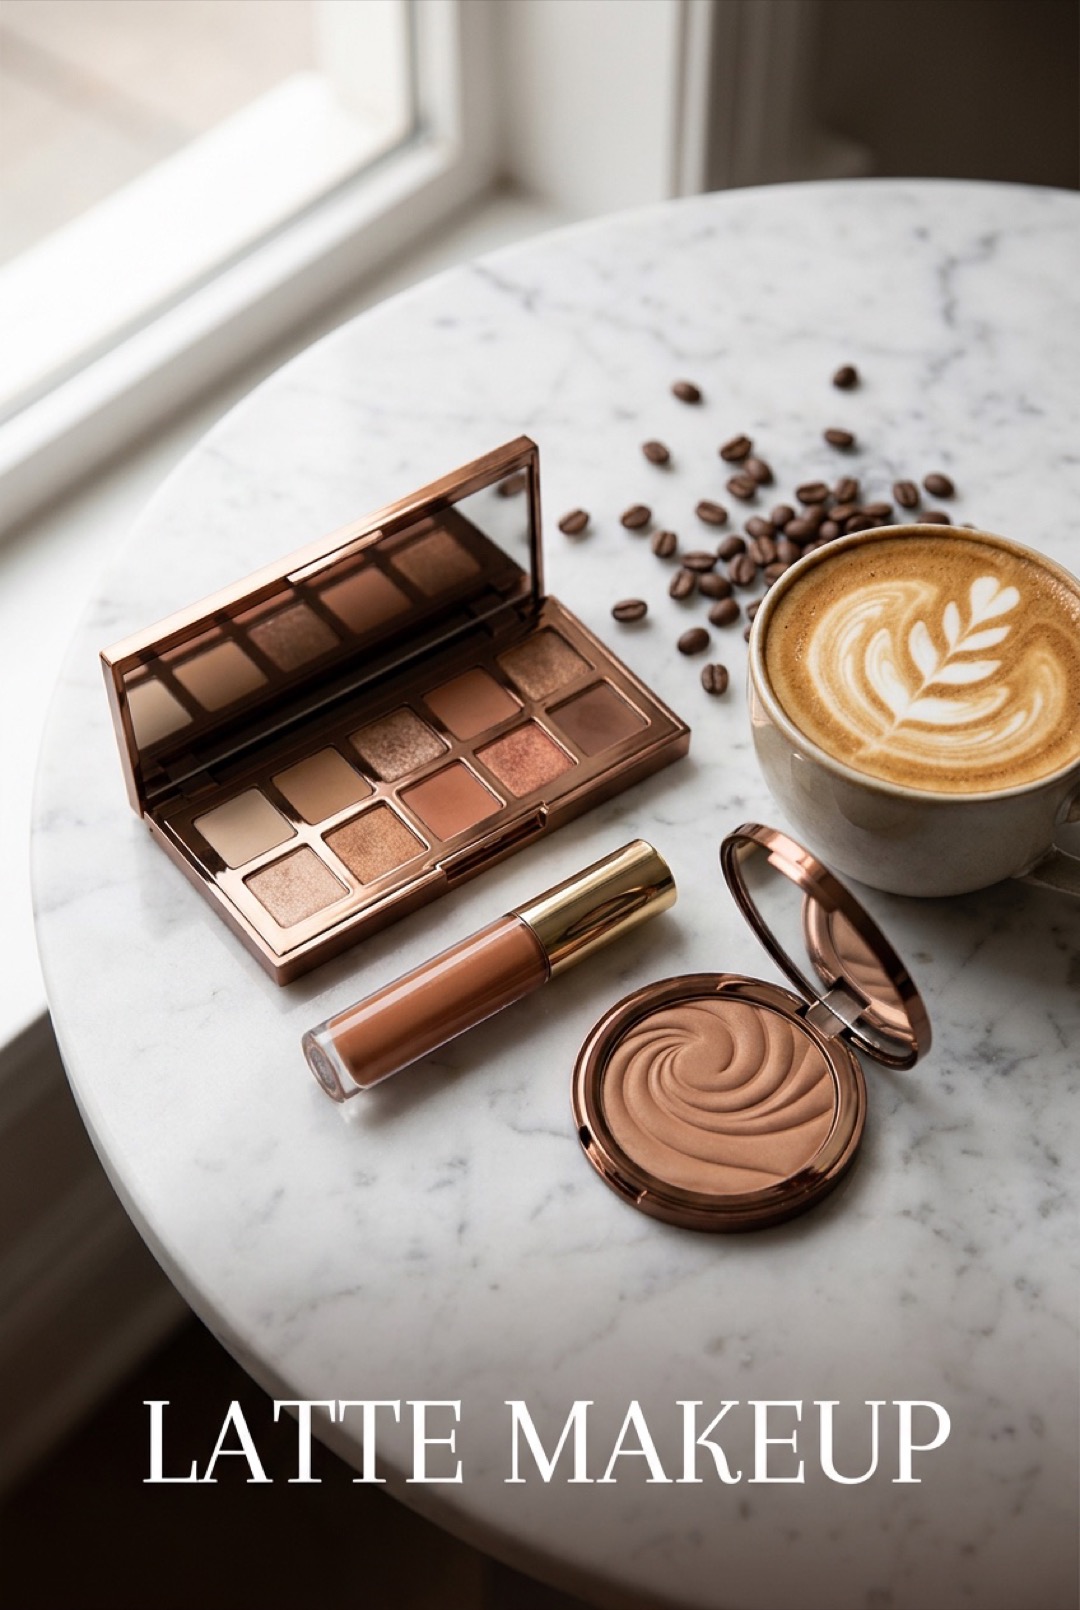
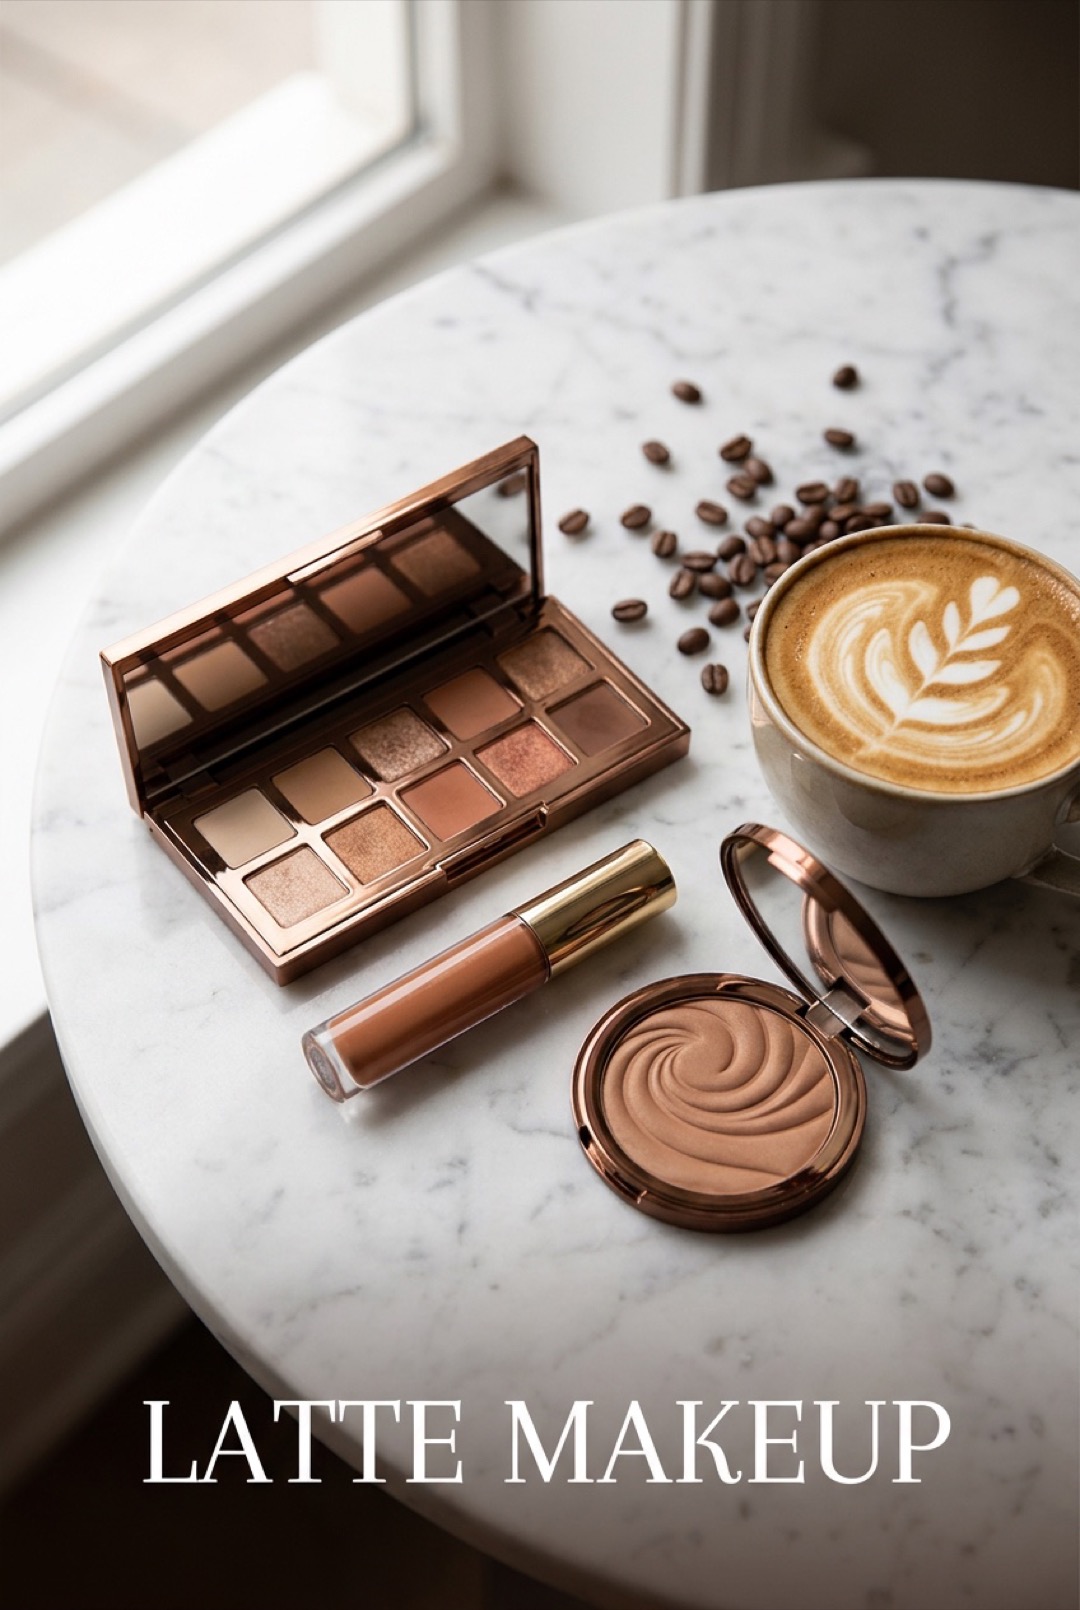
  • Latte Makeup: The Warm-Toned Trend Tutorial

    Latte Makeup: The Warm-Toned Trend Tutorial

    Latte makeup does exactly what the name promises: it wraps the whole face in the warm browns of a good latte, espresso liner, caramel gloss, milky bronze shimmer, foam-soft skin. The trend earned its staying power by being universally flattering and nearly impossible to overdo: one palette, every feature, total harmony.

    The philosophy: one warm palette

    The entire look lives between cream and espresso: golden bronzes, caramels, warm taupes and soft browns, applied tonally so eyes, cheeks and lips feel poured from the same cup. Cool tones are the only rule-breaker: leave the silvers, pinks and berry shades for another day. The warmth is what creates the signature sun-kissed cozy effect.

    Building the look

    1. Skin: a glowy base, then cream bronzer generously applied: cheek hollows, temples, a touch on the nose bridge where sun would land.
    2. Eyes: a warm matte brown through the crease, golden-bronze shimmer on the lid, and the same bronzer as a wash of warmth to tie it together.
    3. Liner: chocolate brown, softly smudged: espresso, not black.
    4. Cheeks: a warm terracotta or bronzy blush blended high.
    5. Lips: the finishing signature: warm brown liner, caramel or toffee gloss over the top.

    Matching it to your depth

    Latte scales to every skin tone by adjusting the roast: fair skin suits the milky end, soft caramels and light bronzes: medium tones carry the classic golden-brown middle: deep skin looks spectacular in the espresso register, rich chocolates and molten golds with high shine. The trick is keeping the undertone warm and choosing shades one or two steps from your natural depth.

    Why the trend stuck

    Latte makeup survived trend churn because it is really a formula, not a fad: monochromatic warmth reads expensive, hides application imperfections, and works from office lighting to golden hour. It also builds from products most people already own, one bronzer doing three jobs is the whole hack. Cozy season on a face: order accordingly.

    Save this warm-toned tutorial, and sip through more beauty guides on Plumeo. Daily inspiration at @Plumeoblog.
  • 5-Minute Makeup: The Realistic Everyday Routine

    5-Minute Makeup: The Realistic Everyday Routine

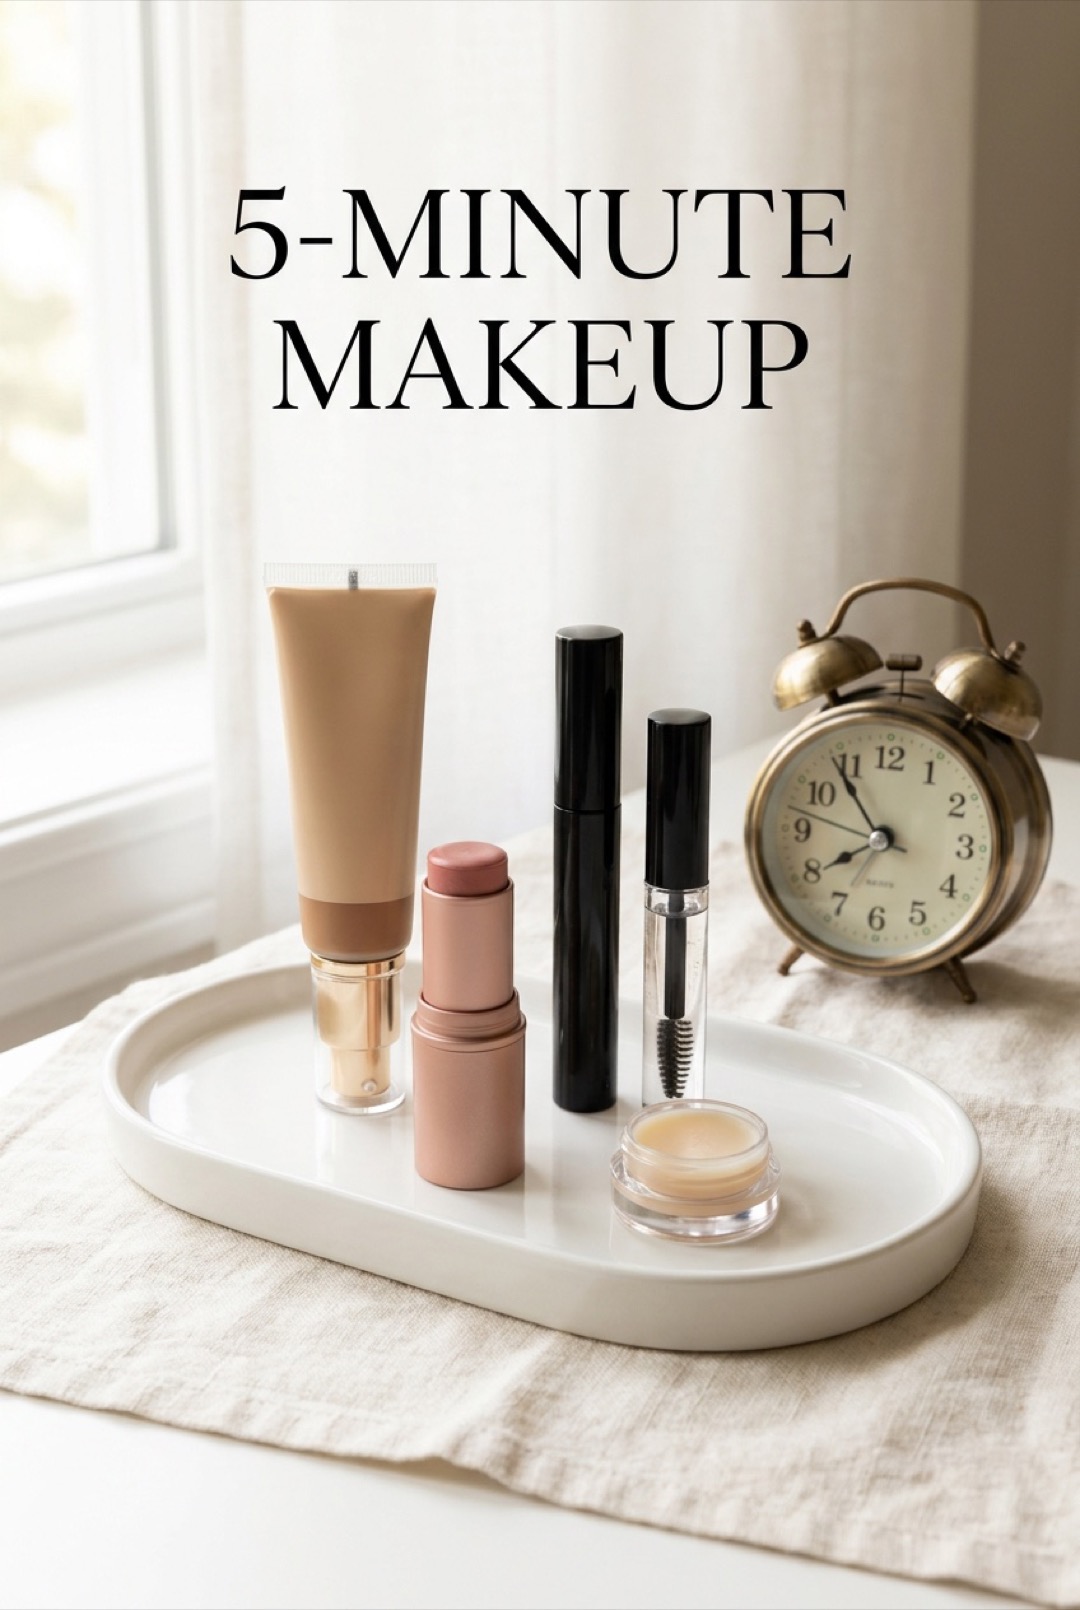
    The five-minute face is not about rushing a long routine: it is a different routine, engineered from multitasking products and an order that wastes no motion. Done right, it delivers a genuinely finished look, even skin, warm cheeks, defined eyes, in the time the coffee brews. Here is the version that actually takes five minutes, timed honestly.

    The five-product kit

    • Tinted moisturizer or skin tint with SPF: skincare, sun protection and base in one layer.
    • Concealer: one that handles under-eyes and blemishes both.
    • A cream multistick: blush shade that doubles on lips: the single biggest time-saver in makeup.
    • Brow gel: tinted, brushed up, done.
    • Mascara: the difference between a face that reads awake and one that reads finished.

    The five minutes, choreographed

    1. 0:00-1:00 Skin tint pressed in with fingers, moving fast from the center outward.
    2. 1:00-2:00 Concealer dabbed under eyes and on any spots: pat, do not rub.
    3. 2:00-3:00 Multistick swiped on cheeks and blended with two fingers: same stick tapped on lips.
    4. 3:00-4:00 Brow gel up and out, both brows.
    5. 4:00-5:00 Lash curler (optional but transformative) and one coat of mascara.

    The upgrades that cost thirty seconds

    With half a minute to spare: a dab of highlighter on the cheekbones, a whisper of bronzer where sun lands, or a spritz of setting spray for humidity insurance. On video-call days, prioritize brows and mascara: cameras read eyes first. The routine flexes without breaking the clock.

    Why fast can look this good

    Cream products blend with fingers, forgive imprecision and melt into skin, which means speed stops costing quality. Keep the five products in one pouch, in application order, and the routine becomes automatic: a finished face on autopilot, every single morning, with the snooze button still an option.

    Save this morning-saver, and speed through more beauty routines on Plumeo. Daily inspiration at @Plumeoblog.
  • The Perfect Red Lip: Find Your Shade and Make It Last

    The Perfect Red Lip: Find Your Shade and Make It Last

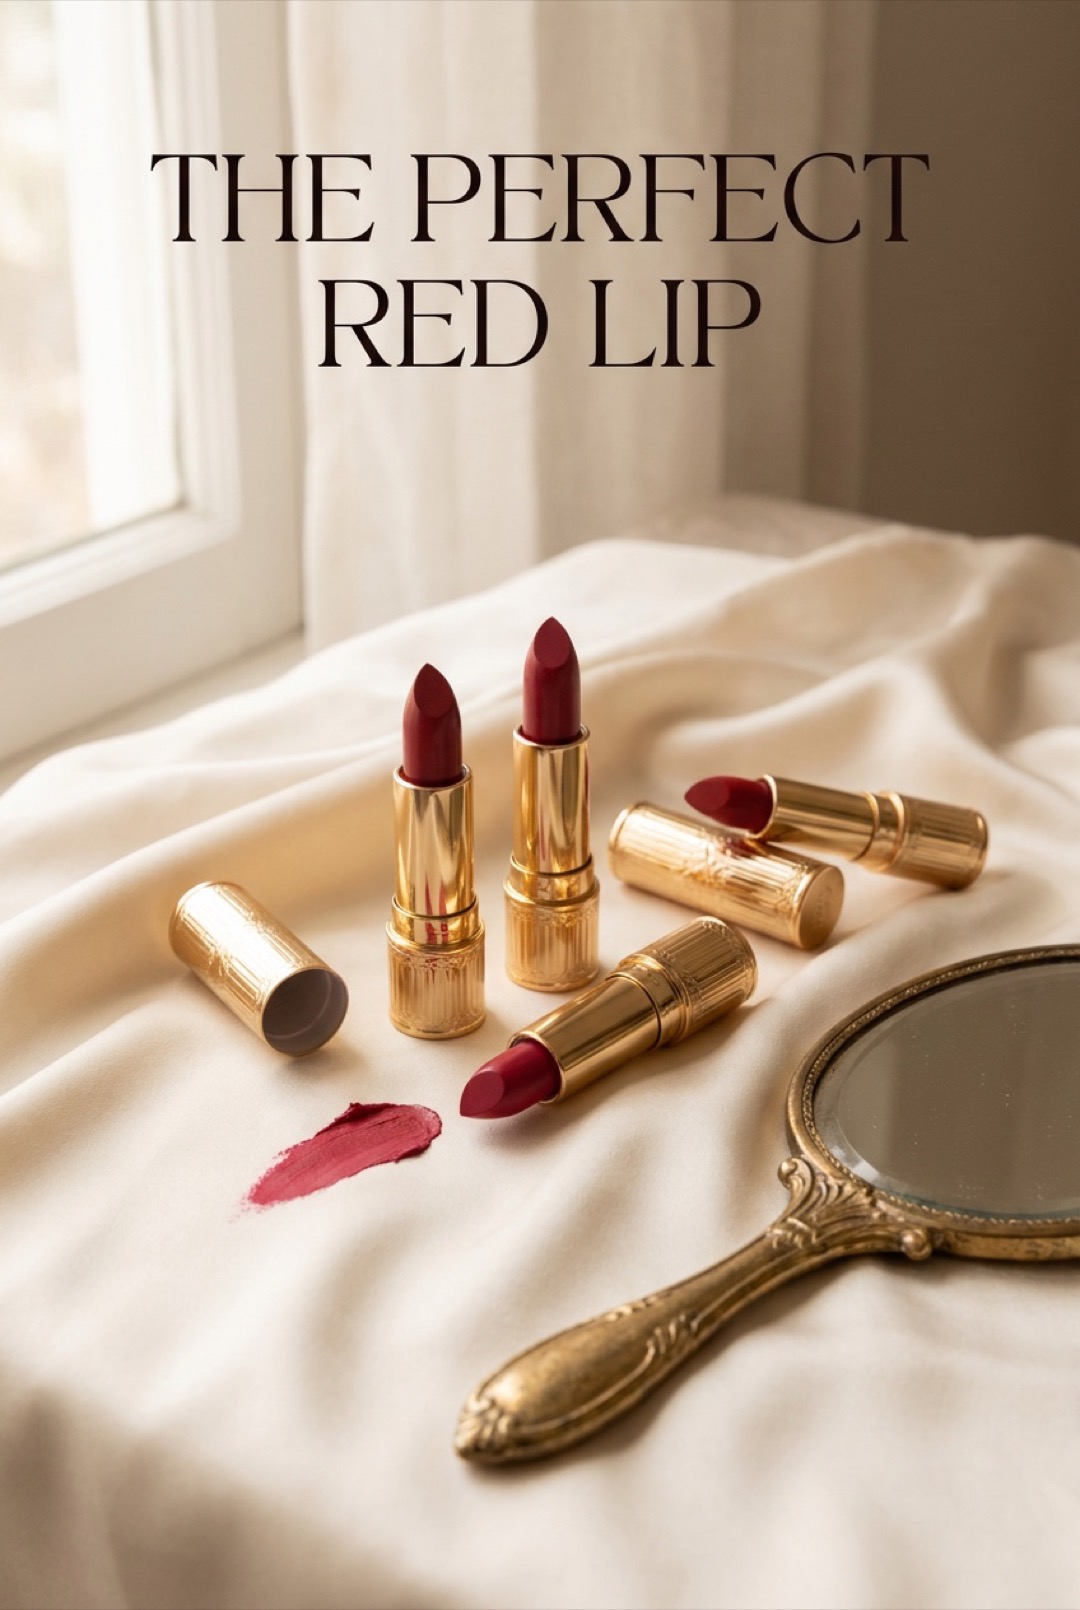
    The red lip is the most powerful single product in makeup: one confident swipe upgrades bare skin to finished, jeans to evening, tired to deliberate. It has been doing this since the 1920s and shows no signs of retiring. The two skills that separate wearing red from being worn by it: choosing your red, and applying it to survive dinner.

    Finding your red

    Every red leans warm or cool, and matching the lean to your undertone is the entire shade game. Cool or pink undertones shine in blue-based reds: true crimson, cherry, raspberry-leaning shades that also make teeth look whiter. Warm or golden undertones glow in orange-based reds: tomato, brick, poppy. Neutral undertones win the lottery and wear both. When testing, try shades on the lips, not the wrist, and in daylight: the right red makes the whole face look awake before any other makeup goes on.

    The application that lasts

    1. Exfoliate and balm first: red magnifies texture, so smooth the canvas, then blot the balm away.
    2. Line with a matching red pencil: edges first for precision, then fill the entire lip: the liner base is the longevity secret.
    3. Apply lipstick from the bullet or a brush, press lips together, blot on tissue.
    4. Second thin coat, and for bulletproof wear, dust translucent powder through a tissue over the lips.
    5. Clean the border with a whisper of concealer on a small brush: the crisp edge is what reads expensive.

    Matte, satin or gloss

    Matte is the classic power move and the longest wearing: modern formulas have lost the old chalk. Satin is the forgiving everyday red, comfortable and touch-up friendly. Gloss or sheer red is the low-commitment gateway: one layer of a red tint gives the effect at half the volume. Own one of each and every occasion is covered.

    Let it star

    A red lip asks the rest of the face to whisper: glowing skin, a neat brow, curled lashes with one mascara coat, blush kept soft. That is the entire look, and it is deliberately the fastest glamour in existence: ninety seconds from bare to iconic. Keep the bullet in every bag you own: few objects deliver more confidence per gram.

    Save this classic guide, and swipe through more beauty tutorials on Plumeo. Daily inspiration at @Plumeoblog.
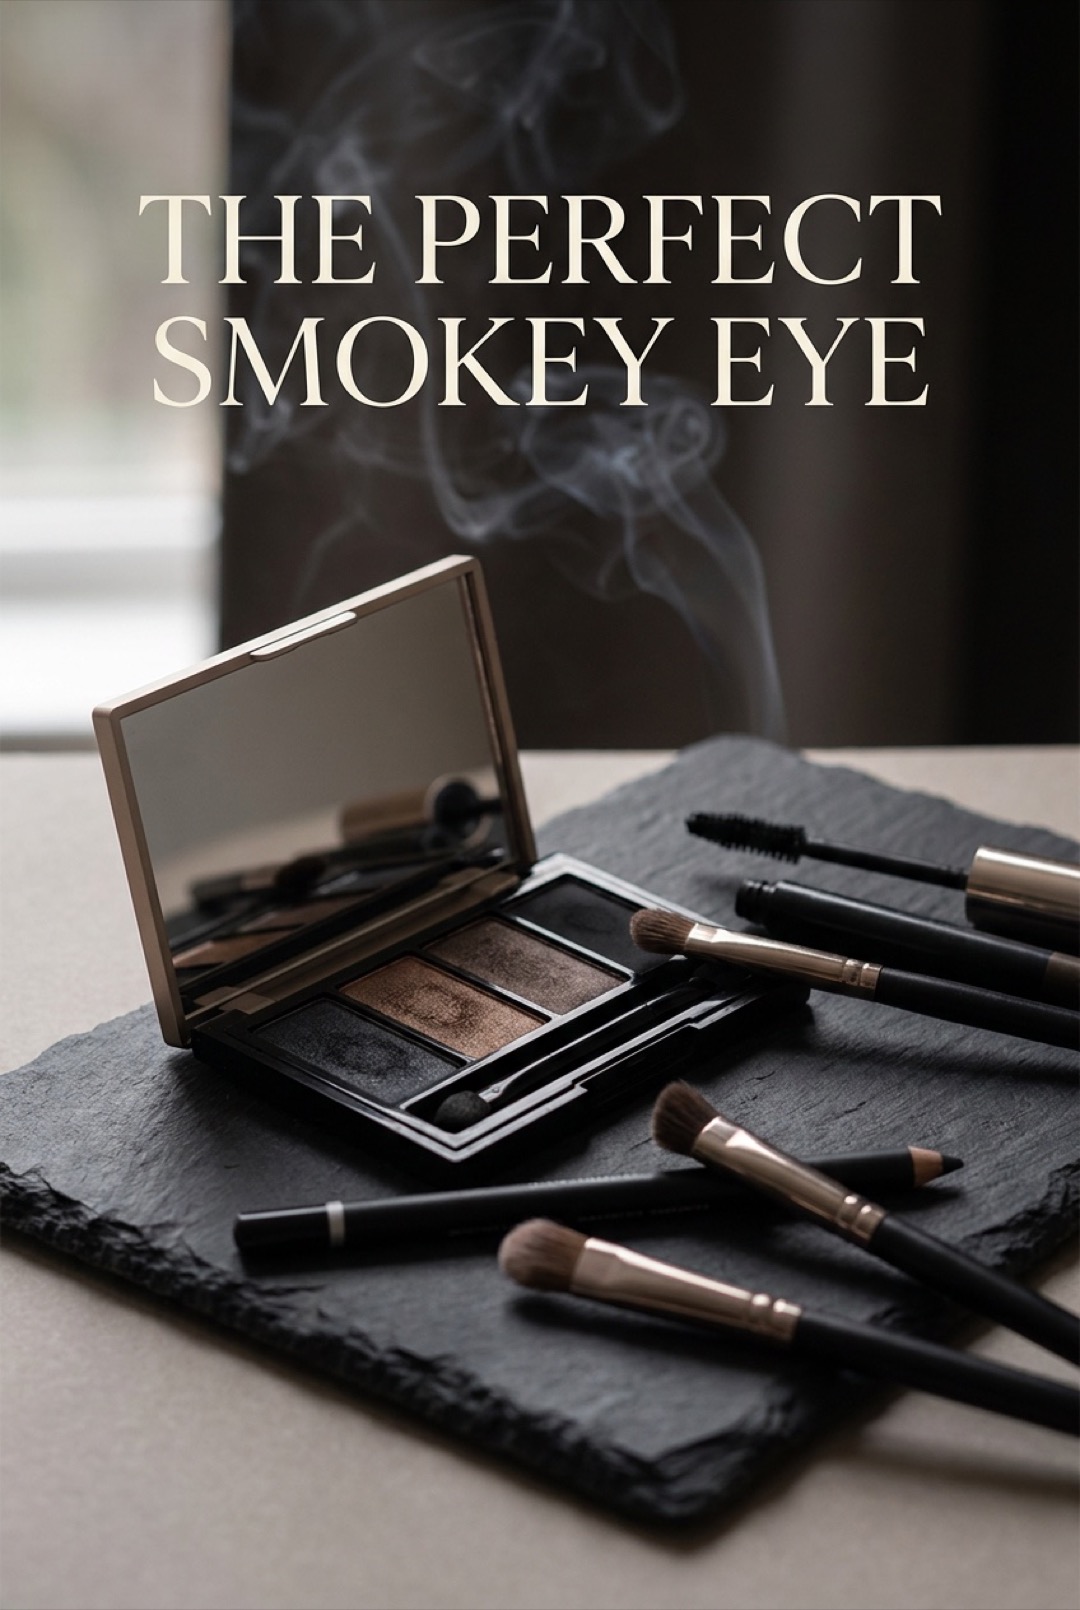
  • The Perfect Smokey Eye: Step-by-Step Tutorial

    The Perfect Smokey Eye: Step-by-Step Tutorial

    The smokey eye is makeup’s most requested magic trick and its most feared: everyone wants the sultry blended-to-nothing gradient, everyone remembers the time it turned into a black eye. The secret is that a smokey eye is built light to dark in thin layers, with more blending than shadow. Follow the order and it genuinely cannot go wrong.

    Prep determines everything

    Prime the lids (concealer set with powder works), and do the eyes before the base makeup: smokey eyes shed dark fallout, and cleaning it off bare skin beats redoing foundation. Have a fluffy blending brush, a flat packing brush and a smudger ready: the brushes matter more than the palette.

    The build, in order

    1. Transition first: a warm matte brown blended through the crease with windscreen-wiper strokes: this haze is what makes everything else blendable.
    2. Deepen gradually: a darker brown into the outer third and crease, small amounts, building up.
    3. The dark heart: charcoal or black pressed into the outer corner and along the lash line only, then blended inward and upward until no edge survives.
    4. Lid light: a bronze or gunmetal shimmer on the center of the lid lifts the whole eye off flat.
    5. Lower line: smudge the same dark shade under the lower lashes, connecting at the outer corner: kohl on the waterline for full drama.
    6. Finish: generous black mascara, and lashes if the evening earns them.

    The rescue kit

    Too dark: buff the matte transition shade over the top, it dilutes instantly. Muddy: add the shimmer lid pop, contrast reads as intention. Uneven: match with the fluffy brush and whatever is already on it, never fresh product. Fallout: a swipe of micellar water on a cotton bud, then concealer. Every smokey eye ever photographed used at least one of these.

    Balance the face

    A proper smokey eye is the whole statement: skin stays luminous and neutral, blush soft, lips nude or barely-there gloss. The classic charcoal version owns evenings, but the same architecture works in brown, bronze, plum or navy for days when black feels heavy: same steps, softer smoke.

    Save this classic tutorial, and blend through more makeup guides on Plumeo. Daily inspiration at @Plumeoblog.