Soft-luxury living

Category: food

  • Polish Pierogi: Pillowy Dumplings Worth the Pinch

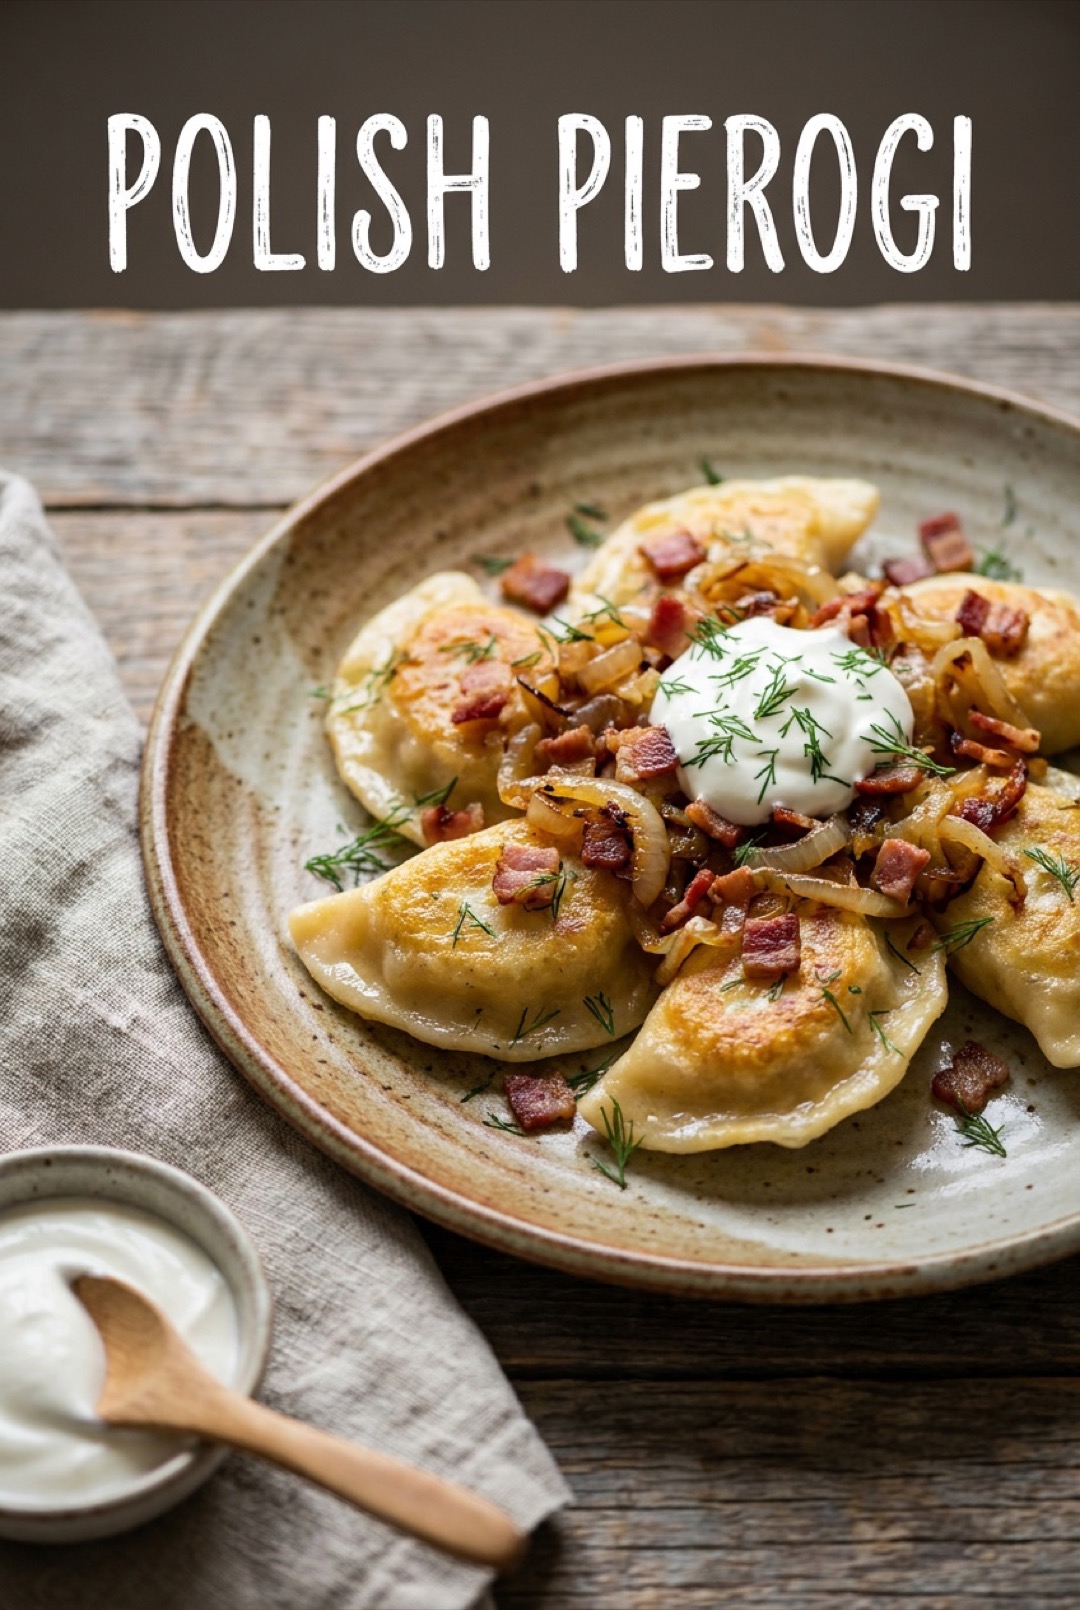
    Polish Pierogi: Pillowy Dumplings Worth the Pinch

    Pierogi are Poland’s edible hug: tender half-moon dumplings around a filling of buttery potato and cheese, boiled until pillowy, then fried in butter until the edges catch gold. Topped with caramelised onions and cold sour cream, they are proof that humble ingredients, handled with care, beat luxury ones handled without.

    The dough and the filling

    • Dough: flour, warm water, an egg, a spoon of soft butter and a pinch of salt, kneaded smooth and rested 30 minutes
    • Classic ruskie filling: mashed potato, twaróg or ricotta-plus-sharp-cheddar, fried onion, plenty of black pepper
    • Toppings: butter-caramelised onions, crispy bacon, sour cream and dill

    Shaping without tears

    1. Roll the dough thin, about 2mm, and cut circles with a glass.
    2. Place a walnut of filling slightly off-centre.
    3. Fold, press out the air, and pinch the seam firmly, crimp with a fork if in doubt.
    4. Keep finished pierogi under a tea towel so they do not dry out.

    Boil, then fry

    Drop pierogi into well-salted simmering water and scoop them out thirty seconds after they float: that is the whole boil. You can eat them soft at this stage, but the classic finish is a shallow fry in foaming butter until both sides blister golden. The contrast of crisp shell and creamy middle is what turns a dumpling into a devotion.

    Batch them like a Polish grandmother

    Pierogi freeze beautifully: lay uncooked dumplings on a floured tray, freeze solid, then bag them, they go straight from freezer to simmering water. Make a triple batch on a slow Sunday and future weeknights are twenty minutes from butter-fried comfort. Fillings scale to imagination: sauerkraut and mushroom, spiced lentils, even sweet cherries with sugar for dessert.

    Save this comfort classic, and fill your board with more world recipes on Plumeo. Daily inspiration at @Plumeoblog.

  • Argentinian Empanadas: Golden Pockets of Pure Comfort

    Argentinian Empanadas: Golden Pockets of Pure Comfort

    Empanadas are Argentina’s answer to the eternal question of how to make anything better: wrap it in pastry. The classic porteña version holds juicy beef with olives, egg and a whisper of cumin inside a golden half-moon, crimped with the braided repulgue fold that separates casual cooks from empanada people.

    Filling with the right juiciness

    • Beef, hand-chopped or coarse-ground, cooked with plenty of onion, the secret to juiciness
    • Paprika, cumin, a pinch of chilli and dried oregano
    • Green olives and chopped hard-boiled egg folded in at the end
    • The crucial rest: chill the filling overnight so the juices set and never leak

    Dough and shaping

    1. Make a supple dough of flour, butter or beef fat, salt and warm water, or buy tapas discs and feel zero guilt.
    2. Spoon cold filling onto each disc, brush the rim with water.
    3. Fold, press, then crimp the repulgue: pinch and fold a corner over itself repeatedly along the edge to form a rope.
    4. Egg-wash and bake at 220°C until deeply golden, about 20 minutes.

    Chimichurri on the side

    Whisk parsley, garlic, oregano, red wine vinegar, chilli flakes and olive oil, and let it sit while the empanadas bake. The bright, sharp sauce cuts the rich pastry perfectly, and whatever remains is tomorrow’s best friend on eggs, steak or roasted vegetables. In Argentina the sauce debate is regional and eternal: making both styles is the diplomatic option.

    Batch, freeze, impress

    Empanadas freeze unbaked with grace: tray-freeze, bag, and bake from frozen with five extra minutes. Fillings run the map, corn and cheese humita, spinach and ricotta, spiced chicken, so a mixed tray turns any gathering into a small festival. Mark fillings with different crimps, the traditional trick, so nobody bites into a mystery.

    Save these golden pockets, and snack through more world recipes on Plumeo. Daily inspiration at @Plumeoblog.
  • Malaysian Laksa: The Coconut Curry Noodle Bowl

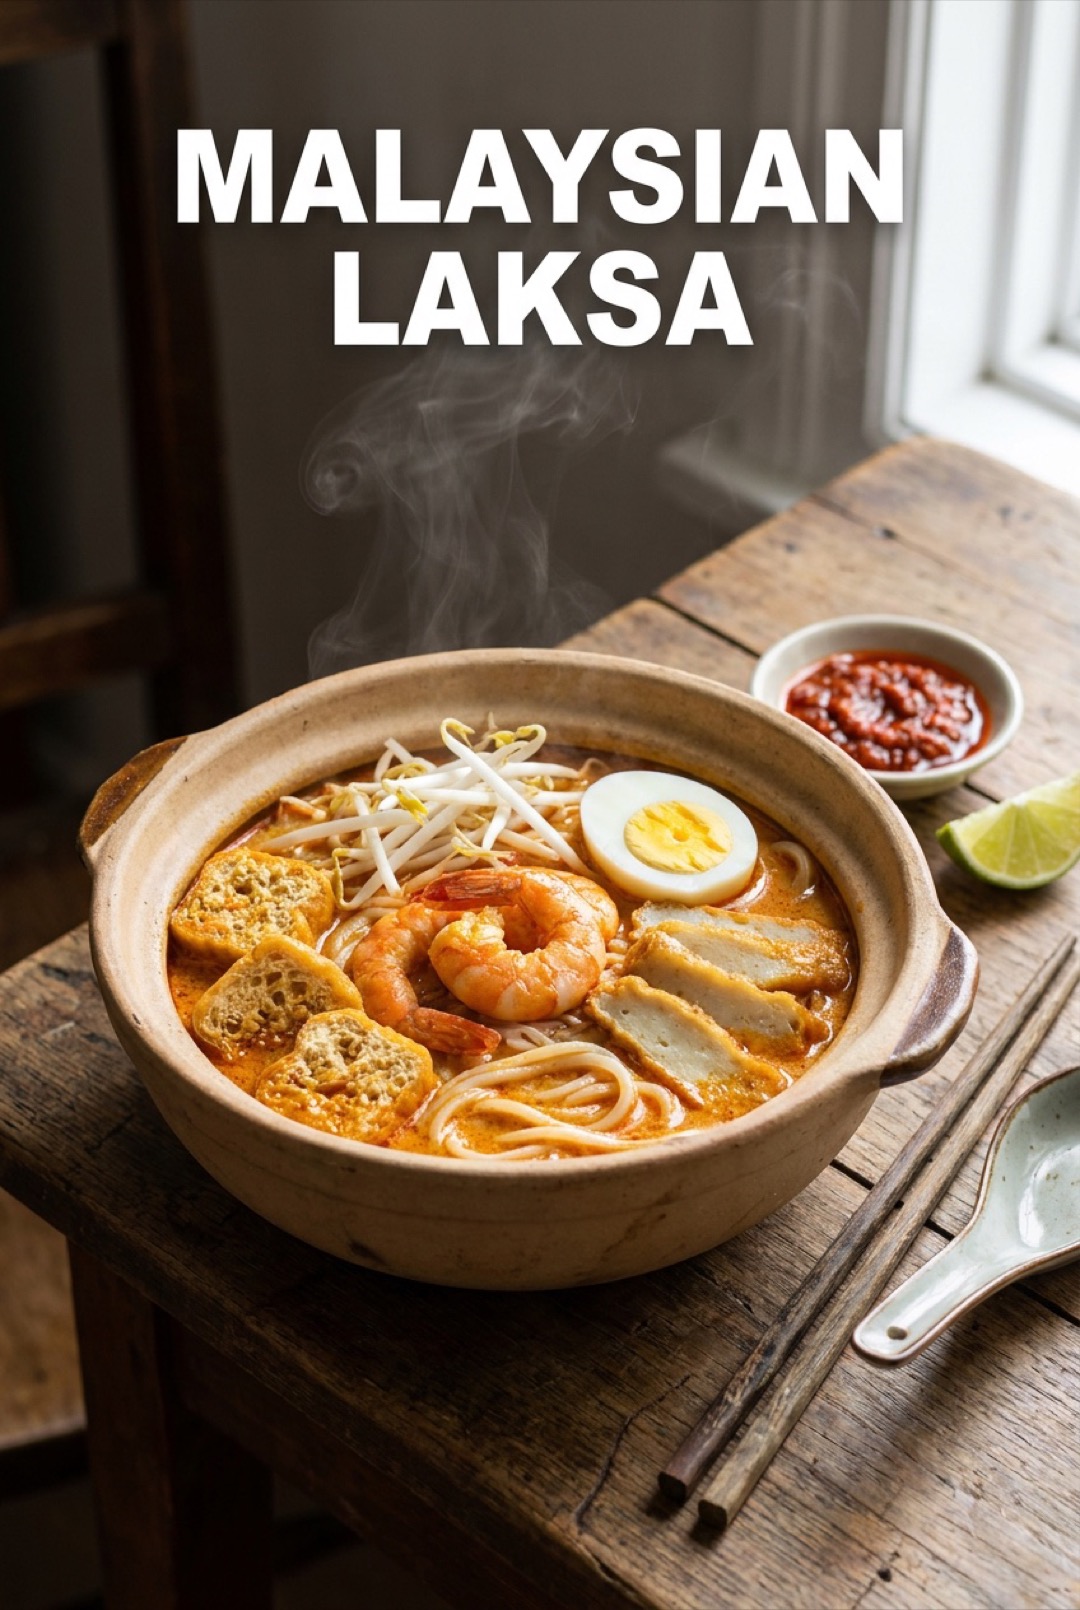
    Malaysian Laksa: The Coconut Curry Noodle Bowl

    Curry laksa is Malaysia in a bowl: a rich, lemongrass-scented coconut curry broth over slippery noodles, loaded with prawns, tofu puffs that drink the soup, bean sprouts and a fiery dab of sambal. It is the hawker-stall lunch people fly home for, and the broth is entirely buildable in a home kitchen.

    The laksa paste

    • Shallots, garlic, lemongrass, galangal and fresh turmeric
    • Dried chilies, soaked, plus candlenuts or macadamias for body
    • Belacan (shrimp paste), the funky soul of the broth
    • Blitzed smooth and fried in oil until fragrant and split

    Building the bowl

    1. Fry the paste low and slow until the oil turns red: this step is the flavour.
    2. Add stock and coconut milk: simmer twenty minutes.
    3. Season with fish sauce and a pinch of sugar: poach the prawns in the broth.
    4. Bowl the noodles (thick rice noodles, or a mix with egg noodles), add tofu puffs and sprouts.
    5. Ladle over the hot broth and finish with egg, laksa leaf or coriander, lime and sambal.

    The tofu puff trick

    Fried tofu puffs are laksa’s secret sponges: halve them so they soak up broth and burst with soup when bitten. They are sold in bags at any Asian grocer and freeze well, so keep a stash. Between the puffs, the noodles and the prawns, every spoonful of a good laksa carries three textures and one unified, coconut-rich heat.

    Make the paste work twice

    The paste is the labour, so double it: it freezes for months and turns a weeknight into a fifteen-minute laksa with stock, coconut milk and whatever protein the fridge offers. Chicken laksa, cockle laksa, an all-vegetable version with extra puffs: the broth forgives everything except timidity with the sambal.

    Save this hawker classic, and slurp through more world recipes on Plumeo. Daily inspiration at @Plumeoblog.
  • Filipino Chicken Adobo: One Pot, Four Ingredients, Magic

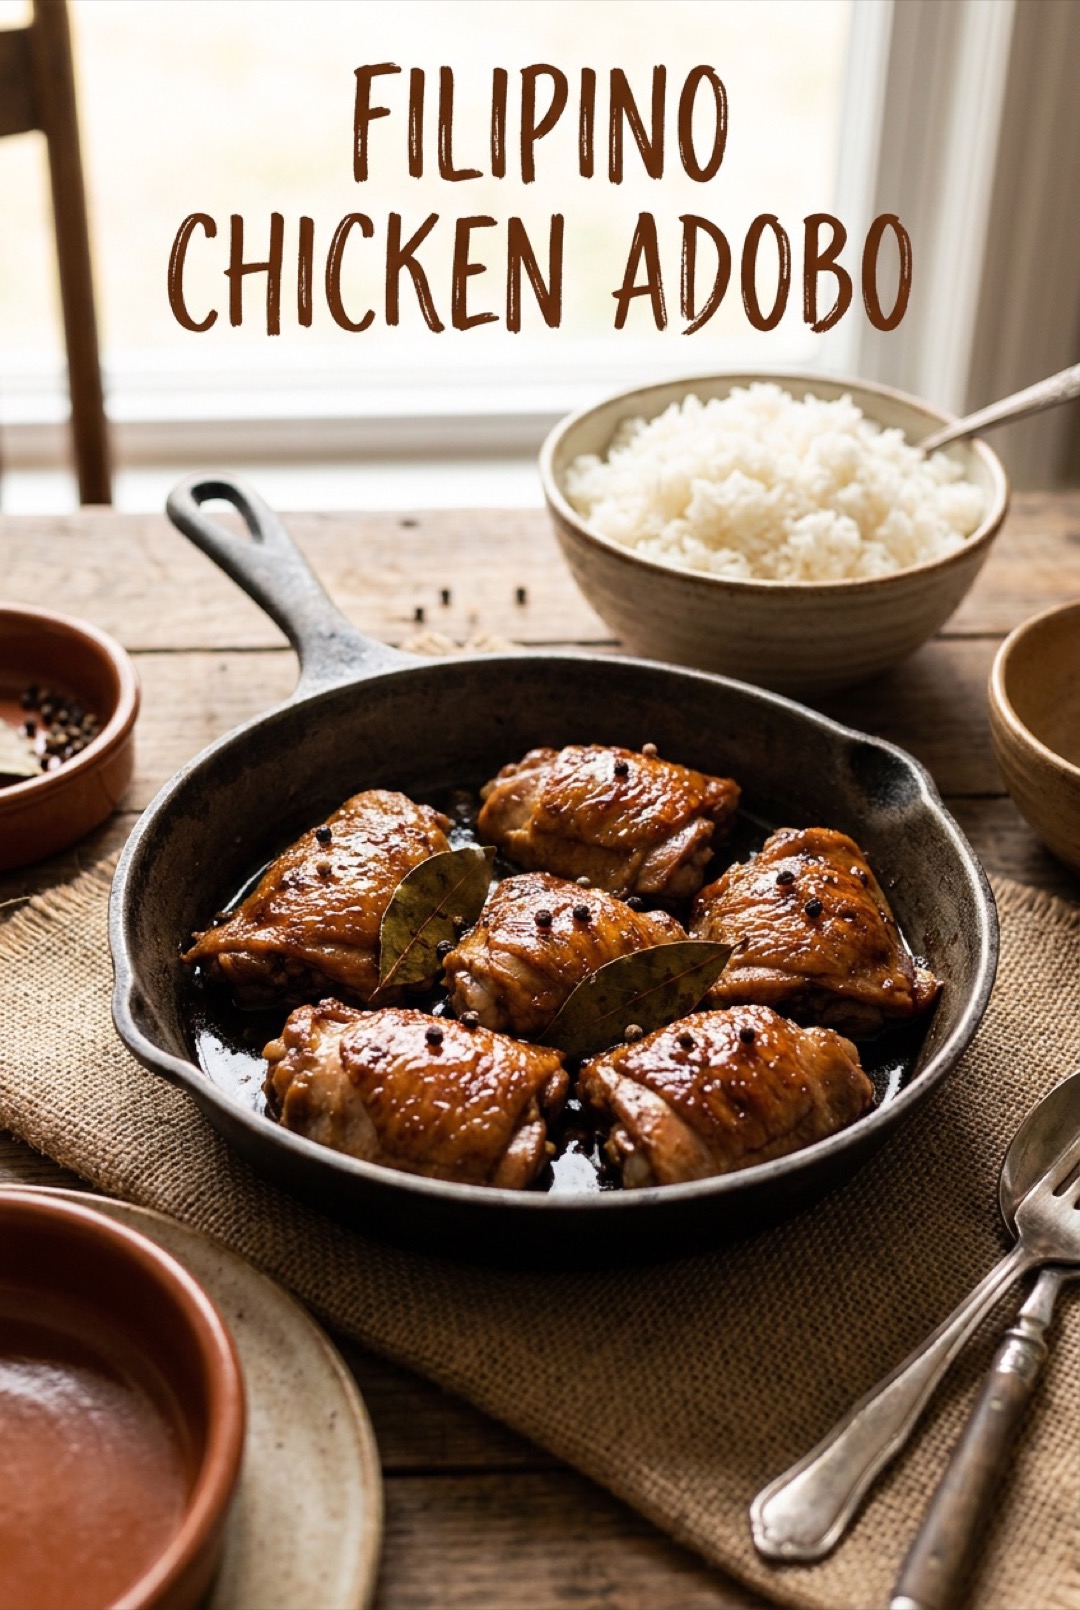
    Filipino Chicken Adobo: One Pot, Four Ingredients, Magic

    Adobo is the Philippines in one pot: chicken braised in soy sauce and vinegar with garlic, bay and black peppercorns until the meat is spoon-tender and the sauce turns dark and glossy. It looks too simple to be special, and then you taste it, salty, tangy, garlicky, rich, and understand why every Filipino family guards its own version.

    The whole ingredient list

    • Chicken thighs, bone-in for the best sauce
    • Soy sauce and cane or white vinegar, roughly 1:1
    • A whole head of garlic, smashed
    • Bay leaves and whole black peppercorns

    The method

    1. Marinate the chicken in the soy, vinegar and garlic for 30 minutes if time allows.
    2. Simmer everything together, uncovered, without stirring for the first ten minutes: Filipino cooks let the vinegar “cook off” its raw edge.
    3. Braise gently 30 to 40 minutes until tender.
    4. Optional but glorious: fish out the chicken, reduce the sauce to a glaze, and crisp the skin under a hot grill before recombining.

    The rice is mandatory

    Adobo sauce exists to be spooned over steamed white rice: the salty-sour glaze soaking into hot grains is the entire experience. Many households fry leftover rice in the morning with a little adobo sauce and a fried egg, adobo flakes and garlic rice being one of the world’s great breakfasts hiding in plain sight.

    A dish that improves overnight

    Vinegar preserves, which is why adobo was born, and why it tastes even better the next day as the sauce settles into the meat. Make a double batch and let the fridge do the flavour work. Variations are endless, coconut milk for adobo sa gata, pork belly for richness, but the four-ingredient original remains untouchable.

    Save this one-pot wonder, and stir through more world recipes on Plumeo. Daily inspiration at @Plumeoblog.
  • Fish and Chips: The Great British Classic Done Right

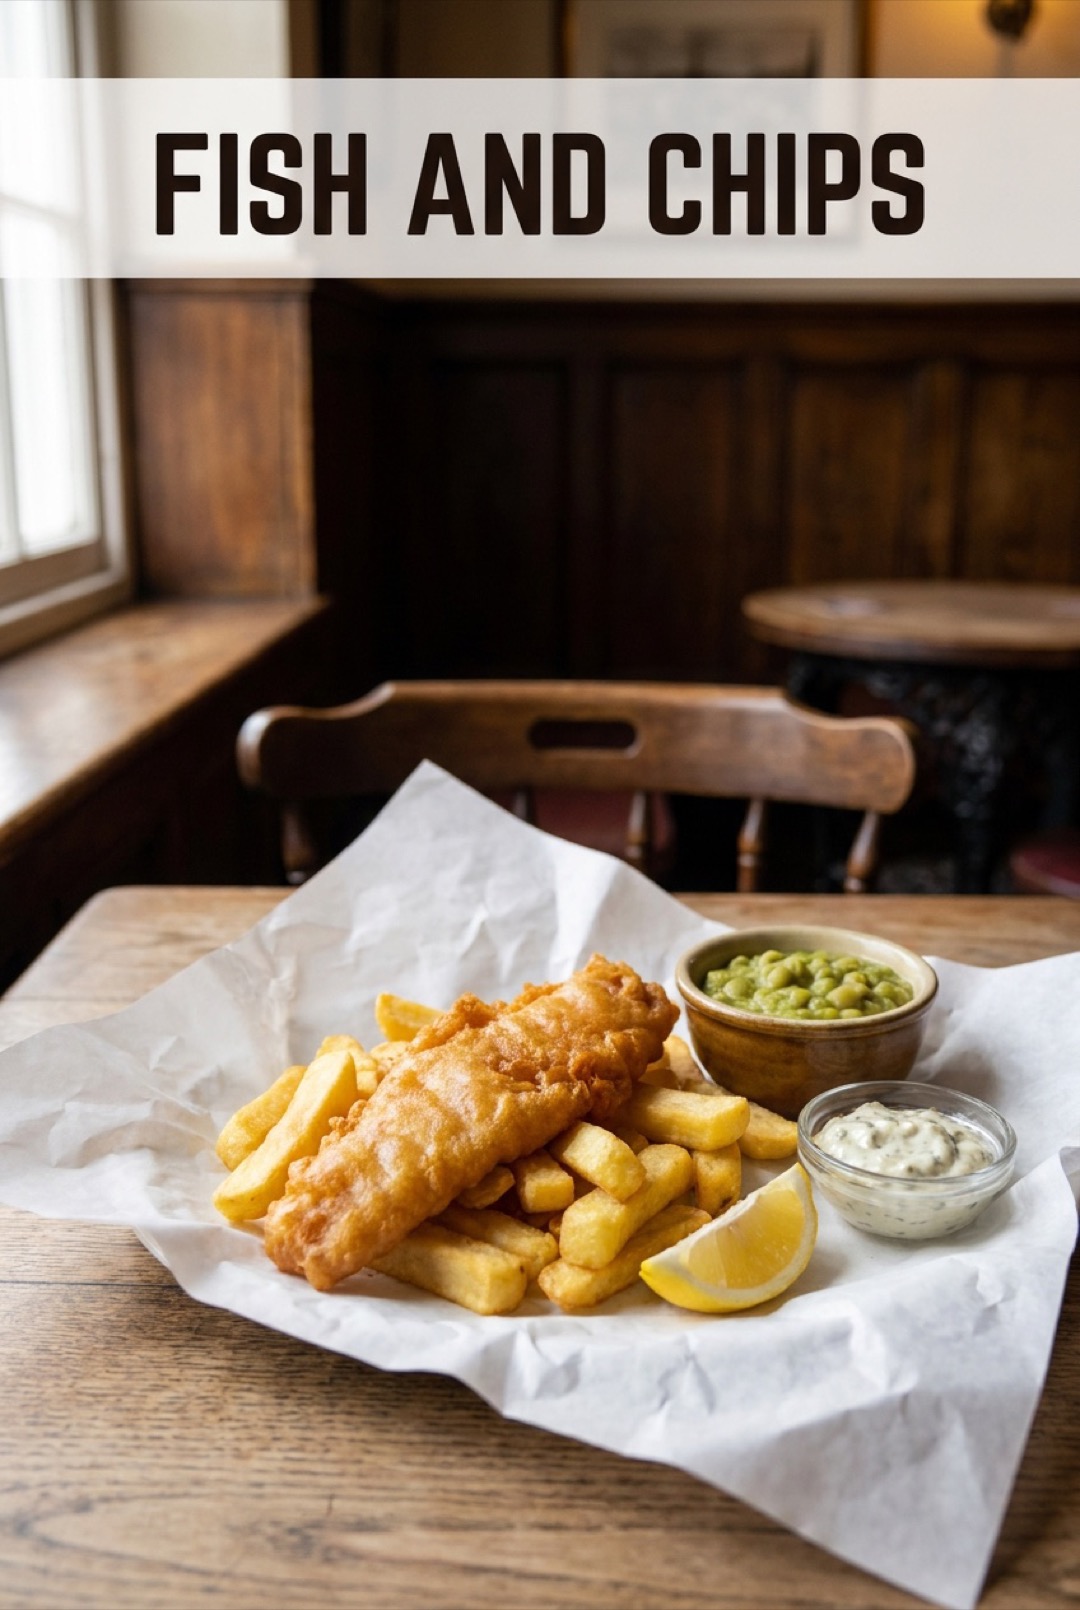
    Fish and Chips: The Great British Classic Done Right

    Fish and chips is Britain’s edible institution: flaky white fish inside a shattering amber batter, thick chips that are crisp outside and fluffy within, all doused in malt vinegar. The chippy does it with a century of muscle memory, but two honest techniques, cold beer batter and twice-cooked chips, get you there at home.

    The components

    • Fish: thick fillets of cod or haddock, patted very dry
    • Batter: flour, a little cornflour for crispness, cold beer and a pinch of baking powder
    • Chips: floury potatoes like Maris Piper, cut thick
    • Sides: mushy peas, tartar sauce, malt vinegar and lemon

    The double-fry chips

    1. First fry at 130°C until soft and pale, about eight minutes: drain and rest.
    2. Second fry at 190°C until golden and crisp, three minutes.
    3. Salt immediately and generously.

    The batter rules

    The beer must be cold and the batter made at the last second: the bubbles and the temperature shock are what create the lacy, glassy crust. Dust the fish in flour first so the batter grips, lower it into 180°C oil holding one end so it does not stick to the basket, and fry to deep gold, six to eight minutes. The crust should audibly crack under a fork.

    The full chippy ritual

    Mushy peas (marrowfat peas simmered soft with butter and mint), proper tartar sauce with capers and gherkins, and an unreasonable amount of malt vinegar complete the experience. Eat it fast, ideally slightly too hot, optionally out of paper: some traditions exist because they are correct.

    Save this seaside classic, and fry up more world recipes on Plumeo. Daily inspiration at @Plumeoblog.
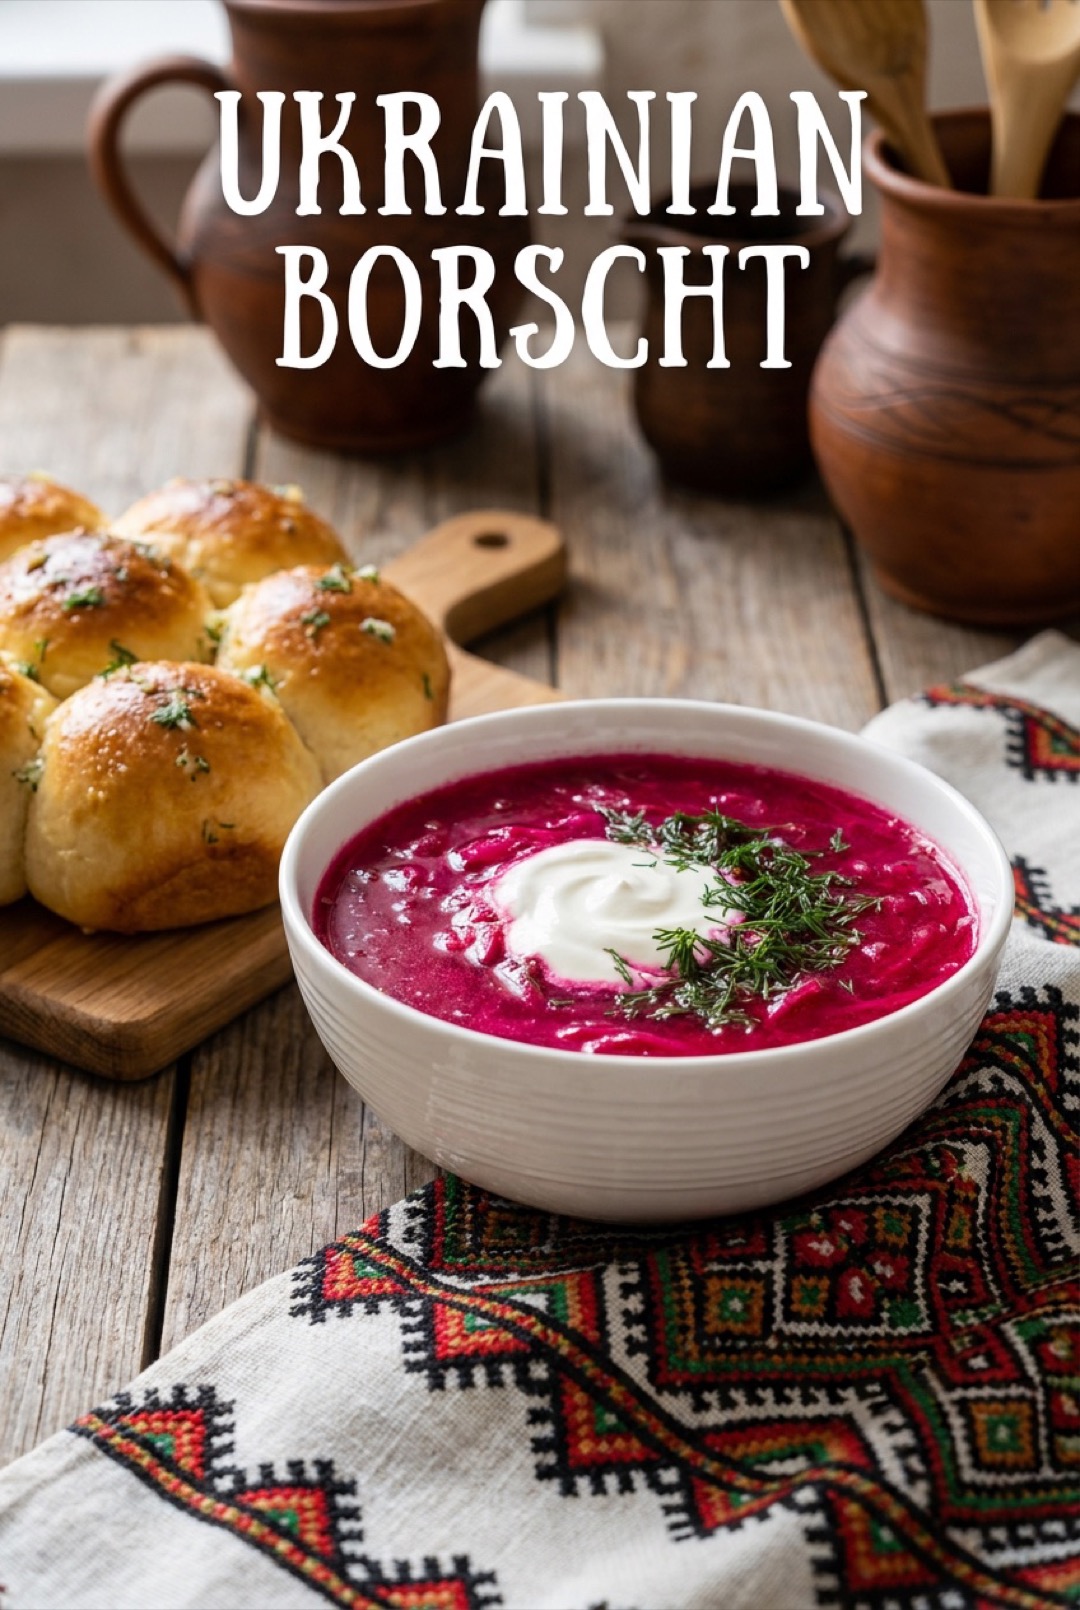
  • Ukrainian Borscht: The Beautiful Beet Soup Done Right

    Ukrainian Borscht: The Beautiful Beet Soup Done Right

    Borscht is Ukraine’s magenta masterpiece: a deep, sweet-sour soup of beets, cabbage and potatoes that manages to be both hearty and elegant, finished with cold sour cream and a flurry of dill. Recognised by UNESCO as Ukrainian cultural heritage, it is a bowl with centuries of home cooking behind it, and it glows.

    What goes in

    • Beets, the star, grated or cut into matchsticks
    • Cabbage, potatoes, carrots and onion
    • Good stock: beef shank traditionally, vegetable stock for a fasting borscht
    • Tomato paste, garlic, bay and a spoon of vinegar or lemon
    • Sour cream and fresh dill to serve, always

    The method

    1. Sauté the beets with tomato paste and a splash of vinegar: the acid locks in the colour.
    2. Soften onion and carrot separately.
    3. Simmer potatoes and cabbage in the stock until tender.
    4. Combine everything and simmer ten gentle minutes: do not boil the colour away.
    5. Crush in garlic, rest half an hour, and serve with sour cream and dill.

    The colour rule

    Ruby borscht, not brown, is the mark of care: acid added with the beets and a gentle final simmer keep the soup jewel-toned. The half-hour rest matters too, letting the flavours settle into each other. Like most great soups, borscht is better the next day and better still the day after, if it survives that long.

    Pampushky on the side

    The classic partner is pampushky: fluffy yeast rolls brushed with garlic-dill oil, baked snug in a pan so they tear apart in soft pillows. Bread for dunking, garlic for joy. A pot of borscht, warm pampushky and cold sour cream is Eastern European hospitality in its most persuasive form.

    Save this glowing classic, and ladle through more world recipes on Plumeo. Daily inspiration at @Plumeoblog.
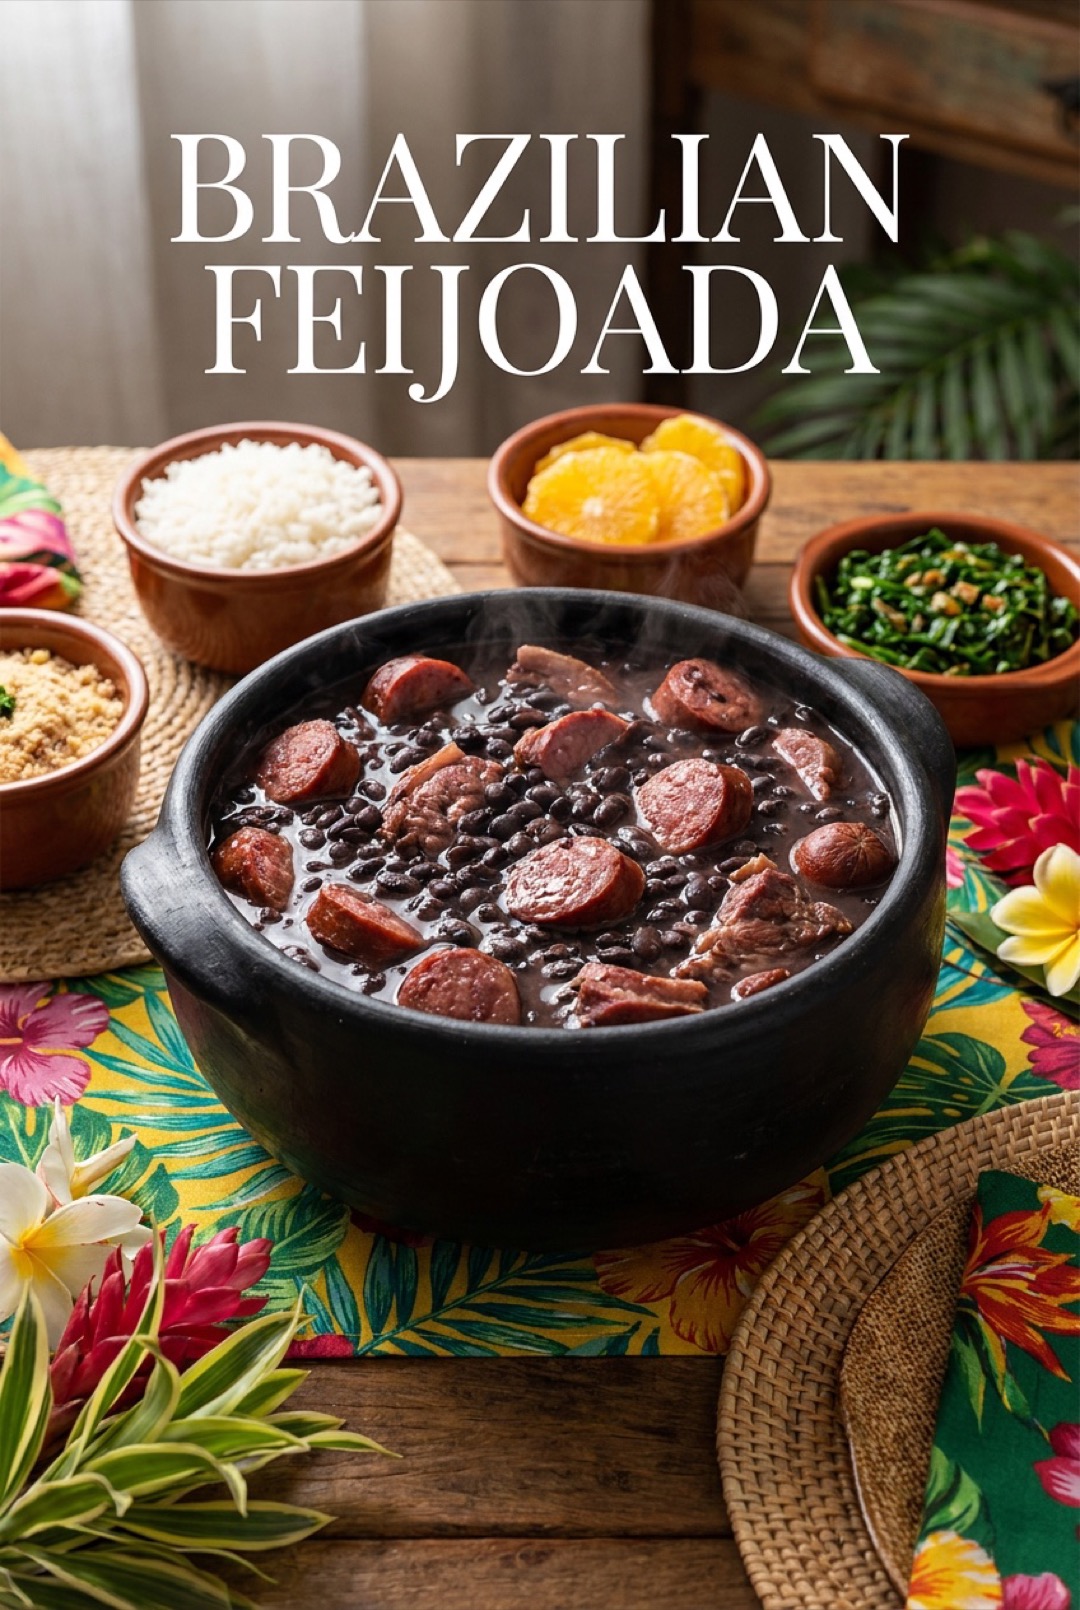
  • Brazilian Feijoada: The Black Bean Feast of Brazil

    Brazilian Feijoada: The Black Bean Feast of Brazil

    Feijoada is not just Brazil’s national dish: it is a weekly ritual, the long Saturday lunch where glossy black beans simmer with smoked meats until the whole house smells like a celebration. Served with rice, orange slices, sautéed collards and toasted farofa, it is a complete argument for slow food.

    What goes in the pot

    • Black beans, soaked overnight
    • A mix of smoked meats: sausage, pork ribs, smoked pork shoulder or bacon
    • Onion, plenty of garlic and bay leaves
    • The traditional sides: white rice, orange slices, collard greens and farofa

    The method

    1. Brown the sausage and pork pieces to build a flavour base.
    2. Soften onion and garlic in the same pot, then return the meats.
    3. Add the soaked beans, bay leaves and water to cover generously.
    4. Simmer low for two to three hours until the beans are silky and the broth is dark and glossy.
    5. Mash a ladle of beans against the pot wall to thicken the stew naturally.

    Why the orange matters

    The orange slices are not decoration: their sharp freshness cuts the richness of the beans and pork, resetting the palate between bites. The same logic runs through every side, bitter collards, crunchy farofa, plain rice, each one balancing the deep, smoky stew. Skip nothing: feijoada is designed as a system.

    Feeding a crowd

    Feijoada scales effortlessly and tastes even better the next day, which is why Brazilian families make it in quantities that look alarming. Make it on a slow weekend, invite people, and serve it the traditional way: everything on the table at once, everyone building their own perfect plate. A caipirinha alongside is optional but historically accurate.

    Save this feast for the weekend, and travel through more world recipes on Plumeo. Daily inspiration at @Plumeoblog.

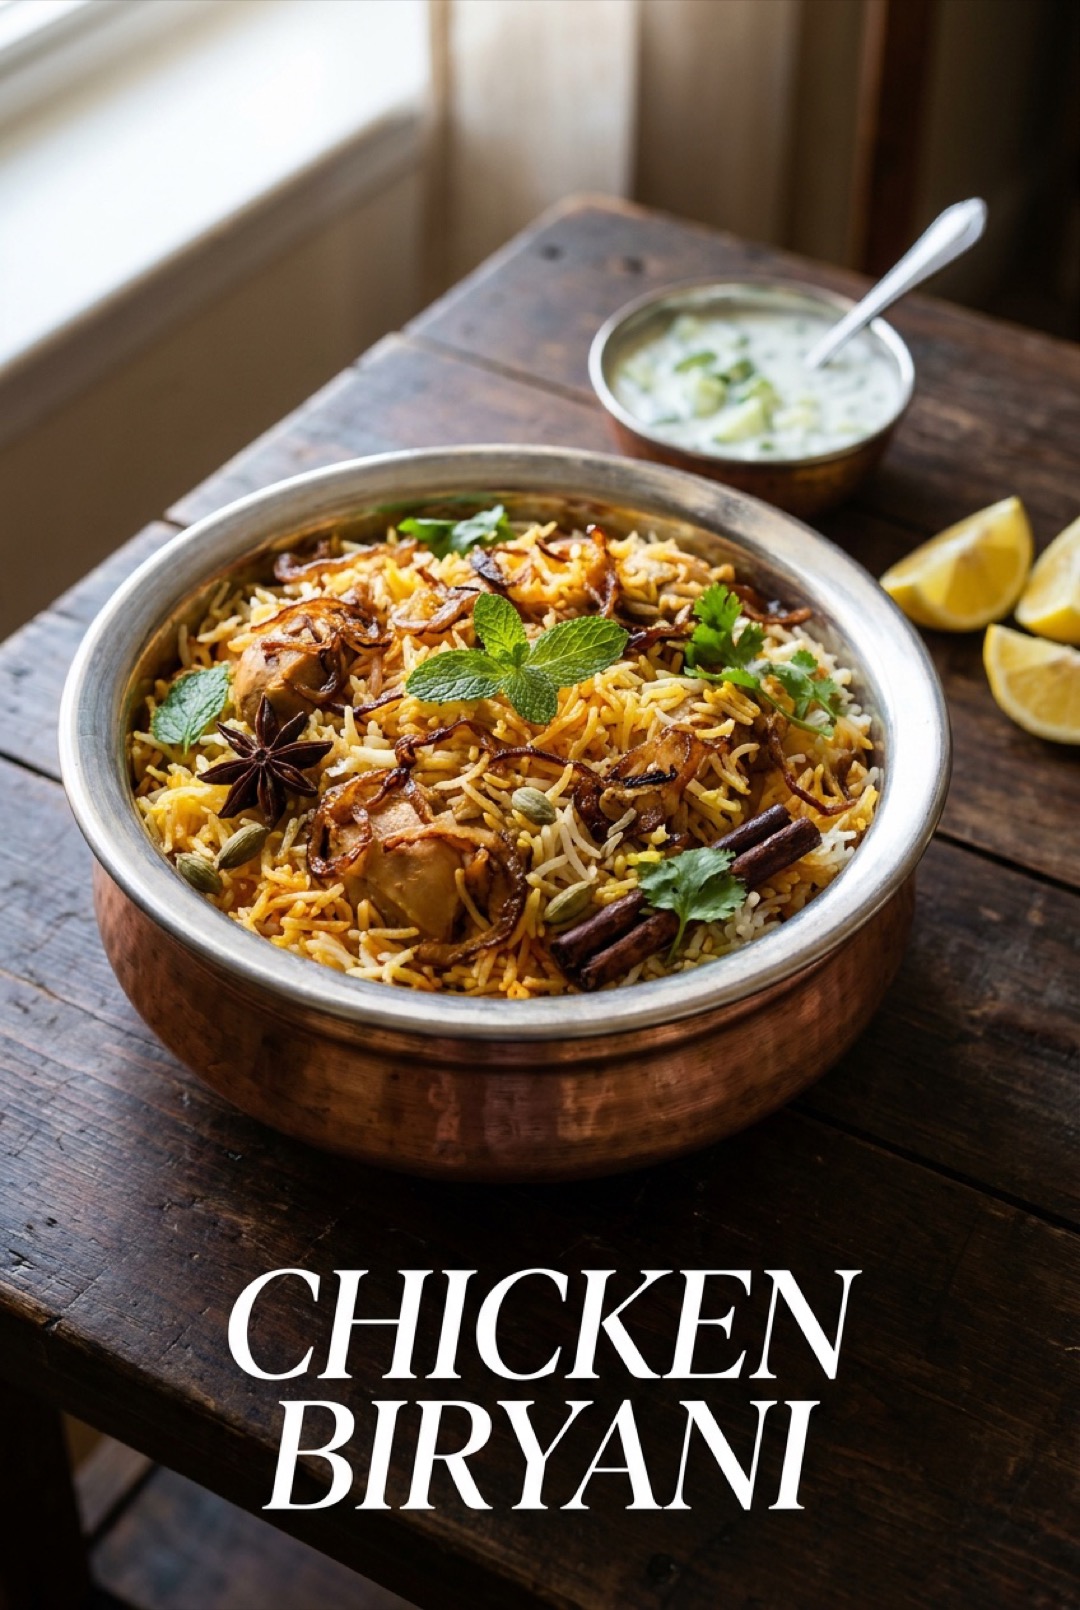
  • Chicken Biryani: Fragrant Layered Rice Done Properly

    Chicken Biryani: Fragrant Layered Rice Done Properly

    Biryani is not merely rice with chicken: it is an event, saffron-streaked basmati layered over yogurt-marinated meat, sealed and steamed so every grain absorbs the perfume of fried onions, mint and whole spices. Across South Asia it is the dish of weddings and Fridays, and mastering it at home earns permanent bragging rights.

    The building blocks

    • Chicken thighs marinated in yogurt, ginger-garlic, chilli, turmeric and garam masala
    • Aged basmati rice, rinsed and soaked 30 minutes
    • Birista: deeply golden fried onions, half in, half on top
    • Saffron bloomed in warm milk, plus fresh mint and coriander
    • Whole spices: bay, cardamom, cloves, cinnamon and star anise

    The layered method

    1. Cook the marinated chicken in its own masala until nearly done.
    2. Parboil the rice with whole spices to exactly 70 percent, grains firm at the core.
    3. Layer rice over chicken, scatter birista, mint and saffron milk.
    4. Seal the lid, with dough or a tight cloth, and steam on the lowest heat for 25 minutes: this is the dum.
    5. Rest ten minutes, then open at the table for the full aroma reveal.

    The 70 percent rice rule

    The most common biryani heartbreak is mushy rice, and the cure is undercooking with conviction: the grains finish in the steam of the dum, drinking flavour as they soften. Test by pressing a grain between your fingers, it should snap at the centre. Better slightly firm going in than porridge coming out: the dum forgives the first and punishes the second.

    Serving the feast

    Serve with cooling raita, sliced cucumber and a wedge of lemon: nothing else is required. Dig the spoon to the bottom so every plate gets masala-rich chicken and pale, fragrant top rice together. Leftovers, if such a thing occurs, reheat gently with a splash of water and taste even more settled the next day.

    Save this festive classic, and spice up your feed with more world recipes on Plumeo. Daily inspiration at @Plumeoblog.
  • Turkish Baklava: Layers of Honey, Butter and Pistachio

    Turkish Baklava: Layers of Honey, Butter and Pistachio

    Baklava looks like the work of a patisserie apprenticeship, but it is really an exercise in repetition: butter, filo, butter, filo, forty times, then nuts, syrup and patience. The result, shattering golden layers soaked in lemon-scented sweetness around a heart of pistachio, is one of the great desserts of the world, and it is absolutely makeable at home.

    What goes in

    • One packet of filo pastry, thawed overnight in the fridge
    • A generous amount of melted butter, clarified if you want maximum crispness
    • Finely chopped pistachios, the greener the better
    • Syrup: sugar, water, honey, a strip of lemon peel and a squeeze of juice

    Assembly, layer by layer

    1. Brush the tray with butter and lay half the filo, buttering every single sheet.
    2. Spread the pistachios in an even green blanket.
    3. Layer the remaining filo the same way, buttering to the top.
    4. Cut the diamonds BEFORE baking: it cannot be done after.
    5. Bake low and slow at 160°C until deeply golden, about 50 minutes.

    The hot-and-cold syrup rule

    The single most important rule in baklava: cool syrup over hot pastry. Pour warm syrup on warm filo and the layers collapse into sog: chilled syrup meeting oven-hot baklava hisses, soaks evenly and leaves the top layers crisp. Make the syrup first, refrigerate it, and pour it over the tray the minute it leaves the oven.

    Resting and serving

    Baklava improves for a full day as the syrup settles, so make it the day before you need it and resist covering it, a loose tea towel keeps dust off without steaming the crunch away. Serve with Turkish tea in tulip glasses or strong coffee: the bitterness is the traditional and correct counterweight to all that honeyed richness.

    Save this golden tray for a special occasion, and sweeten your feed with more world recipes on Plumeo. Daily inspiration at @Plumeoblog.

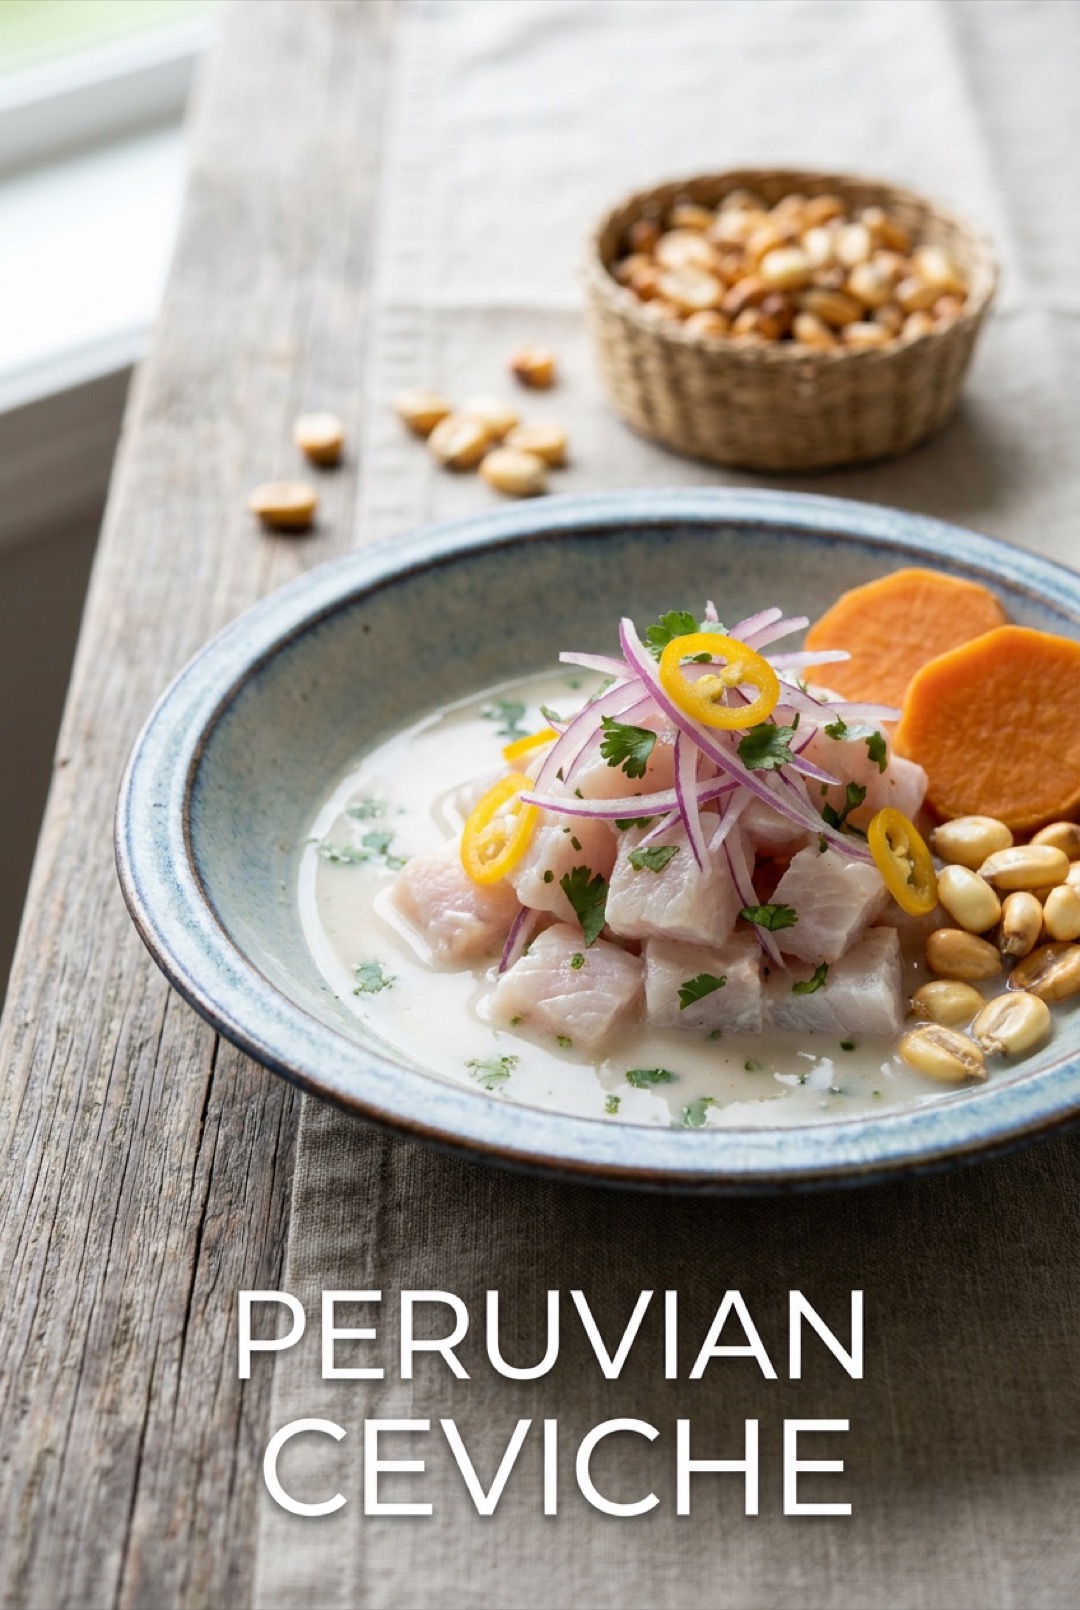
  • Peruvian Ceviche: Fresh, Bright and Ready in Minutes

    Peruvian Ceviche: Fresh, Bright and Ready in Minutes

    Ceviche is Peru’s gift to hot days: cubes of impeccably fresh fish “cooked” in nothing but lime juice, sharpened with red onion and aji chili, and finished with the milky, spicy marinade Peruvians call leche de tigre, tiger’s milk. It is fifteen minutes of work that eats like a celebration of the entire Pacific.

    The non-negotiables

    • Fish: the freshest firm white fish you can buy, sea bass, flounder or corvina
    • Limes: plenty, freshly squeezed, never bottled
    • Red onion: sliced hair-thin and rinsed
    • Chili: aji limo or amarillo traditionally, a fresh red chili works
    • Sides: boiled sweet potato and choclo corn, the classic sweet counterpoints

    The method, Peruvian style

    1. Cut the fish into even 2cm cubes and chill everything, including the serving bowls.
    2. Season the fish with salt first: it firms the flesh.
    3. Add lime juice, chili, and a little crushed garlic: toss gently.
    4. Wait just five to ten minutes: the fish should be opaque outside, tender within.
    5. Fold in onion and coriander, and serve immediately with the sides.

    Leche de tigre, the liquid gold

    The cloudy marinade left in the bowl is prized in Peru as a delicacy and a hangover cure: spoon it over the ceviche, or blend it with a little fish and ice for the full cevichería experience. Modern kitchens blitz a splash of fish stock, lime, celery and chili to make extra: once you taste it, you will understand why.

    The freshness rule

    Ceviche has one law: the fish must be pristine and the dish must be eaten the moment it is ready, never left to over-cure into rubber. Buy from a fishmonger you trust, tell them it is for ceviche, and plan your timing backwards from the table. Done right, it is one of the brightest plates in the world.

    Save this fresh classic, and dive into more world recipes on Plumeo. Daily inspiration at @Plumeoblog.